How to Setup a WordPress Scheduling Plugin? (Step by Step)
Are you looking for a WordPress Scheduling Plugin for your WordPress Site? If yes, then we will get through the process to set it up step by step.
The scheduling plugin is added to get more appointments for your services. As your business depends on these appointments, it is quite important to make sure that you set up your scheduling plugin properly.
In this article, we will show you how to set up a WordPress Scheduling Plugin Step by Step.
What’s the need for the Scheduling Plugin?
With a proper scheduling plugin attached to your WordPress website, you can not only get more appointments but will also properly manage your scheduling calendar.
Below mentioned are the 3 reasons why a scheduling plugin is important for your business:
- Manage Availability: Easy way of managing your calendar availability without much effort.
- Cost-Effective: It saves a lot of time and resources. By using tools for user engagement like SMS and Emails for automated reminder processes.
- Customer Data: Last but not least customer contact information is considered to be one of the most important aspects of your scheduling plugin. As it can be to increase user engagement and also it can be used to increase your appointment bookings.
Step by Step Process
Let’s see how to step by step we can set up a WordPress Scheduling plugin. For our article, we will be using the BookingPress Scheduling Plugin.
Step 1: Installing the Plugin
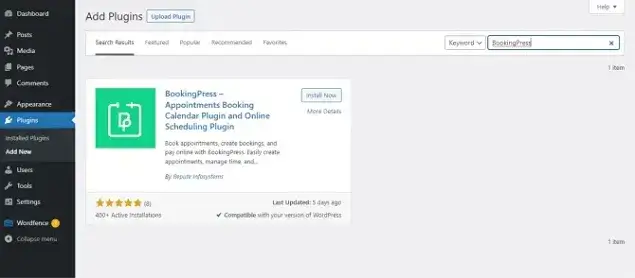
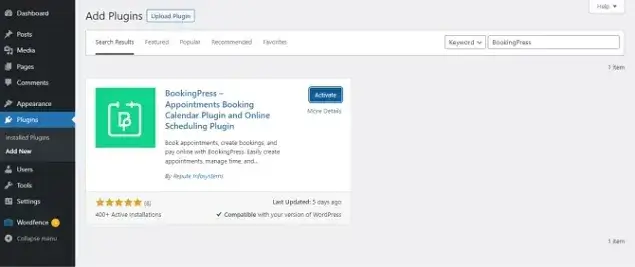
You can install the BookingPress Plugin on your WordPress website by logging into your WordPress Dashboard. Then go to Plugins > Add New. In the Search Field, just type BookingPress and then click on the Install Now Button.
After installing the plugin, click on the Activate button.
You can also prefer to download the plugin and upload it manually also. You can download the plugin from here.
Step 2: Setting up the services
As soon as you install and activate your scheduling plugin, its menu is automatically added to your WordPress dashboard.
The next step would be on creating and setting up the categories and services for your business. Your services are the things that your customers want to schedule appointments for.
For example, if you are a hospital, you would create a category for Adult Care and Pediatrics and in that, you would include different services as per the categories.
Let’s see how we can create categories and services.
For categories, go to the BookingPress Menu -> Dashboard -> Services -> Manage Categories -> Click on Add New
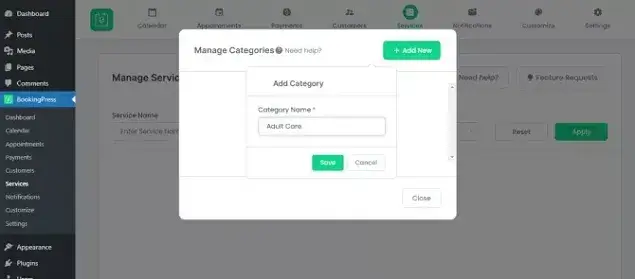
Save the Category and go back to the Services to add Service in that category. Click on the Add New Service Option and add the basic details as shown below:
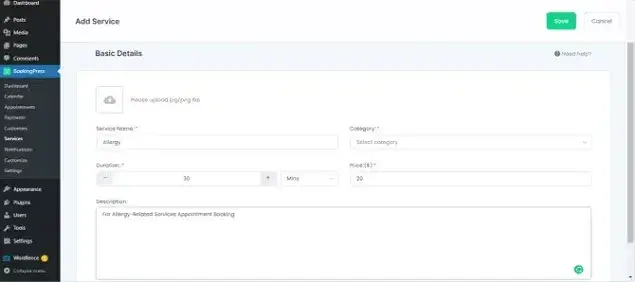
Save the Service and you are almost done creating services for your business.
Note: You can also add images for your services
Step 3: Configuring Appointment Booking Form
Once the services are set up, the next step would be the Appointment Booking Form. Let’s see how BookingPress does it. BookingPress by default provides an Appointment Booking Form with basic functionality. It also provides an option to customize the front-end design of the Appointment Booking form as per your brand and WordPress theme.
For doing that go to the BookingPress -> Customize Options. It has 3 tabs as described below:
- Booking Form
- Field Settings
- My Bookings
Booking Form
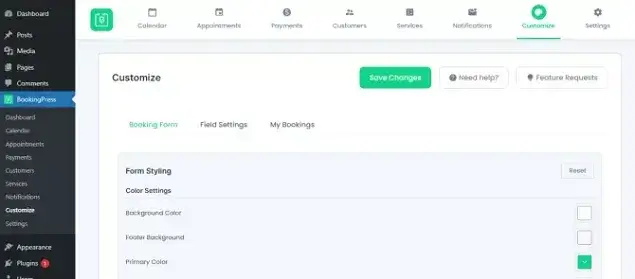
This tab is used to customize the front-end step-by-step Booking Wizard. It shows the options panel and the preview of the booking form. It is divided into 3 parts:
Form Styling: Here you can choose the Background color of the wizard, footer background, primary color, title, and content colors, as well as the fonts of your appointment booking form as per your WordPress Site design
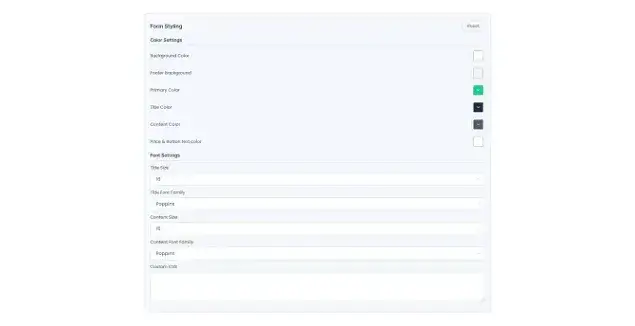
You can update and navigate through the booking steps by clicking on steps number: 1, 2, 3, and 4. You can update the labels of the booking steps by clicking on the “Pen” icon near the label of the step.
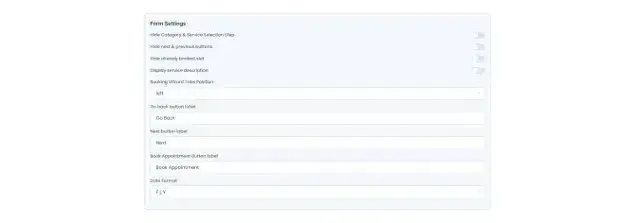
Form Settings: It has different options listed below:
- Hide Category & Service selection step
For one category and one service, if you don’t want customers to show that selection step then enable this switch. Now the booking form will display the first step and Date and time Selection only in the front end.
- Hide next – previous buttons
To disable the Next and Previous buttons in the Booking Steps, just enable this option.
- Hide already booked slots
If you don’t want to display already booked slots in the list at the front end, then enable this option.
Once all the changes are done, just click on the Save Changes button on the top. All the changes will be reflected in the front end.
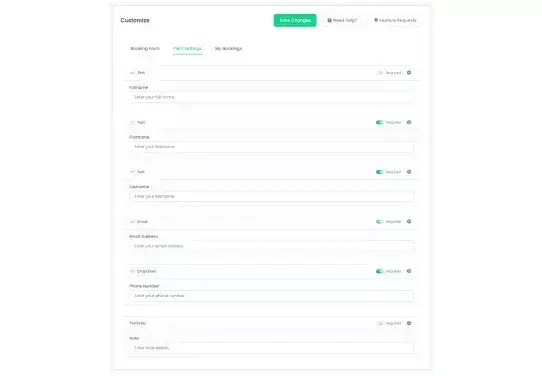
Field Settings
Using this tab, you can customize the form which is used to get customer details at the time of appointment booking. You can make fields required/optional or change settings as per your convenience. You can change the label text and error messages etc from the field settings. By clicking on the Setting icon on the right side of any field, you will get a popup with all the options for that field. You can edit them as per your requirement.
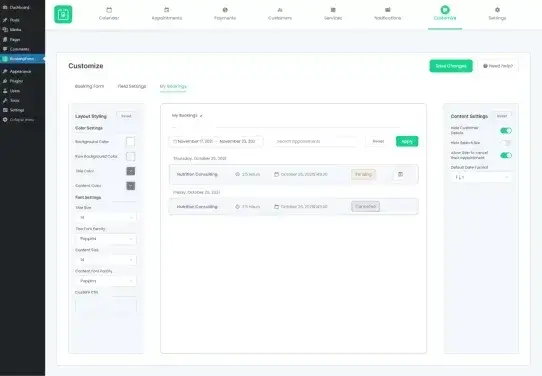
My Bookings
This tab is the front-end customer panel customization where customers can view their booked appointments. This tab is divided into 3 parts:
- Layout Styling: You can whatever choose the background color, title color, content color, fonts, etc as per your WordPress Site design.
- My Bookings: You can customize your My Bookings Design using this option by just clicking on the pen icon on the top.
- Content Settings: It has the following options:
- Hide customer details: For disabling or enabling the customer details to be displayed on the booking listing page.
- Hide search bar: For disabling or enabling the option to search for the appointments booked by customers.
- Allow users to cancel their appointment: For disabling or enabling the option for customers to cancel appointments.
- Hide customer details: For disabling or enabling the customer details to be displayed on the booking listing page.
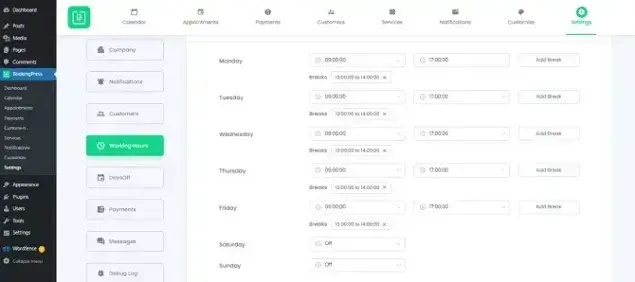
Step 4: Configure your availability
Once the Appointment booking form is configured, next configure your scheduling availability by going to Settings -> Working hours. Based on your schedule configuration, the BookingPress plugin will display your available times to your customers.

For this example, you are not available on Saturday and Sunday. On other days you are available from 9:00 am to 1:00 PM and 2:00 PM to 5:00 PM.
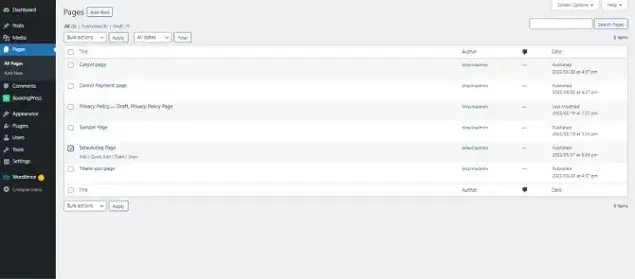
Step 5: Add it to your WordPress page
Finally, you need to add the scheduling calendar to one of your WordPress pages. To save your time, we have already created a page called Scheduling Page.
Then you’ll need to add the step-by-step booking form to the page. To add it, click the BookingPress button in the editor:

Then choose “Booking” in the dropdown and click “OK”. The shortcode will appear in the text automatically Alternatively, you can manually type in the shortcode [bookingpress_form] if needed then. Publish the page and that’s it! You are ready to book an appointment.
Step 6: Book an Appointment
The Scheduling page would look something like this now.
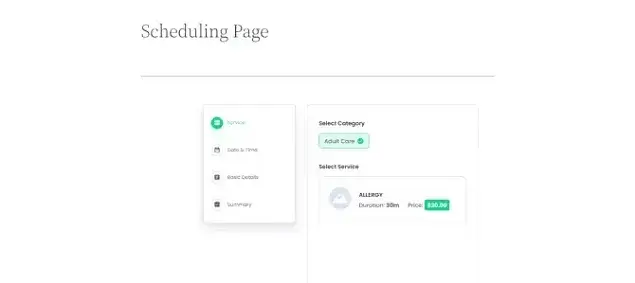
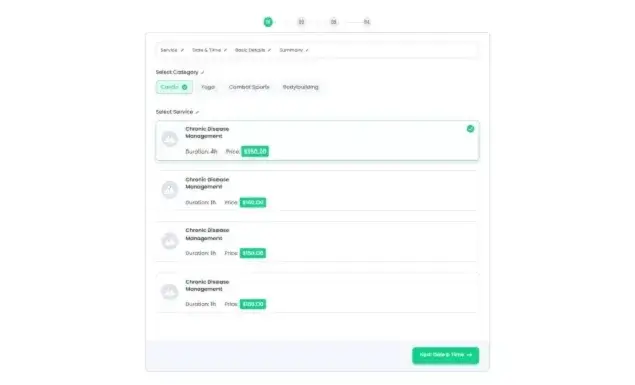
Now you can start booking appointments for your service added in the Dashboard -> Services list. Just select the Category and Service for which you want to book an appointment.
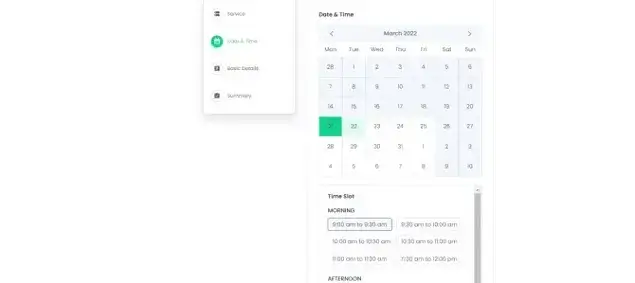
For our example, we would Select Adult Care Category and Allergy Service. As soon as you click on the services, it asks you to select the date and time as shown below.
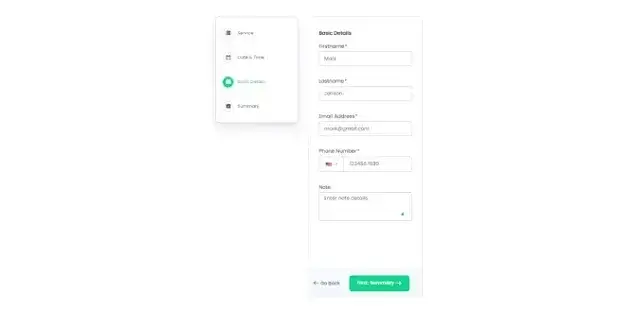
Then as soon as you select the time, it directs you to the Basic Details form. Add the details as mentioned below, then click on the Next Summary Button.
Now it will display the summary of your appointment along with online payment options if configured.
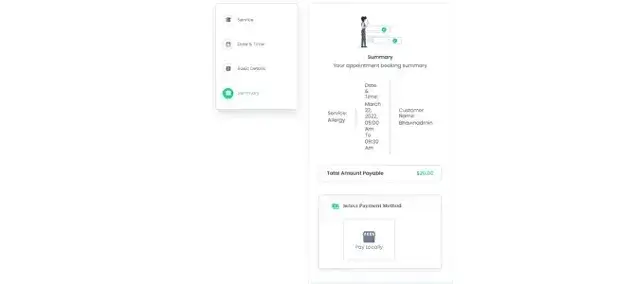
Finally, click on the Book Appointment. It would confirm that your appointment is booked with other details.

Ending Thoughts
Your WordPress Website needs to have a good WordPress booking system. As it allows you to manage appointments and organize them easier along with the feature of opening up hours of your time. With the BookingPress plugin, you can easily configure the scheduling plugin using the steps mentioned above. It is by far one of the best WordPress Appointment booking plugins available in the market.


Brian is a WordPress expert with a decade of developing experience & technical-writing. He enjoys blogging, movies & hiking.

Get BookingPress Premium
60+ Premium Addons
21+ Payment Gateways
Plan starts at just $89
Get Premium NowLike our insights? Click the badge to add BookingPress as your preferred source on Google.

Add as a Preferred
Source on Google