How Fitness Trainers Can Automate Bookings with BookingPress
Want to make your fitness services bookable online? Fitness scheduling software is what will make your life easier. Unlike social media bookings or personal communication with your students for scheduling the next session, an automated booking tool will make your business much more professional and easier to manage.
Ready to automate bookings? We’ve prepared a guide that will be suitable for a solo personal trainer, yoga instructor, and a multi-coach gym alike!
Let’s show you how to set up BookingPress to accept online session bookings for your fitness business.
Why Fitness Trainers Will Love BookingPress
BookingPress is a popular WordPress appointment booking plugin, perfectly suitable for any business.
But what is in it for gyms, coaches, and fitness instructors? Tons of benefits, including:
- More transparent finance management and bookings tracking.
- Less admin burden on your business (enjoy automation!).
- Provide easy online bookings with payments to attract more modern students.
- Provide more tools for staff to better manage their own clients and schedules.
- Affordable pricing plans with fixed costs, perfectly suitable for businesses with any budget.
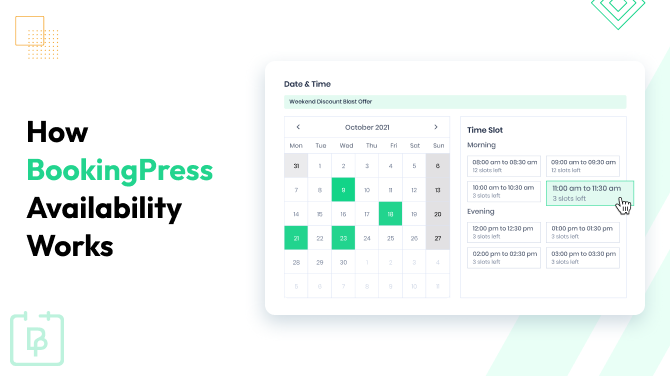
- Multiple tools to promote unpopular hours or allow scheduling flexibility (‘open hours’ and ‘happy hours’).
Want to explore some of them by looking at the backend?
Step 1: Get the BookingPress Plugin Ready
All the essentials for scheduling training sessions come after installing the BookingPress Premium version. Here is a quick guide:
- Purchase BookingPress Premium.
- Log into your BookingPress account → My Download → Download the plugin .zip.
- Go to Plugins → Add New → Upload Plugin, then upload the ZIP and install it.
- Activate your license using your license key.
You will get the key premium functionality after BookingPress is installed. However, remember that a lot of features in BookingPress are available through add-ons, so you can simply activate the required one when needing to implement specific tools.
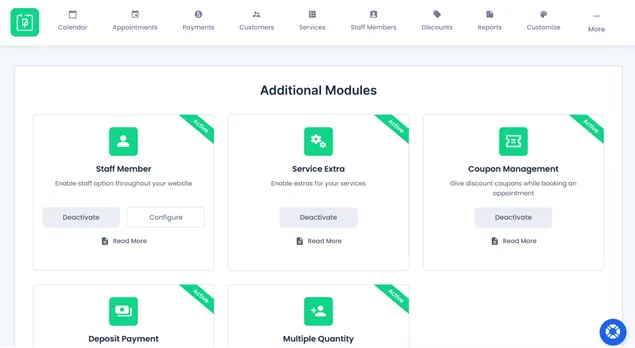
For example, you might want to enable any add-ons like Custom Service Duration, Recurring Bookings, or specific payment gateway add-ons to customize your training business.
Step 2: Add Trainers and Configure Schedules
Are you a solo instructor or a gym? It doesn’t matter! BookingPress allows you to handle any scenario.
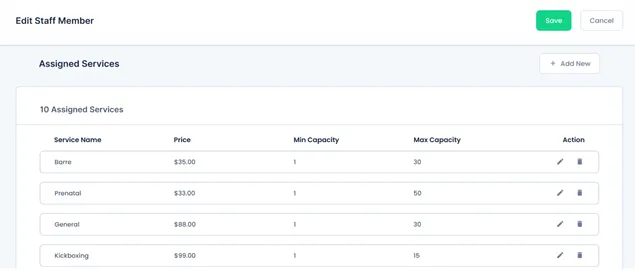
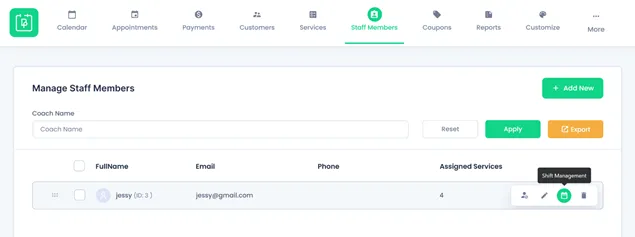
Each trainer or instructor can be added under Staff Members, this is where you can manage personal info and availability of every person who provides services and can be booked.
BookingPress → Staff Members → Add New
For each coach:
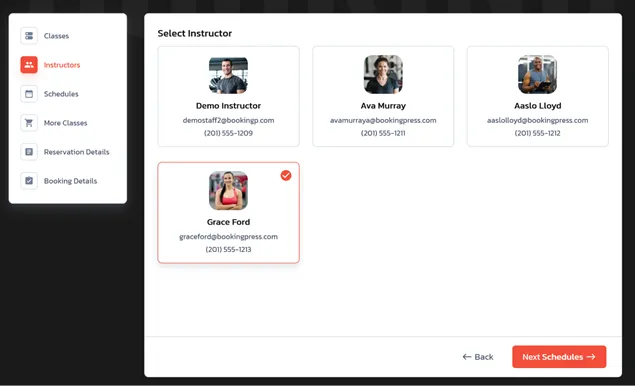
- Add name, email, phone, and upload a headshot – name and photo can be visible in the booking form (great for client trust!).
- Assign them to specific session types (e.g., HIIT, Yoga, PT).
- Skip service assignment for now if your offerings aren’t set up yet.
Next, the key thing – shifts and availability. The BookingPress allows you to manage them through a few menus:
- Standard gym hours (the same for all staff, perfect for solo trainers): BookingPress → Settings → Working Hours.
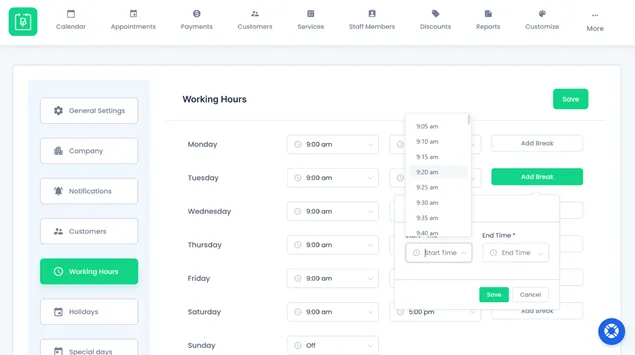
- Trainer-specific hours (for gyms or flexible schedules): Hover over a trainer → Click Shift Management → enable “Configure specific working hours” and customize the schedule by setting open times and days.
With the second option, you can add recurring holidays or trainer-specific time off so your schedule stays accurate. If you are looking to provide every fitness trainer with an individual dashboard (great idea!), where they can manage their own calendar, track sessions, and communicate with clients directly, BookingPress can handle that with WordPress user roles. View and test it on the demo page.
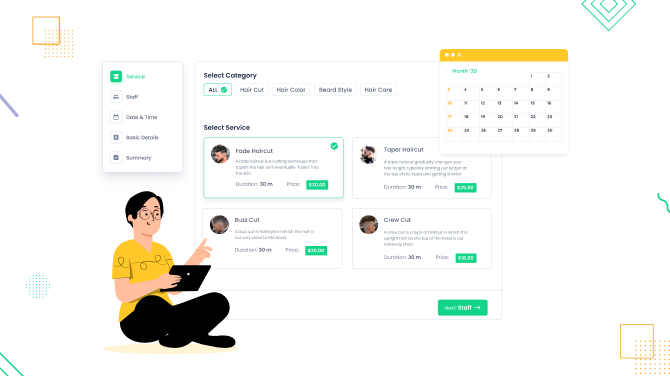
Step 3: Add Fitness Services and Link Trainers
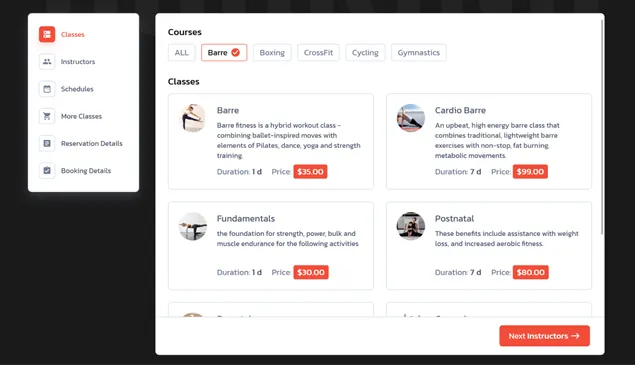
Next, let’s set up what people will book. You can quickly and easily define your session types, which are your services, in BookingPress by going to:
BookingPress → Services → Add New
You can configure a few settings for the fitness session:
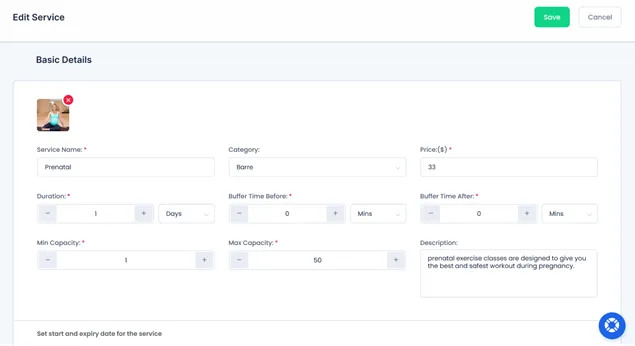
- Service name (e.g., One-on-One Strength Training).
- Price and duration.
- Max clients per session (for group classes).
- Assign available trainers.
Optional customizations include:
- Add service descriptions and images.
- Set rescheduling and cancellation rules.
- Add buffer times between sessions.
- Categorize by training type (e.g., “Cardio”, “Strength”, “Rehab”).
But remember that these optional configurations can boost your bookings and add more flexibility to the scheduling process!
You’ll see more customization options based on what BookingPress addons you’ve enabled.
For example, if you need to offer recurring sessions, which are pretty common for gyms, enable the Recurring Appointments add-on to let clients book regular training. For time-based pricing, use the Happy Hours extension.
Step 4: Set Up Online Payments and Enable Notifications
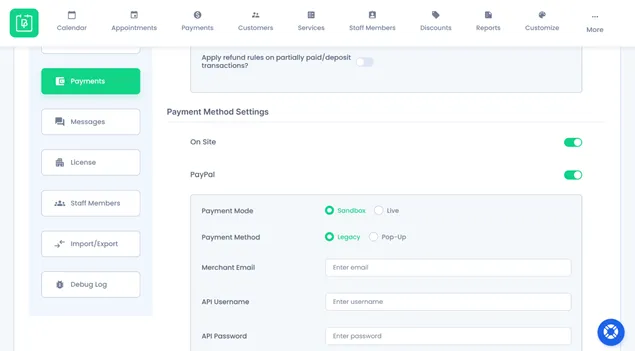
Want clients to pay online the full sum or even a deposit? BookingPress supports 20+ payment providers (including PayPal, Stripe, and Square). You can accept payments for training sessions directly through your website.
BookingPress → Settings → Payments

There are many more settings that you can configure by enabling add-ons, such as:
- Deposits
- Taxes
- Invoices
- Advanced discounts
- Gift cards
- Online tipping
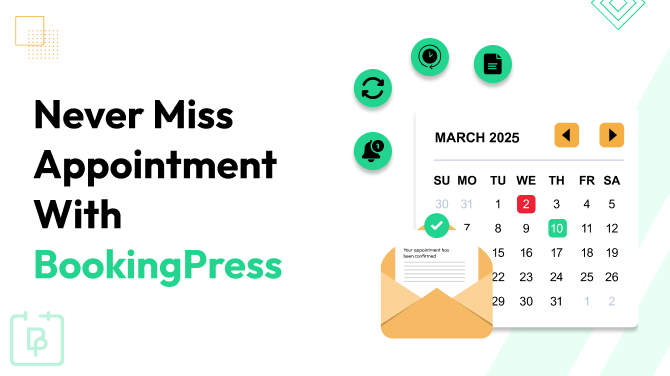
As for the automation you want to achieve… It’s not complete without automated messages that are sent upon bookings, cancellations, confirmations, and other types of actions.
BookingPress → Notifications
Keep clients in the loop with email, SMS, or WhatsApp notifications available to be customized with BookingPress.
Step 5: Upsell Your Training Sessions with Add-ons
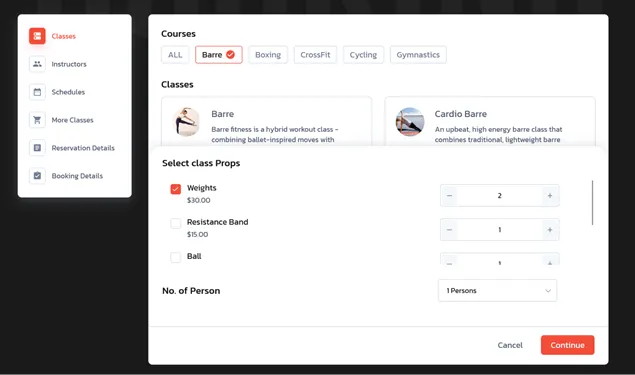
In addition to cool automation features you will enjoy with BookingPress, dig deeper into add-ons to find features that can improve the booking workflow for clients and boost your revenue. For example:
- Service Extra: upsell things needed for the training by allowing clients to add some to cart.
- Multiple Quantity: make the booking process quicker for customers by allowing them to book many sessions for different times at once.
- Custom Service Duration: allow clients to choose the needed session duration.
- Waiting lists: build a queue for fully booked slots.
- Multi-staff: allow clients to choose more than one fitness trainer when booking.
- Location: assign different training locations to staff.
Step 6: Customize the Booking Form and Add to Your Site
BookingPress has got your covered when you need to make a booking form a natural part of your fitness brand.
BookingPress → Customize
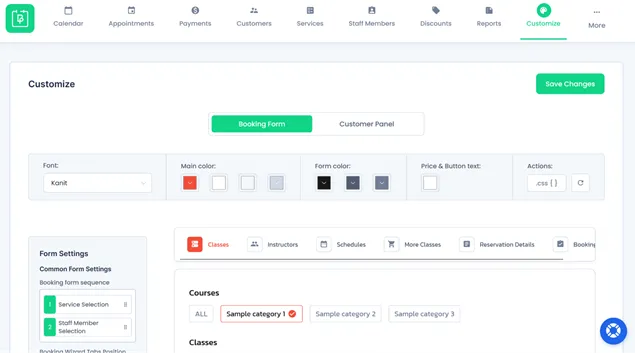
Some key form customization settings include:
- Color schemes to look good on your site.
- Step titles (e.g., “Choose Your Workout Type” instead of “Service”).
- Hide/show options like trainer selection or time slots.
- Add custom fields (e.g., fitness goals or injuries).

When you are ready to add the form to your site, use pre-made solutions: a block editor or a page builder of your choice. You simply need to insert the BookingPress widget to the page and hit Publish.
Clients can now view trainer availability and book sessions directly.
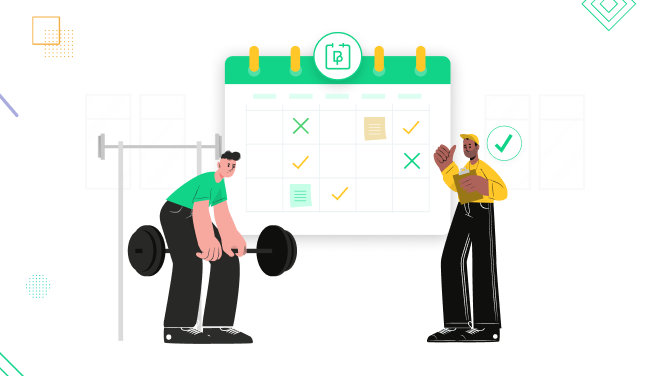
Conclusion: Automate Bookings for Your Training Business
Cut through the noise of the client calls, questions, and requests with one professional software. With BookingPress, you get multiple things automated and recorded without manual control, including:
- Booking information.
- Client information and payment details.
- Stats and revenue information.
Yoga trainers, gyms, and coaches will appreciate how intuitive the WordPress plugin dashboard is, and, moreover, how much more productive it helps them become!
Related articles:


Brian is a WordPress expert with a decade of developing experience & technical-writing. He enjoys blogging, movies & hiking.

Get BookingPress Premium
60+ Premium Addons
20+ Payment Gateways
Plan starts at just $89
Get Premium Now