Cancel Appointment
When customers can cancel appointments in advance, it becomes easier to manage your calendar and fill open time slots.
BookingPress makes this simple. Your customers can easily cancel their appointments right from your website or via a confirmation email link. Further, you can also cancel appointments manually from the admin side.
Configure Appointment Cancellation Settings
First of all, we have to allow appointment cancellation from the backend because then only customers will be able to see the front-end cancel option.
You can control how appointment cancellation works and customize the experience right from the BookingPress → Customize → Forms
Here, go to the Customer Panel.
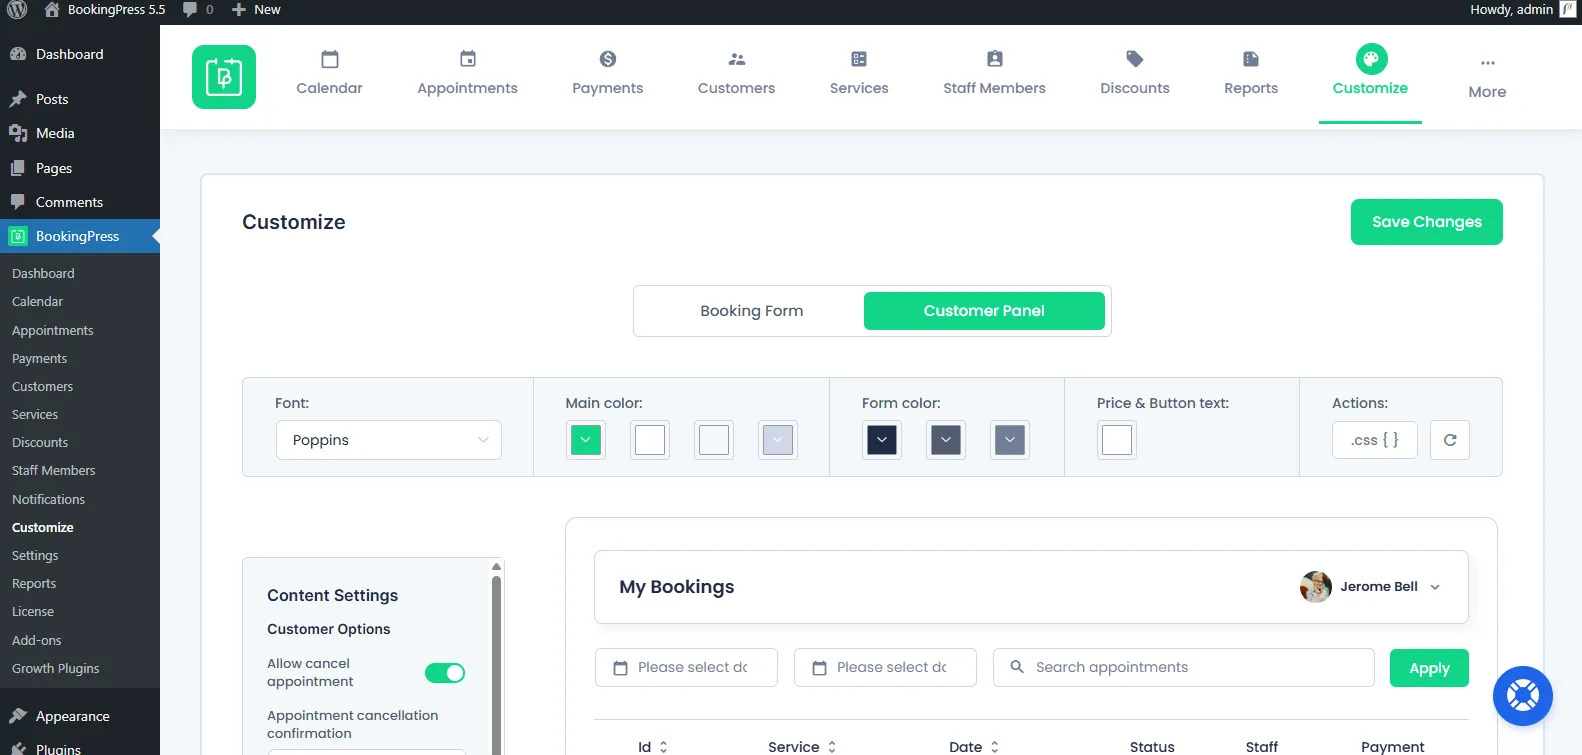
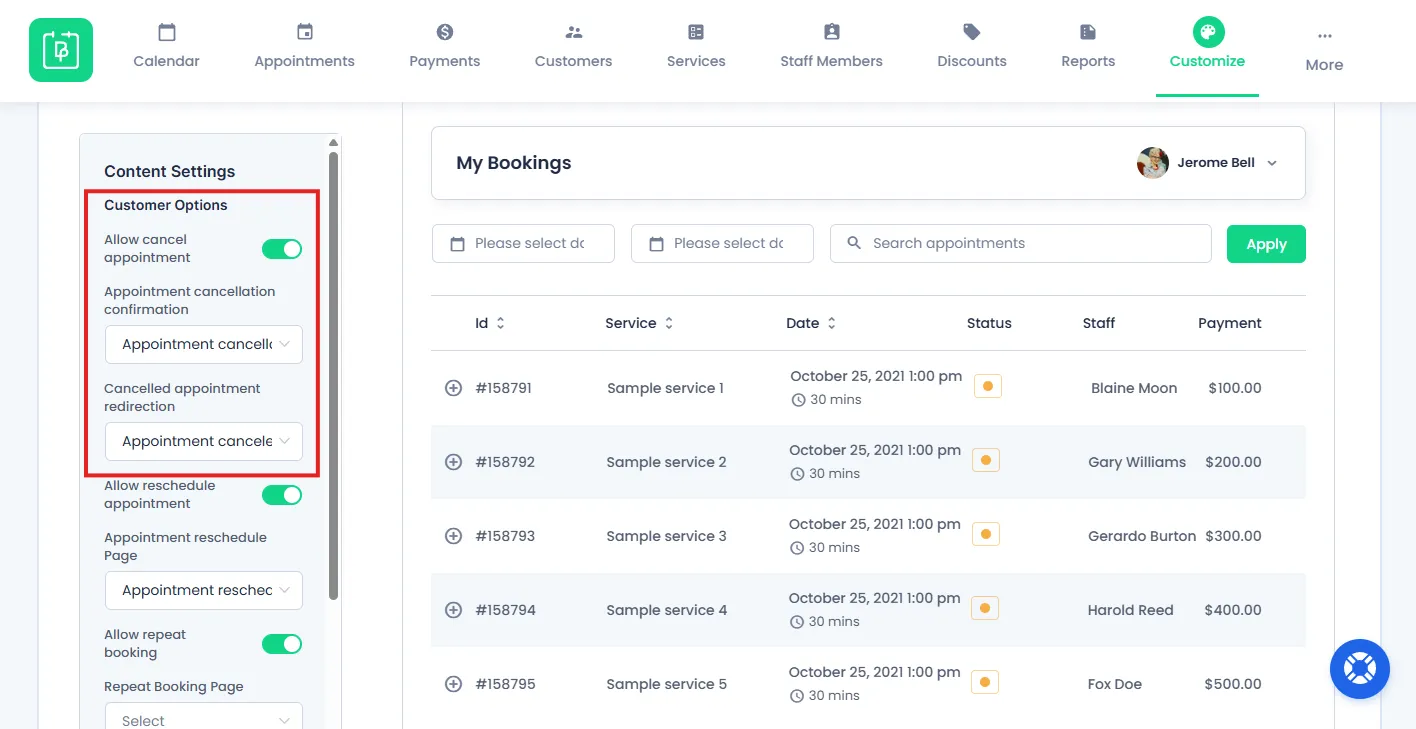
Now inside the Content Settings, toggle on the Allow cancel appointment for allowing customers to Cancel their appointments. Plus, don’t forget to select your preferred Appointment Cancellation Page for redirection and confirmation.
If you don’t want to use BookingPress default cancellation page, BookingPress provides a Cancel Appointment shortcode which will generate a Cancel button for canceling the booked appointment from the front end.
[bookingpress_appointment_cancellation_confirmation]
Customize Form Labels
You can update the text shown on the cancellation form from Label Settings.
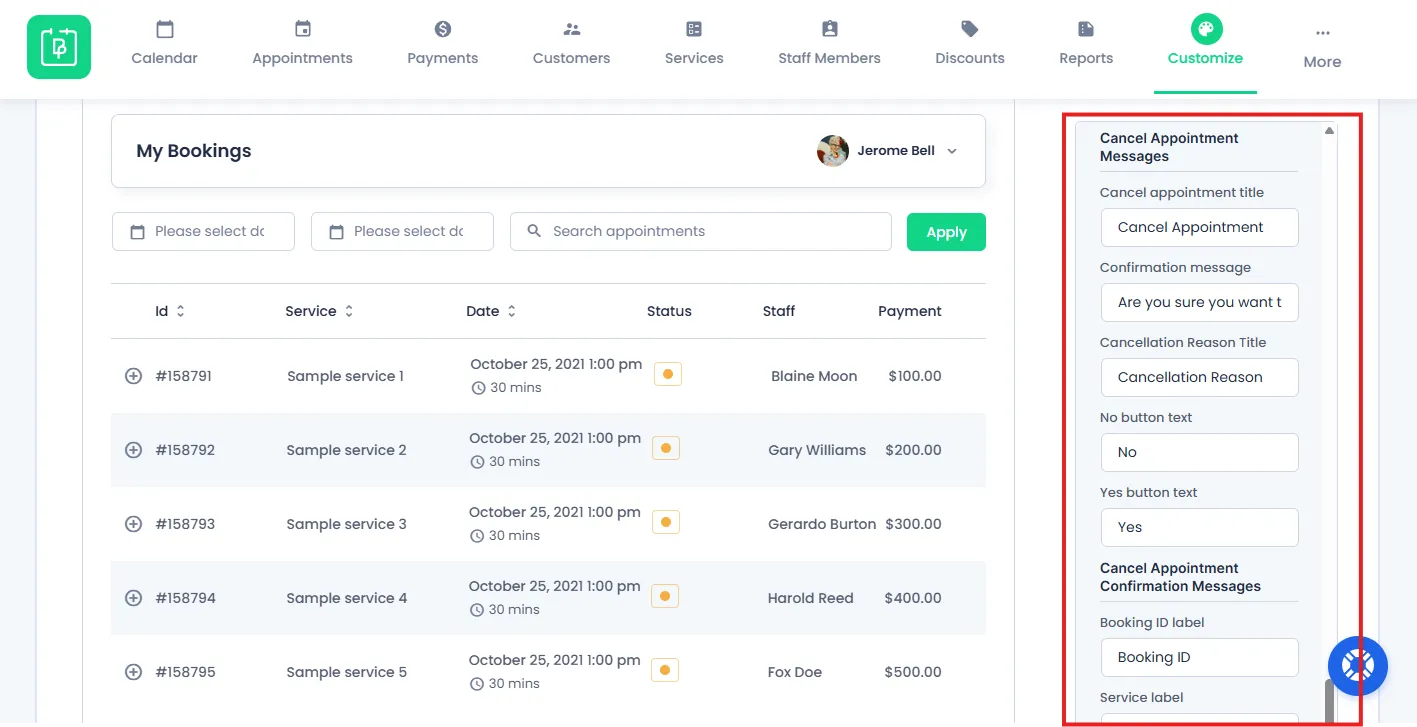
Available options include:
Cancel Appointment Messages:
- Cancel appointment title
- Confirmation message
- Cancellation Reason Title
- No button text
- Yes button text
Cancel Appointment Confirmation Messages:
- Booking ID label
- Service label
- Date & Time label
- Paid amount label
- Refund amount label
- Refund payment method label
- Confirm cancellation button text
- Apply button text (my booking)
- Cancel button text (my booking)
Frontend Experience
Customers can cancel appointments in two ways:
- From My Bookings Page
- From Cancel Page (via Email Link)
Option #1 – Cancel from “My Bookings” Page
BookingPress lets your clients cancel appointments in a few clicks with no frustrating moments.
You can let your customers or clients manage their own appointments directly from your website, by giving them access to the My Bookings page. This page shows your customers their scheduled appointments anytime.
How to Set Up
- Make sure the My Bookings page is available on your website.
- Provide customers with access to this page. (Client must be logged-in)
Here’s how to cancel appointments in BookingPress for customers:
- First, customers must be logged in to their account.
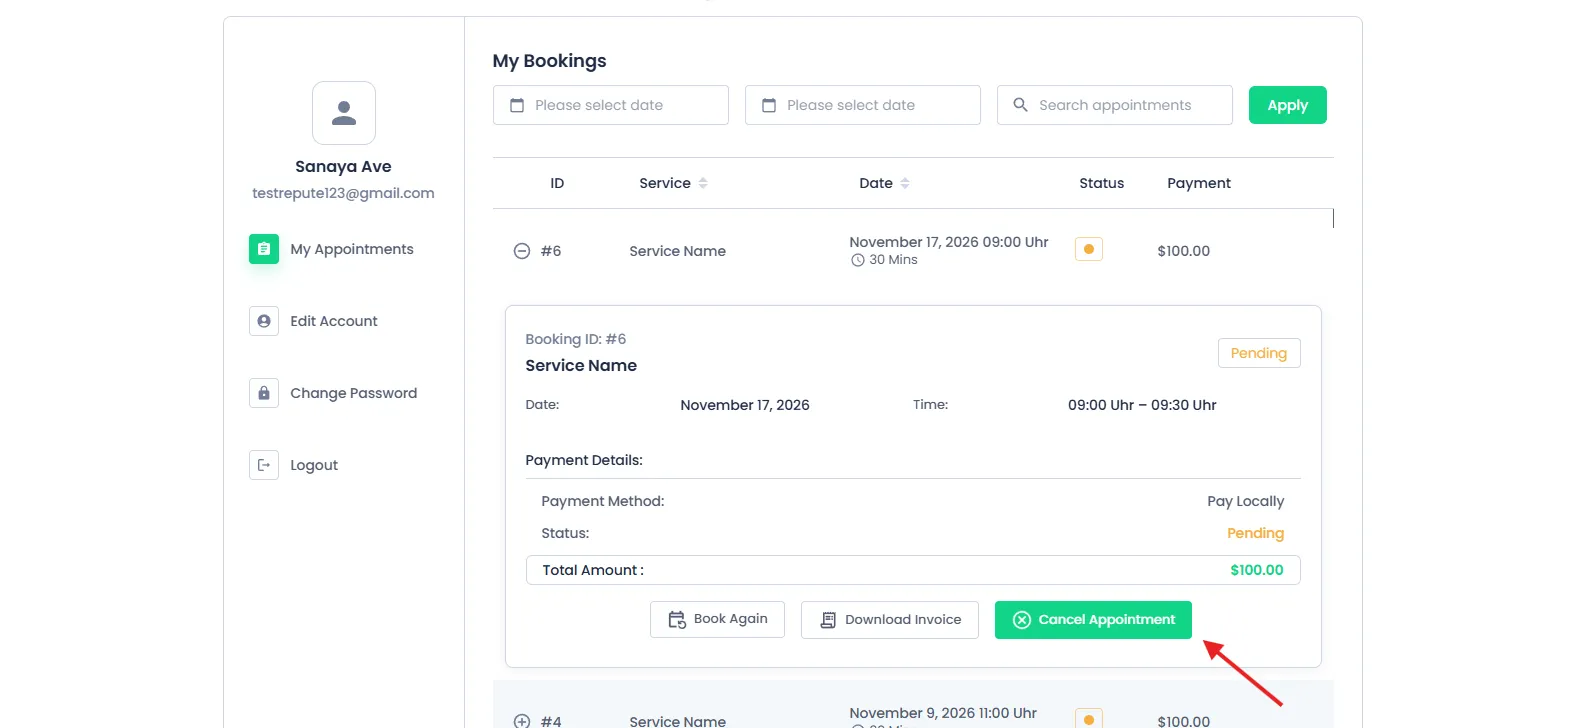
- Next, head back straight to your My Bookings section
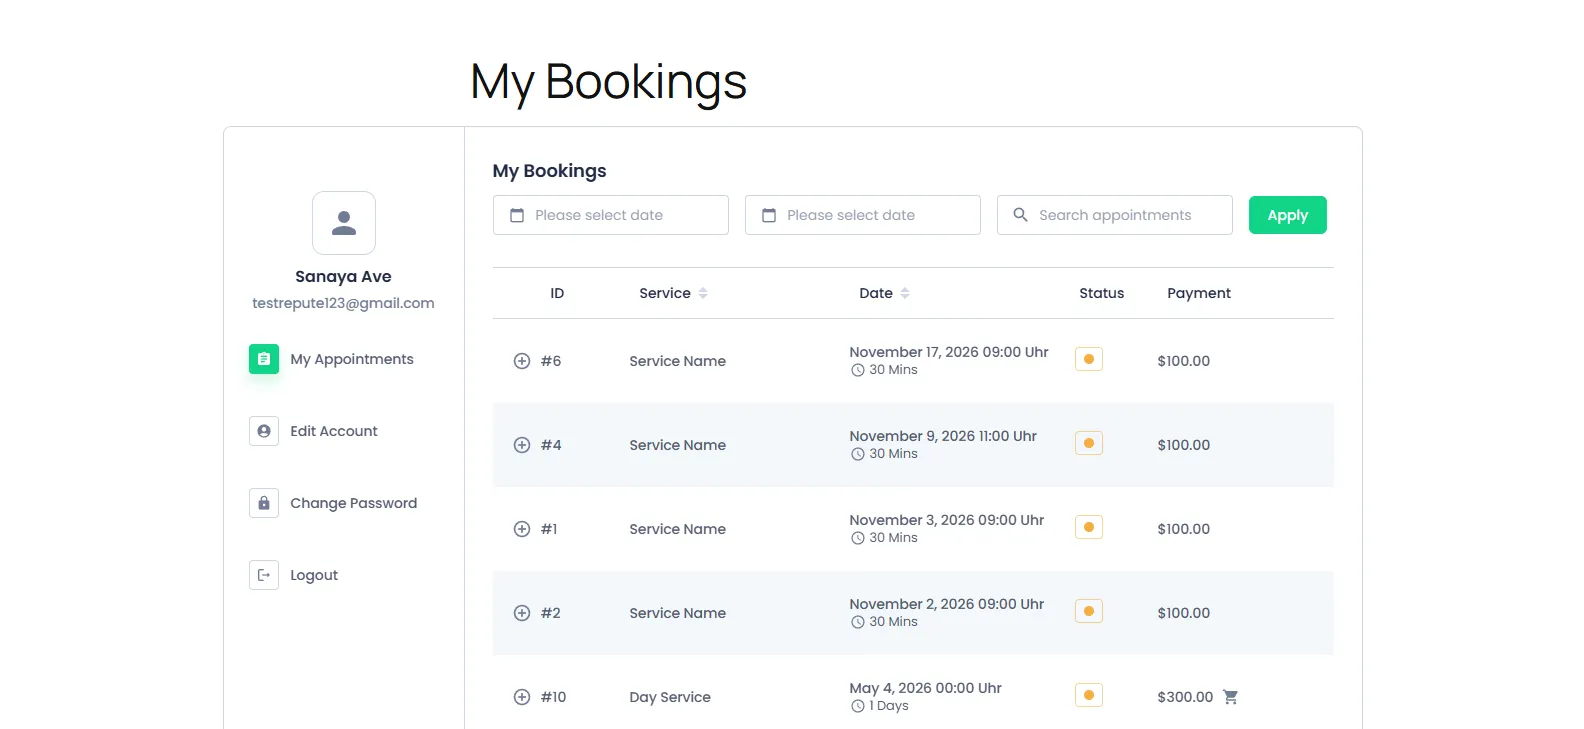
- Now tap on the appointment you want to cancel as a client.
- Find the Cancel Appointment button, click it, and confirm cancel appointment.
- Once you click on the “Cancel Appointment“, a confirmation popup will be shown to customers. Here, they can also give the reason for cancellation.
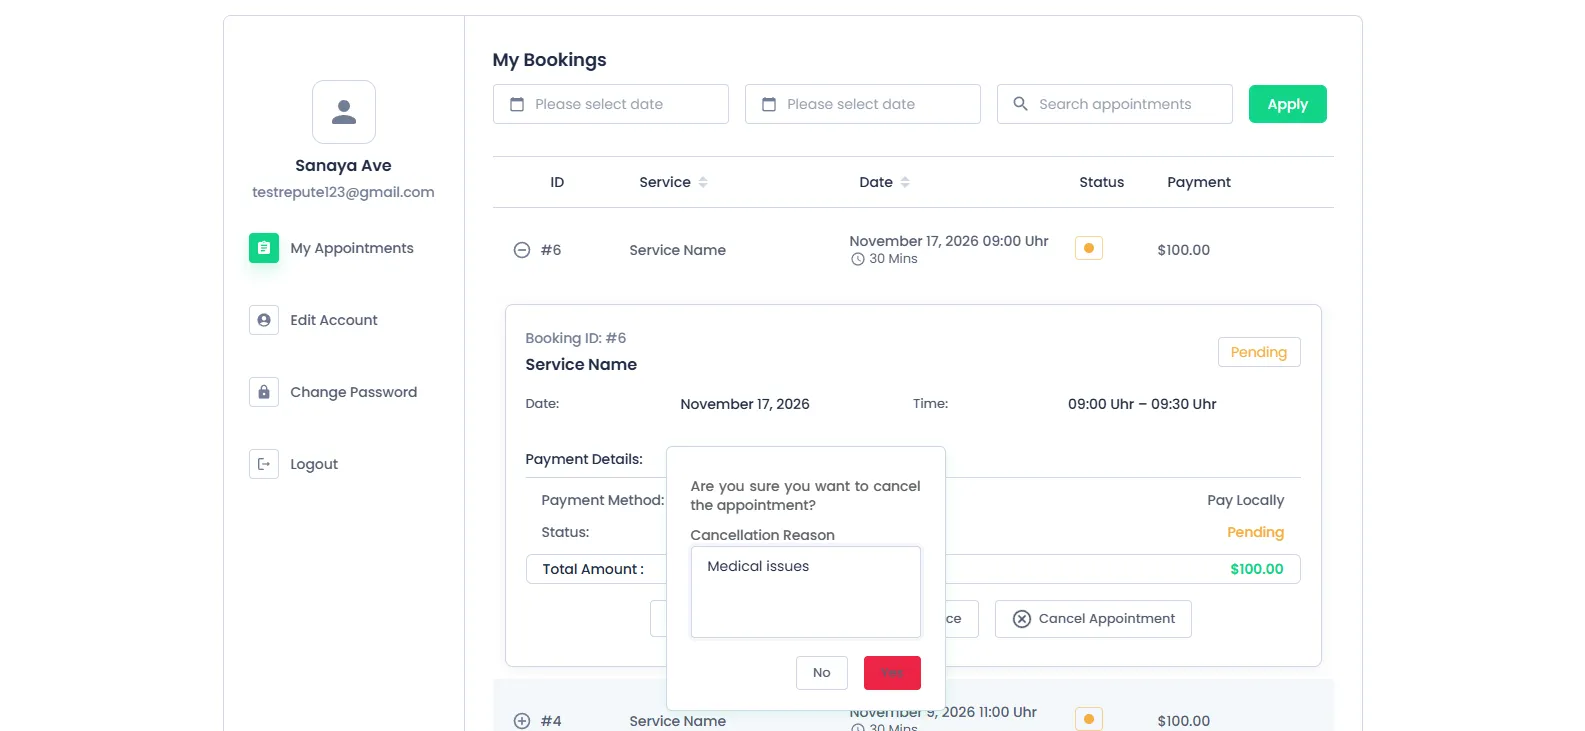
- After that, simply click on the “Yes” to confirm the appointment cancellation.
Option #2 – Cancel Appointment via Email Notification
The next simplest way to show an appointment cancellation option is by adding a cancellation link to your automated email notifications. This way, whenever a customer gets an automatic appointment confirmation or reminder email, they can use this link to cancel their booking right away.
This is so useful if a client books an appointment by mistake, and now wants to cancel quickly.
How to Enable
- Go to BookingPress → Notifications.
- Open the email template you want to edit (e.g., confirmation or reminder)
- Add the following placeholder:
%customer_cancel_appointment_link%
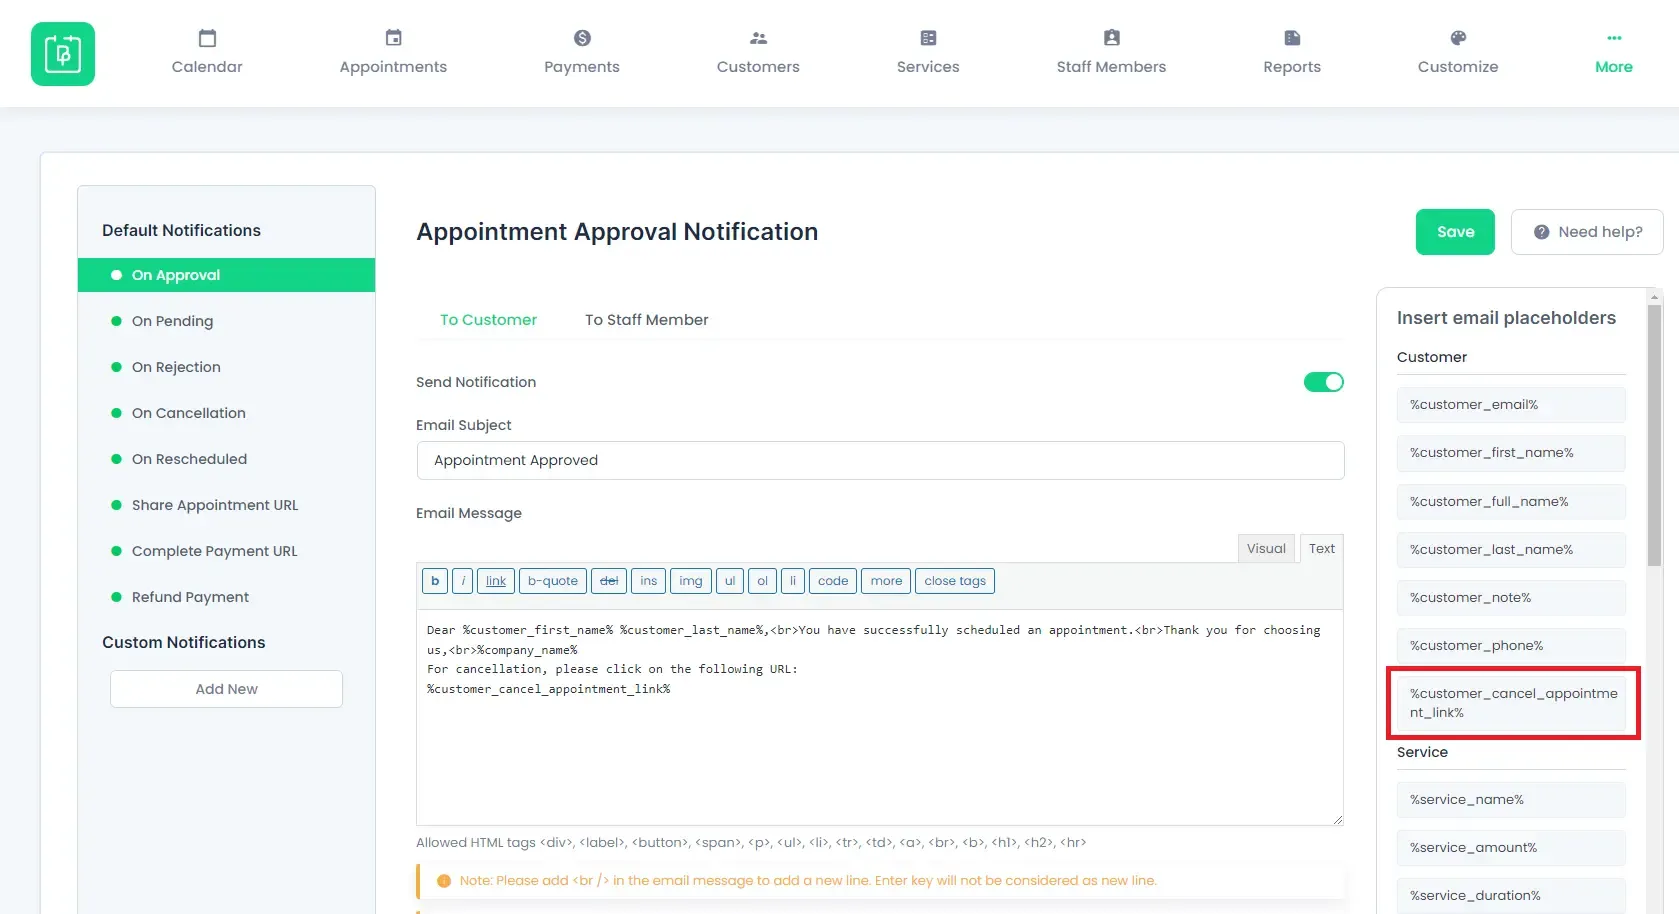
- Lastly, click on the “Save” button, and now your email cancellation link is ready.
Now a unique cancellation link is generated for each appointment. So, for cancelling an appointment, customers simply have to click the link in the email message, and they will be redirected to the cancellation page.
From there on, the appointment can be canceled in one click. (As discussed in the Option #1)
How to Cancel an Appointment from the BookingPress Admin page?
Administrators can manually cancel appointments directly from the BookingPress dashboard.
This is useful when a customer requests cancellation offline via phone call, email, or in-person. Also, if you have to manage bookings internally or handle last minute cancellation.
So, for such cases, here’s how to cancel an appointment from Admin side:
- First, go to the BookingPress → Appointments.
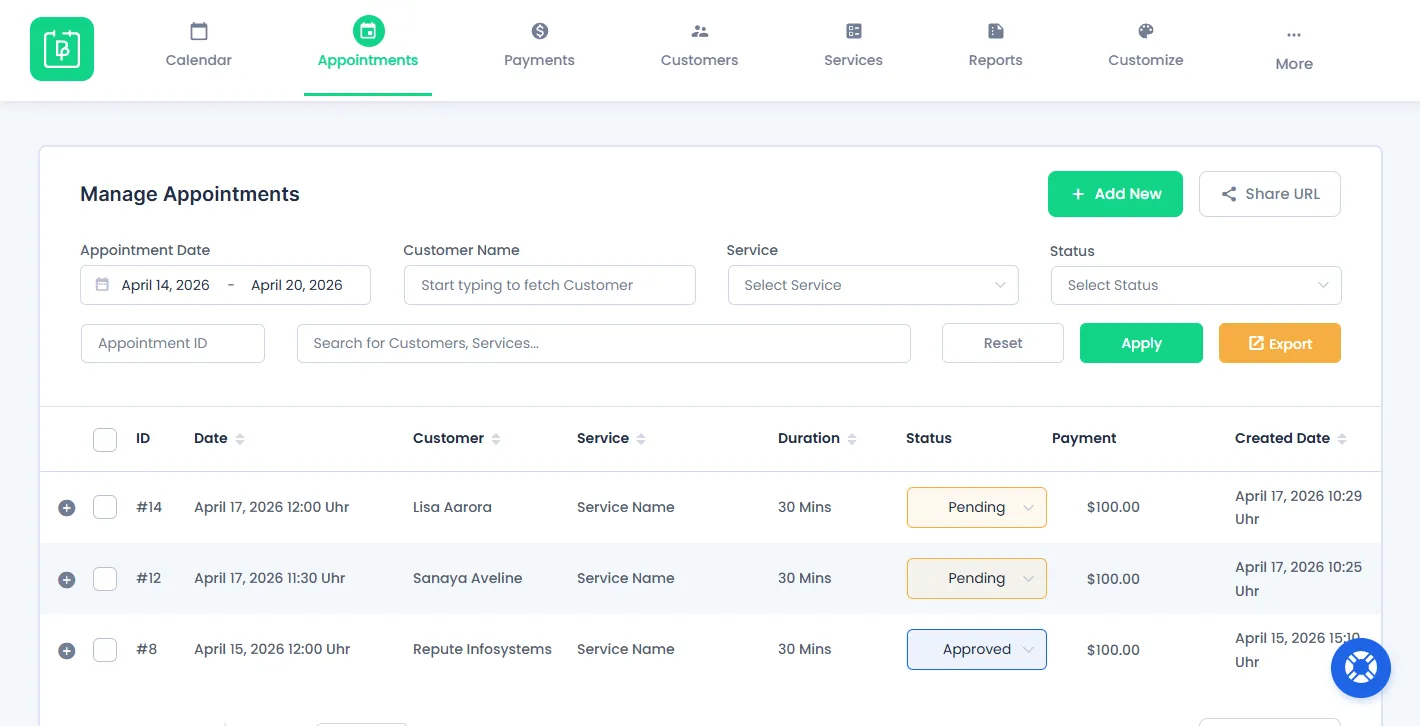
- Look for the appointment you want to cancel and change its status to “Cancelled“.
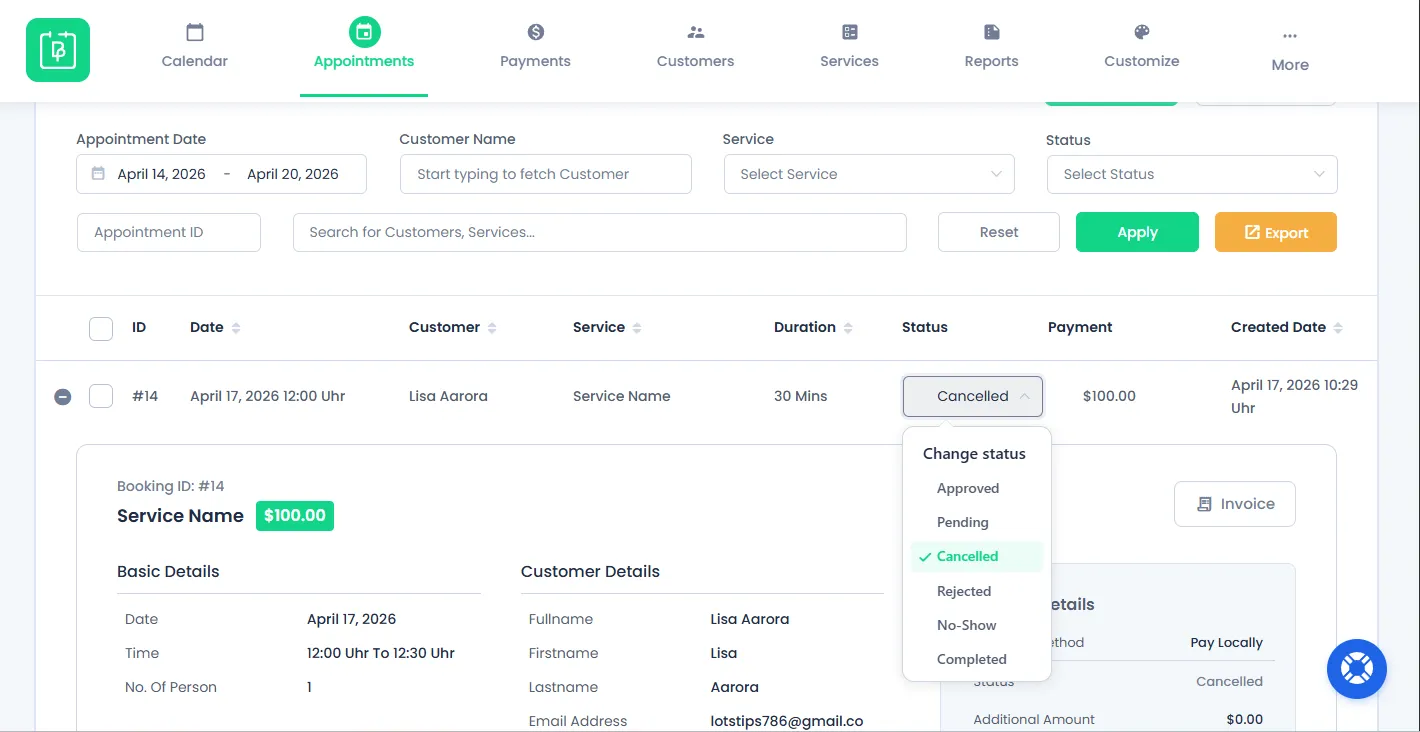
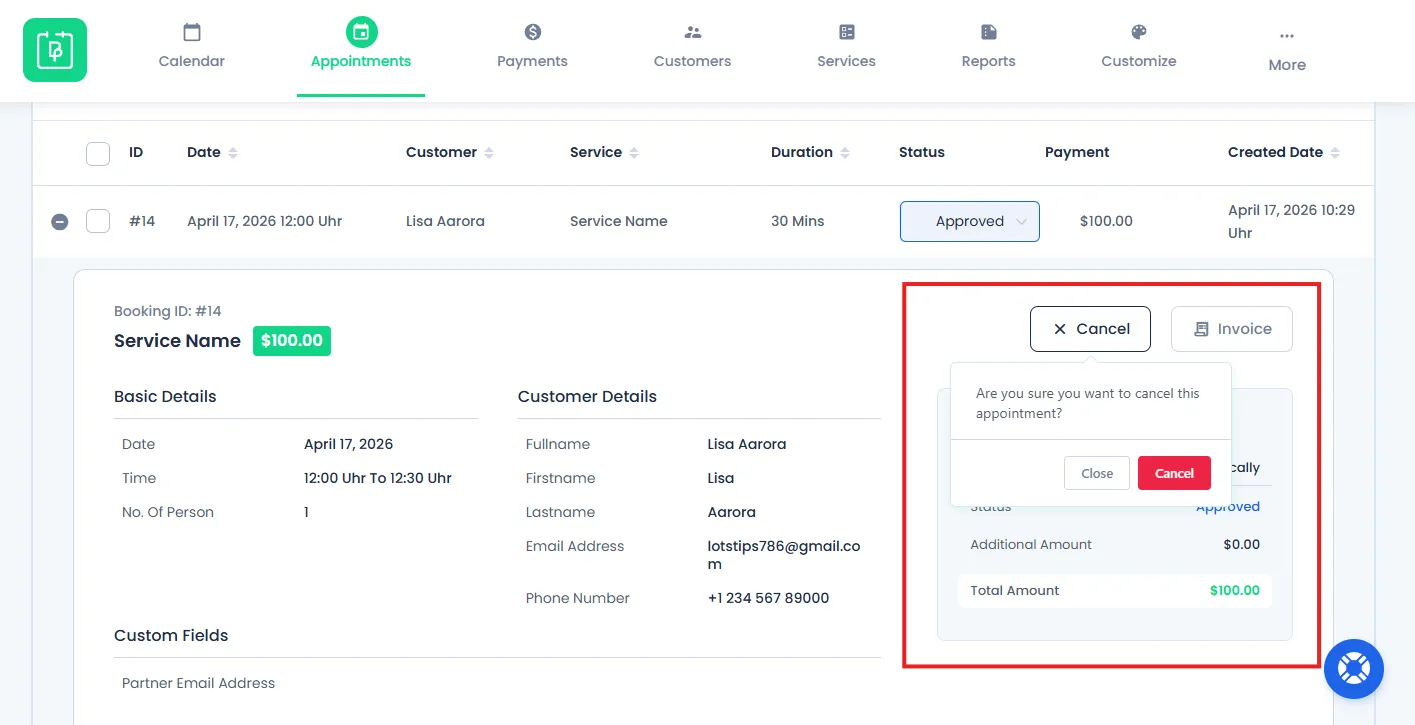
Or you can also hover over that specific appointment, click on it to view more details, and click on the “Cancel” option. It’ll ask you once for confirmation before finally cancelling it.
However, one more way to cancel an appointment from the admin page is directly from your BookingPress Dashboard. Just go to your BookingPress Dashboard and scroll down to see all upcoming appointments. You can also change the appointment status to “Cancelled” from here.
After an appointment gets cancelled:
- The appointment is immediately marked as canceled.
- The time slot becomes available again.
- Any related workflows (notifications, reports.) are updated as well.
In addition to these cancellation methods, you can configure how the cancellation process works and behaves.
Manage Appointment Cancellation Settings
You can define how late a customer is allowed to cancel an appointment.
There are two ways to set it. One is from General settings which applies to all appointments. The other is service level settings which apply to the specific service only (You decide which services).
General Settings:
- Go to BookingPress → Settings
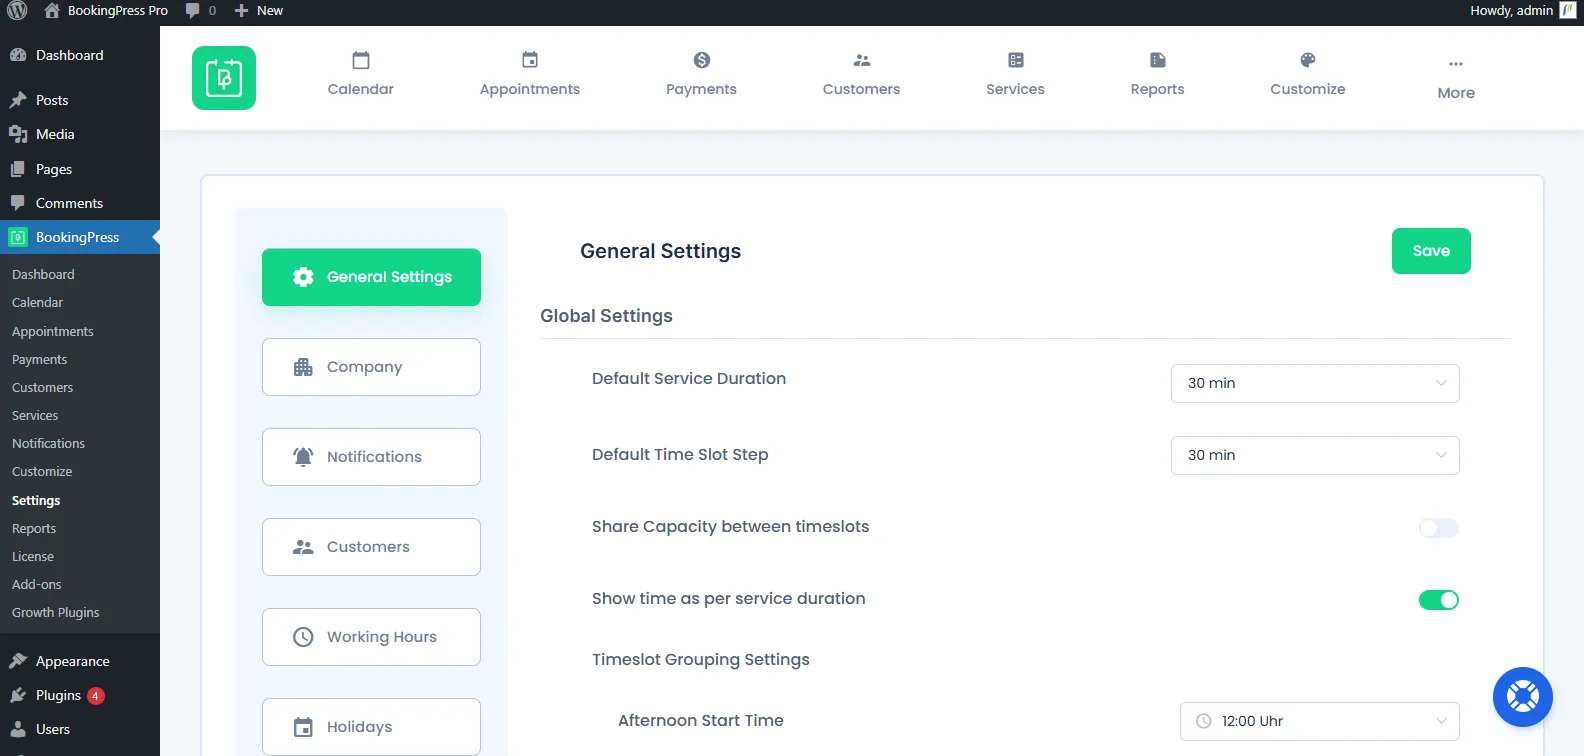
- Now scroll down to the Appointment Settings section.
- Under the Appointment Settings section. set the “minimum time required before cancellation”.
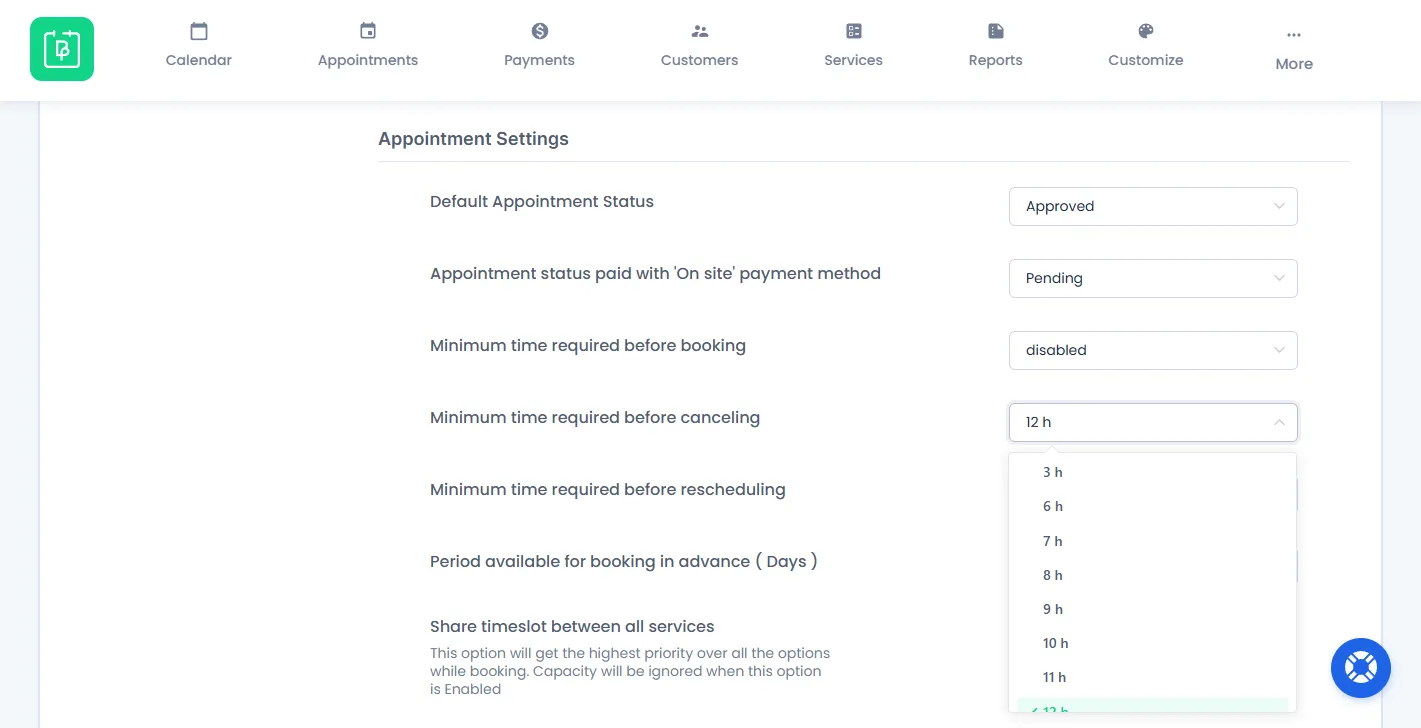
- After setting, click on the “Save” button at the top-right corner.
Service-Level Settings:
- Go to BookingPress→Services → Edit Service.
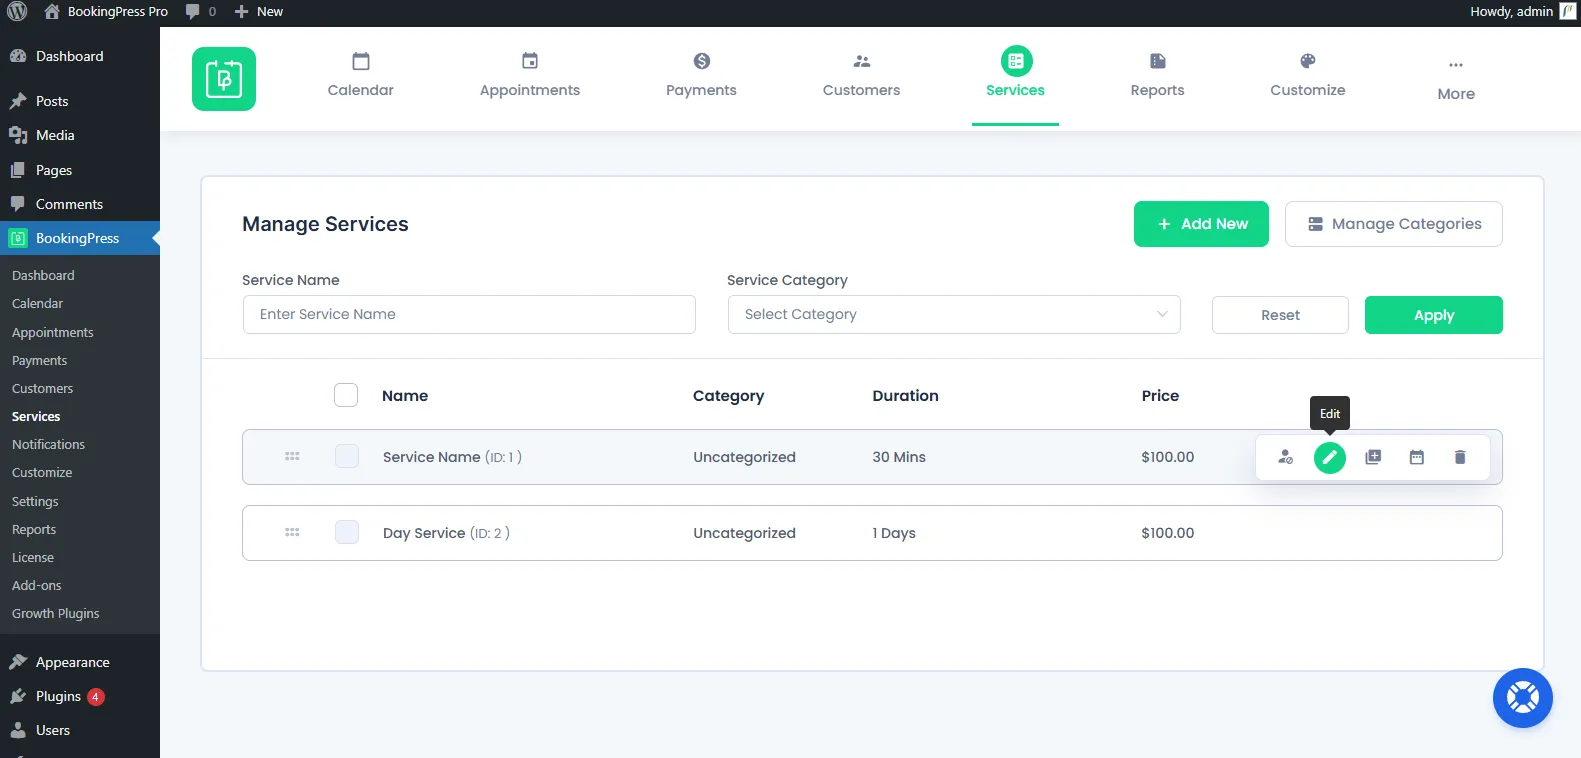
- Inside the Edit Service page, scroll down to the Advanced Options section.
- From here, you can configure the “Minimum time required before cancelling” for that specific service.

- By default the “Minimum time required before cancelling” will be set to “Inherit from general settings”.
- Lastly, don’t forget to save.
Best Practices
- Must show rescheduling option along with cancellation.
- Add cancellation links to all emails.
- Confirm cancellations with an email to avoid confusion.
- Share your cancellation policy clearly to set expectations – especially if you have taken a deposit or full advance payment.
Need a hand?
Our world-class support team is happy to help. Send us a message and we’ll take it from there.