Google Calendar Integration
Google Calendar Integration:
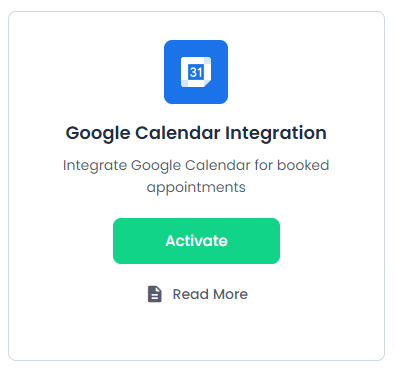
To get and Activate the Google Calendar Integration addon, please follow the below steps.
- First, login to the BookingPress Website, and you will be redirected to the My Account page.
- Now, click on the “Access Passes” link from the left menu panel.
- After going to the Access Passes, click on the “View your downloads” button.
- From the list, please look for the “Google Calendar Integration” add-on, click on the download button, and it will automatically start downloading the addon. After the download is finished, upload the downloaded zip file to WordPress just link any other WordPress Plugin, then install and activate the addon to use it.
Configuring Google Calendar Integration
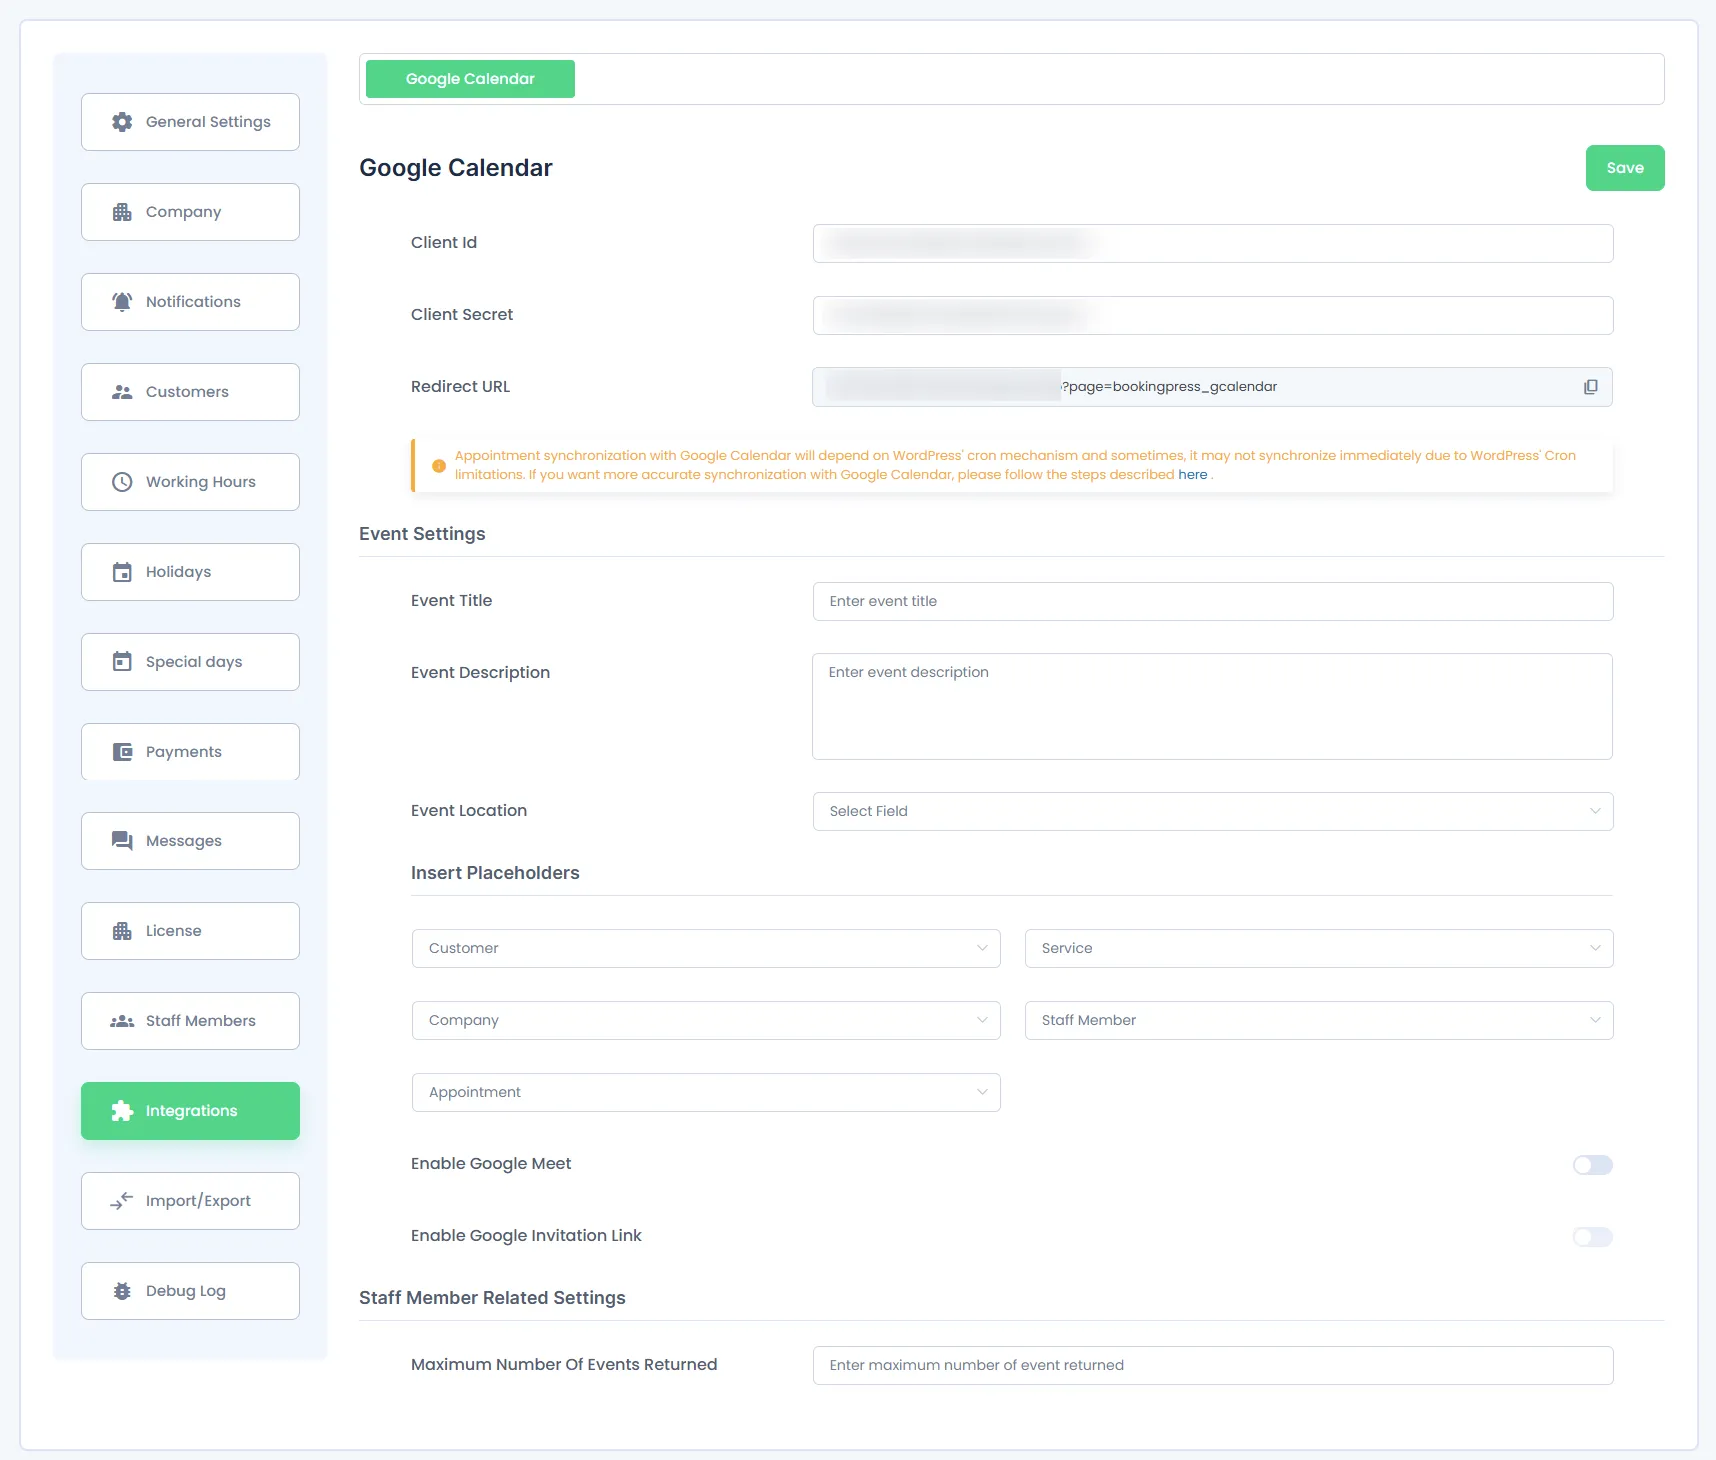
After activation, configure the integration:
- Navigate to
BookingPress > Settings > Integrations > Google Calendar. - Enter the Client ID and Client Secret obtained from Google Console.
If you do not have the Client ID and Secret then you can fetch the same by following the steps here.
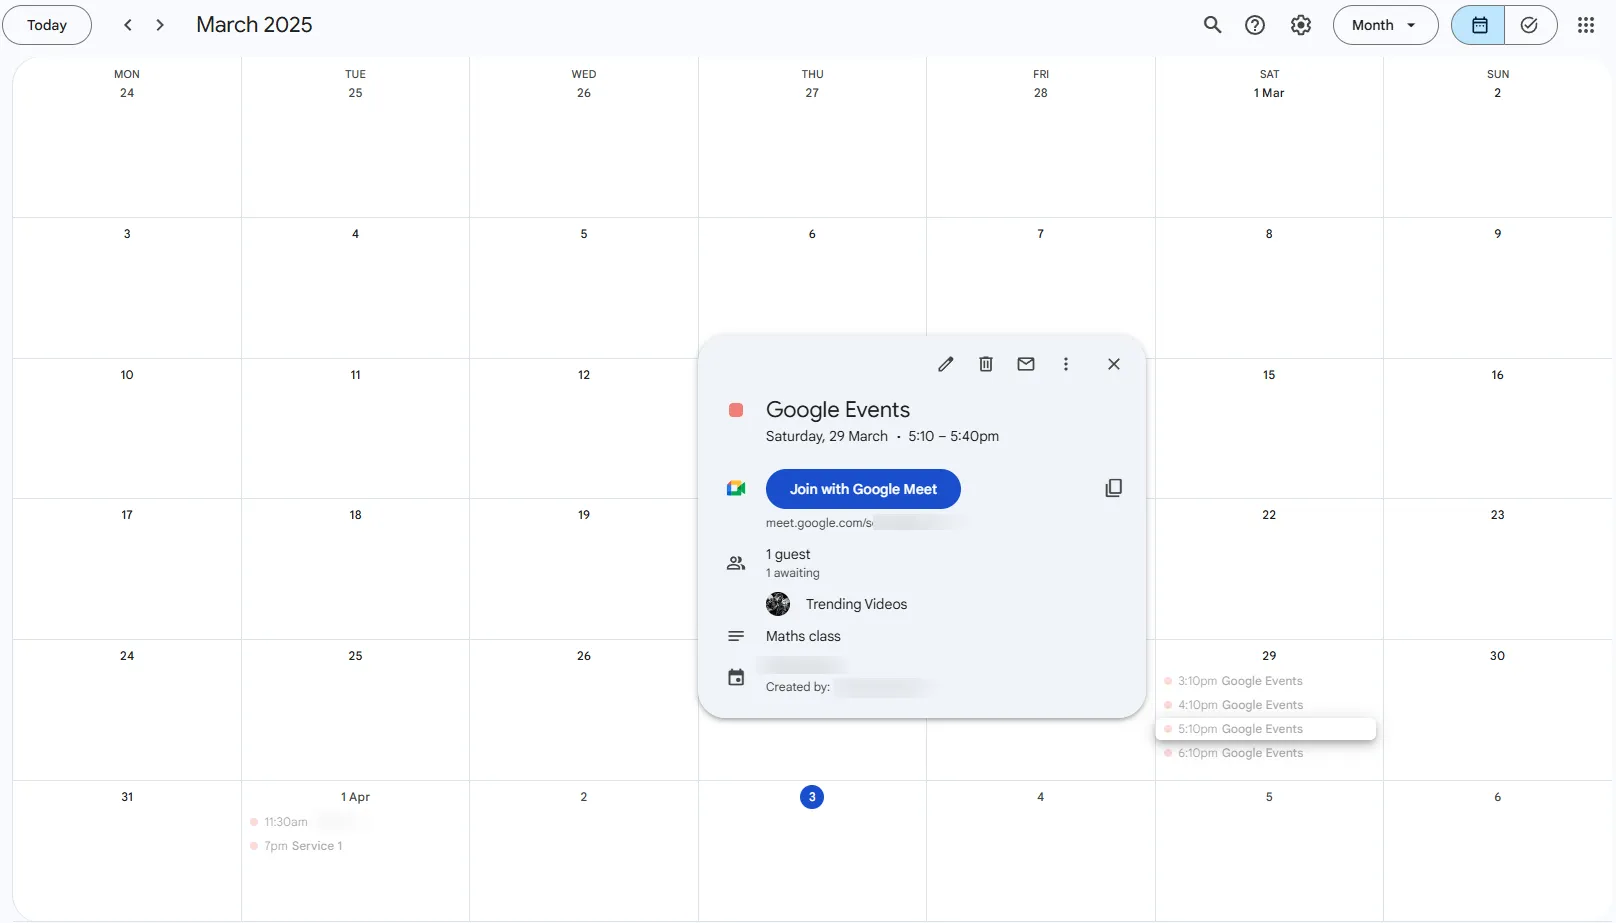
Google Calendar Sync
- When an appointment is booked, an event is created in the assigned staff member’s Google Calendar.
- Any busy timeslot in a staff member’s Google Calendar will be marked as unavailable in BookingPress to prevent double booking.
- Events in Google Calendar will display details such as Event Description, Title, Location, and Attendees (if Google Meet is enabled). Which can be configured in
BookingPress > Settings > Integrations > Google Calendar.
Note : Events are automatically created in the staff’s Google Calendar only. They are not added to the customer’s calendar unless they book using a Google email address.
Configure Google API :
- Add Client ID.
- Add Client Secret.
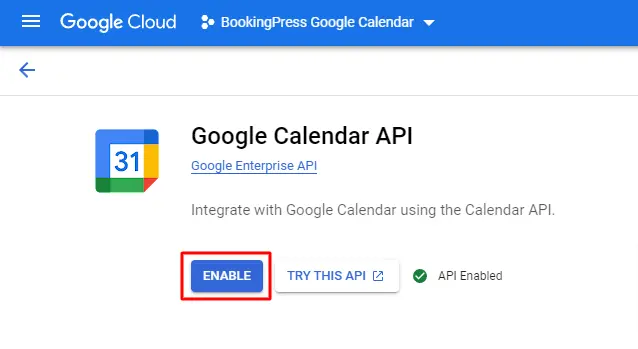
Enable Google Calendar API by following the steps given below.
- Go to the Google API Console and search Google Calendar API from the Library option.

To get Client ID & Client Secret please follow the steps given below.
- Go to the Google API Console
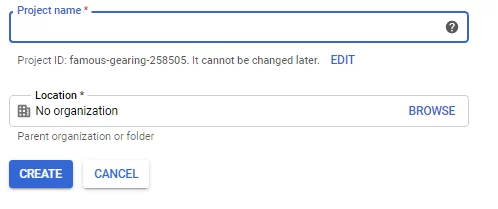
- From the project drop-down, select an existing project, or create a new one by selecting Create a new project.

- In the sidebar under “API & Services”, select Credentials, then select the OAuth consent screen tab. Choose an Email Address, specify a Product Name, and press Save.
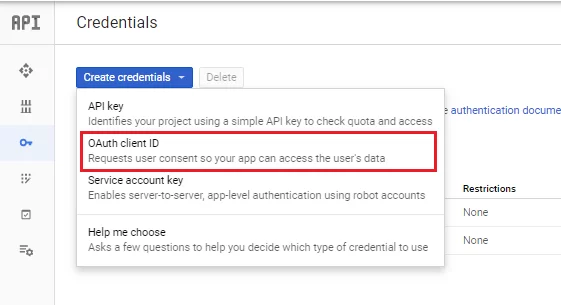
- In the Credentials tab, select the Create credentials drop-down list, and choose OAuth Client ID
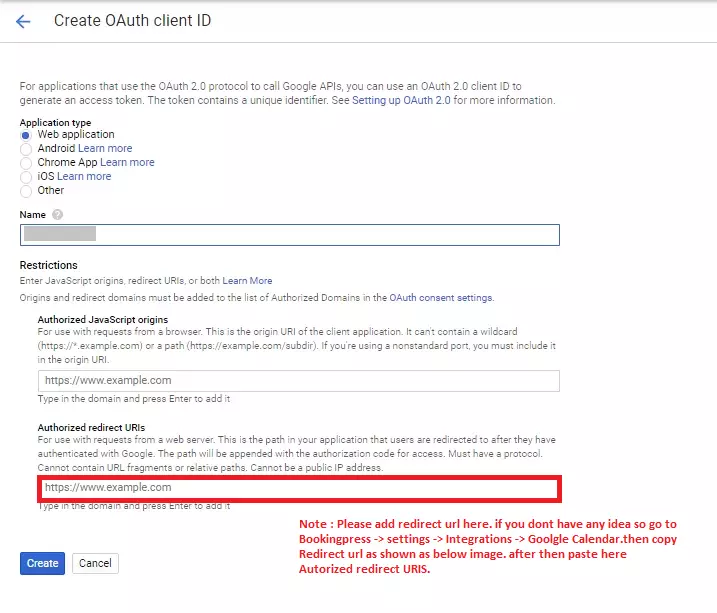
- Under Application type, select Web application. Register the origins from which your app is allowed to access the Google APIs, as follows, and set redirect URIs. An origin is a unique combination of protocol, hostname, and port.
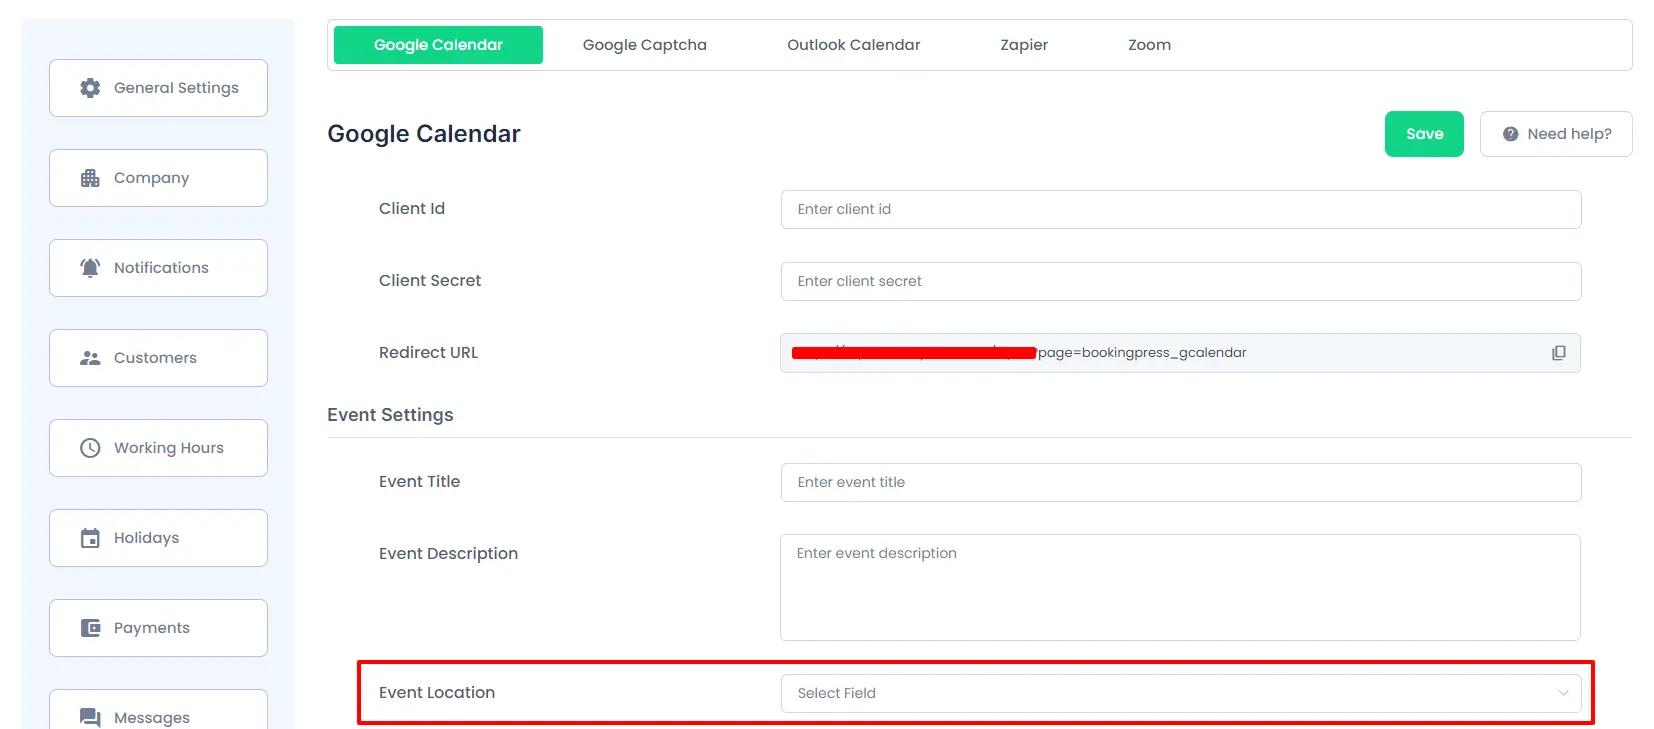
Event Settings:
Copy and Enter the title from placeholders from the “Insert Placeholder” dropdowns to generate the Event Title dynamically according to your requirement.
Event Description:
In the same way, you will also be able to write a custom description on your own with the help of the placeholders.
Event Location:
Here you will be able to choose a field from the list of fields that are present in the “Customize Custom Fields” section. After selecting a field from the list, when the user will submit the form and the data will be mapped as a location in the Google Calendar event configured with the respective Staff Member.
The details in the Google Calendar Event will be displayed in the location field
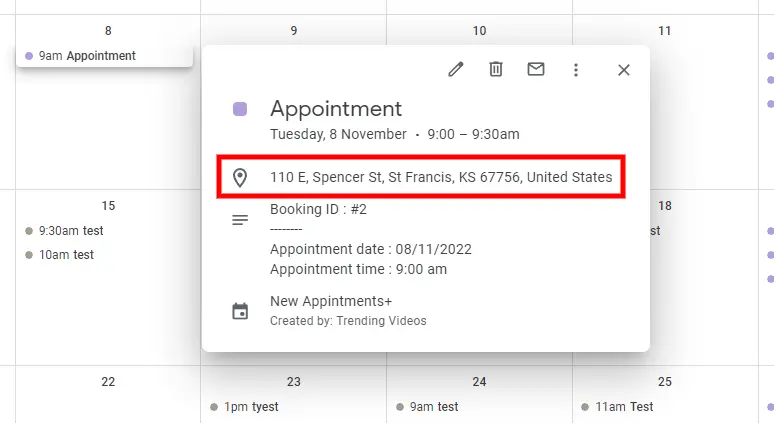
Note: If the service capacity is more than one then only the last booked/rescheduled/updated appointment location data will be stored in the Google Calendar event.
Note: Only busy events will be considered for blocking data and time in BookingPress Calendar
If you’re seeing the time difference between the booked appointment & calendar event, then please confirm that the WordPress timezone & Google Calendar timezone are correctly configured and matched
Integrating with the Staff Member
To connect with a staff member, go to BookingPress > Staff Members > Integration > toggle on the Google Calendar Integration and Sign In With Google options.
Once signed in, you will see all your calendar options in the Select Google Calendar dropdown menu. Choose the calendar where you want to add appointments.
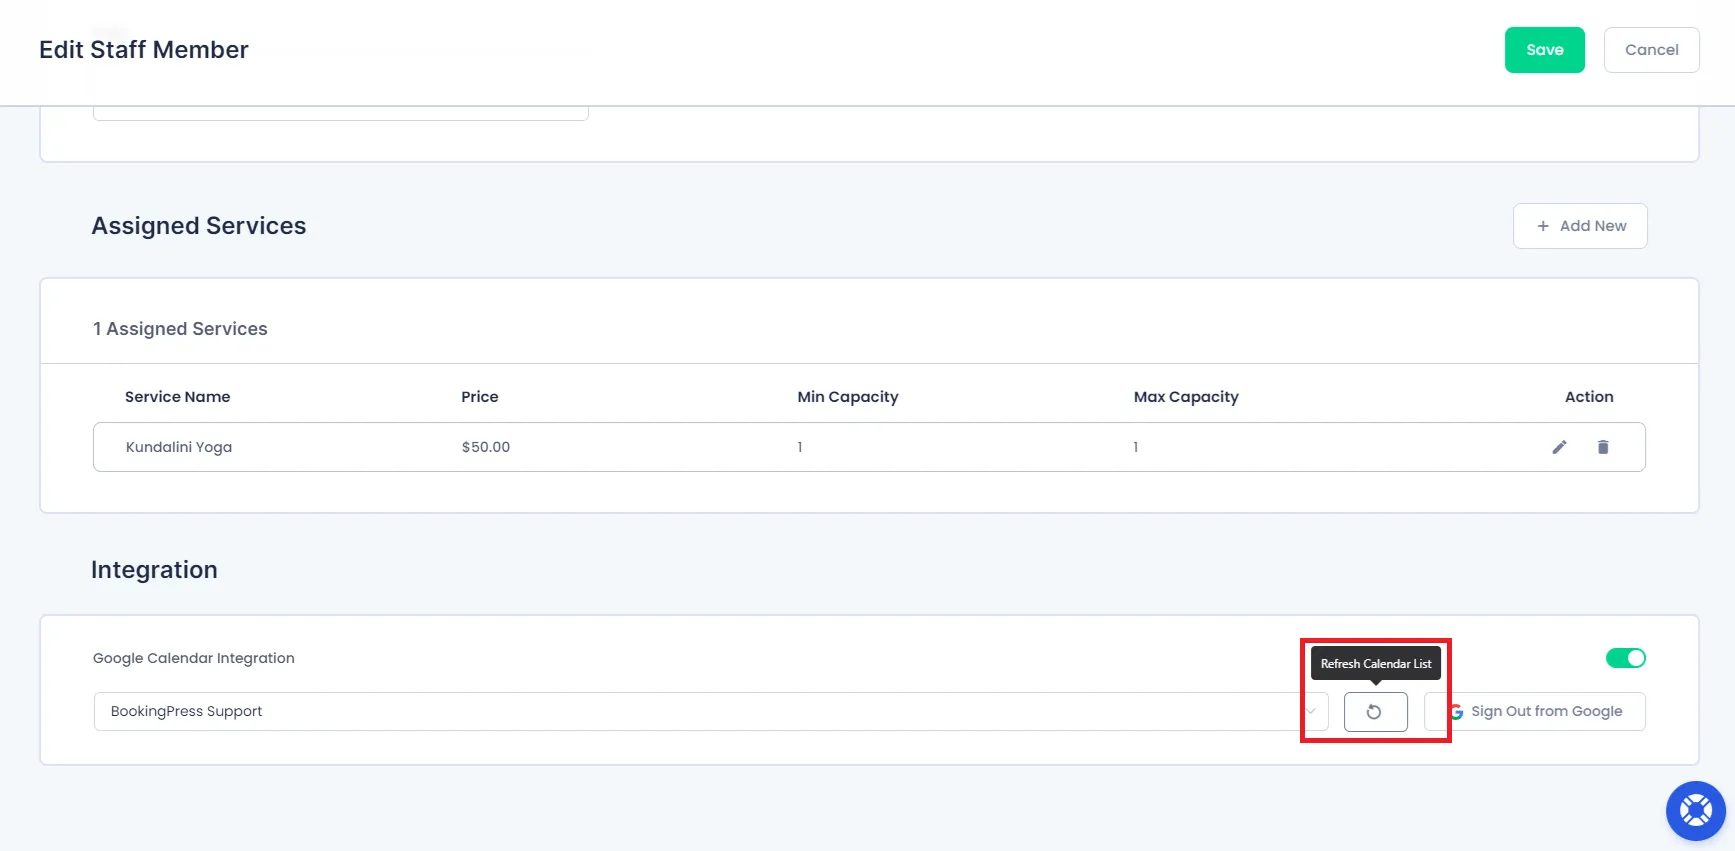
Refresh Google Calendar List
To refresh the list of calendars from Google Calendar, simply click on the “Refresh Calendar List” button. This will update the list as shown in the screenshot.
Insert Placeholders:
You will be able to select different required placeholders from different sections:
- Customer
- Company
- Service
- Staff Member
- Appointment
1. Customer:
-> Under customer section, you will be able to copy the following Placeholders:
%customer_email%: This placeholder will help to get the customer’s Email%customer_first_name%: This placeholder will help to get the customer’s first name.%customer_full_name%: This placeholder will help to get the customer’s full name.%customer_last_name%: This placeholder will help to get the customer’s last name.%customer_note%: This placeholder will help to get the customer’s note.%customer_phone%: This placeholder will help to get the customer’s phone number.
2. Company:
-> Under company section, you will be able to copy the following Placeholders:
%company_address%: This placeholder will help to get the Company’s address.%company_name%: This placeholder will help to get the Company’s name.%company_phone%: This placeholder will help to get the Company’s contact number.%company_website%: This placeholder will help to get the Company’s website.
3. Service:
-> Under service section, you will be able to copy the following placeholders:
%service_name%: This placeholder will help to get the Service’s name.%service_duration%: This placeholder will help to get the Service’s time duration.
4. Staff Member:
-> Under Staff Member section you will be able to copy the following placeholders :
%staff_member_email%: This placeholder will help to get the Staff Member’s email address.%staff_member_first_name%: This placeholder will help to get the Staff Member’s First Name.%staff_member_full_name%: This placeholder will help to get the Staff Member’s Full Name.%staff_member_last_name%: This placeholder will help to get the Staff Member’s Last Name.%staff_member_phone%: This placeholder will help to get the Staff Member’s Contact Number.
5. Appointment:
-> Under Appointment section, you will be able to copy the following placeholders :
%appointment_date%: This placeholder will help to get the particular date of the booked appointment.%appointment_date_time%: This placeholder will help to get the particular date and time of the booked appointment.%appointment_duration%: This placeholder will help to get the particular duration of the booked appointment.%appointment_start_time%: This placeholder will help to get the Starting Time of the booked appointment.%appointment_end_time%: This placeholder will help to get the Ending Time of the booked appointment.%appointment_amount%: This placeholder will help to get the particular Amount of the booked appointment.%appointment_status%: This placeholder will help to get the Status(whether approved, pending, rejected, etc…) of the booked appointment.%booking_id%: This placeholder will help to get the booking id of the booked appointment
Also, in the Appointment Placeholder section, you can also add the custom fields you have created which will be shown and can be selected under the “Advanced Fields” title.
Google Meet:
You will also be able to Enable Google Meet with a switch, which is integrated with the Integration. It may help if the event is an online meeting. Also, enabling this option, the event will be displayed dynamically in the user’s Google calendar for the particular appointment.
Add Google Meet Link in Email Notifications
To include the Google Meet link in your email notifications:
- Go to
BookingPress → Notifications. - Use the
%google_meet_url%placeholder in the notification content. - This will dynamically insert the generated Google Meet link into the email sent to the customer.
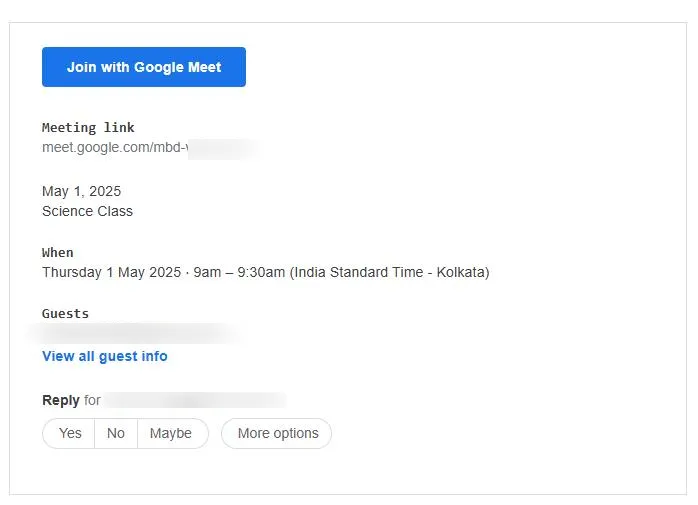
Google Invitation Link
- When this option is enabled, an automatic invitation link will be sent to users who book an appointment, including the Google Meet URL and event details.
- This ensures that attendees receive the meeting link without any manual intervention.
Note: You need to enable the Google Meet feature to enable this!
Note: The Google Meet invitation email is generated and sent by Google. It cannot be modified from BookingPress.
Staff Member Related Settings:
Under this section, you will get an option labeled as “Maximum Number Of Events Returned” from the Staff Member’s Google Calendar.
From this option, you can set the maximum number of events which will be returned from the Staff Member’s Google Calendar into the BookingPress calendar. These events will not be reflected anywhere except to the available time slots in your BookingPress website Calendar.
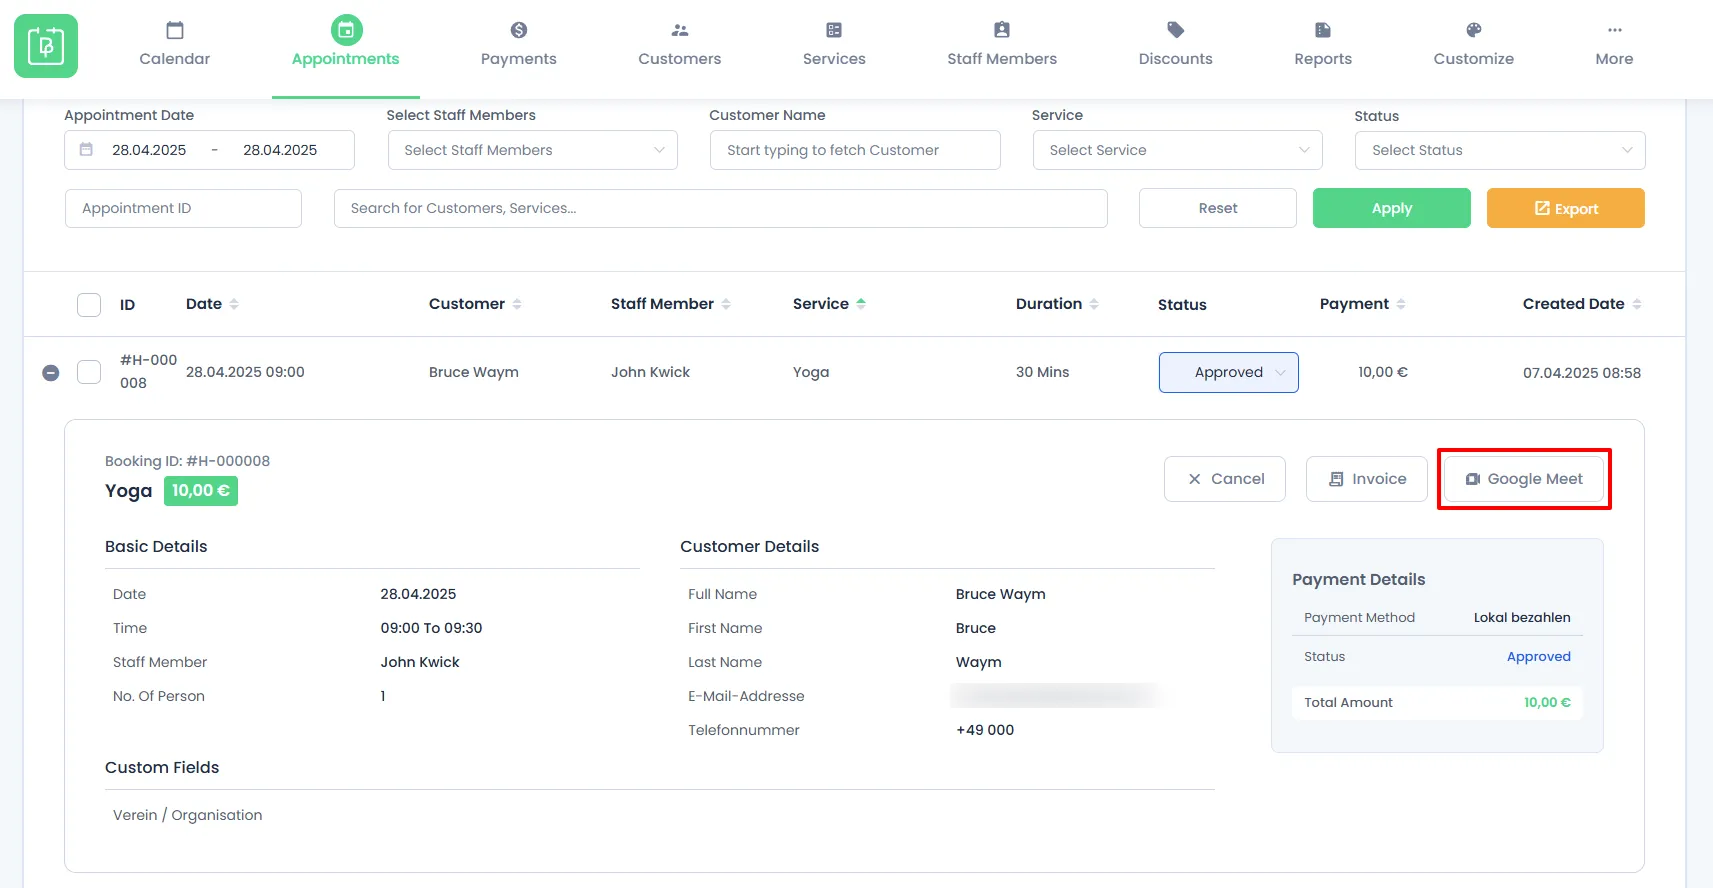
Accessing Google Meet Events in BookingPress
Once appointments are booked and approved:
- The admin and the Staff member both can see the appointment under
BookingPress → Appointments. - A Google Meet icon will appear if enabled. Click it to launch the meeting.
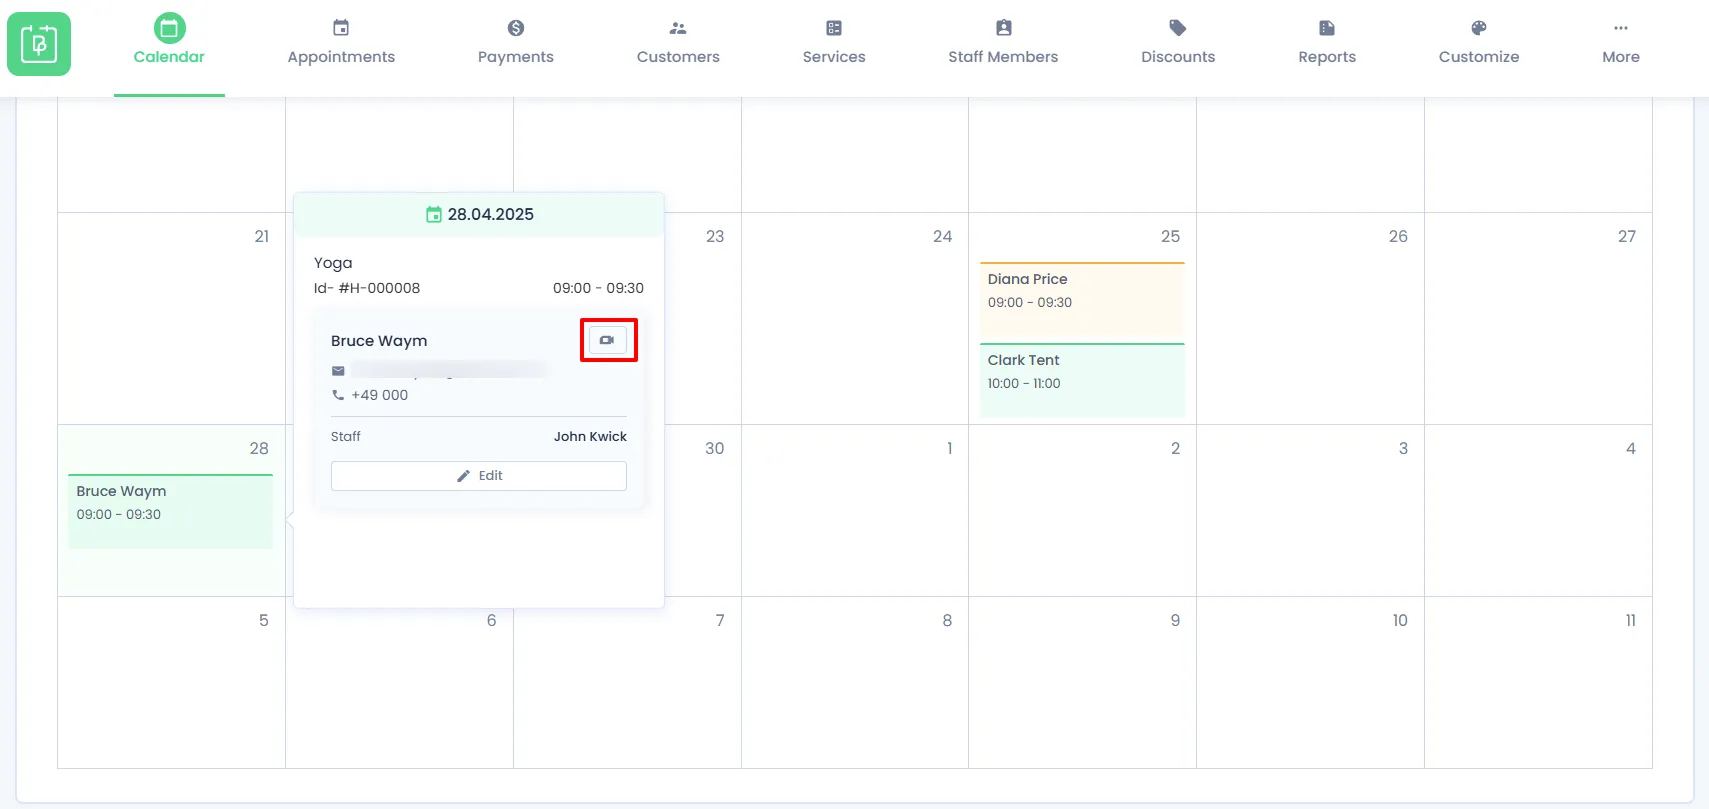
- Google Meet icon will also appear in the
BookingPress → Calendarview (Admin & Staff dashboards).
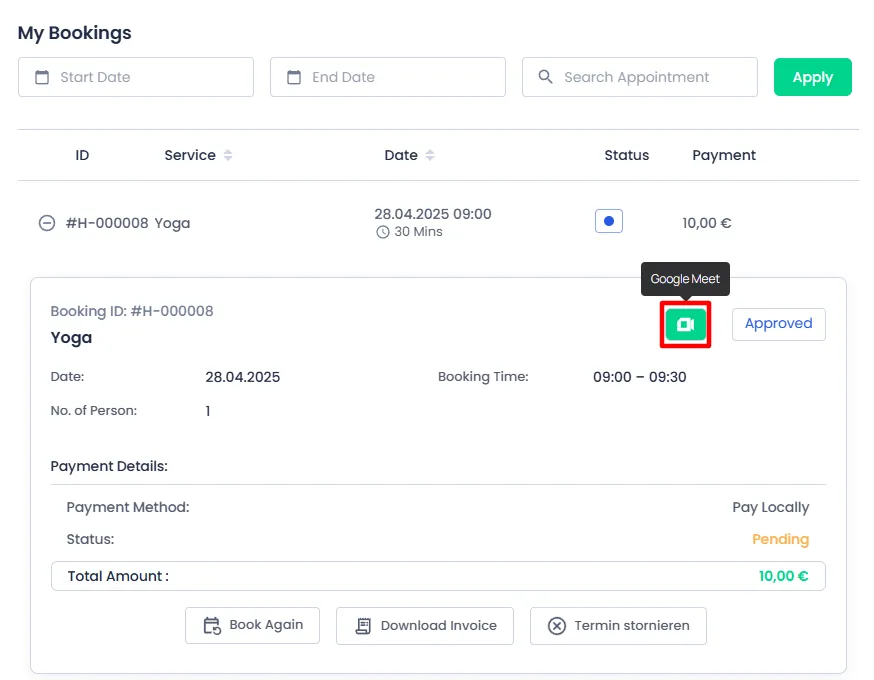
Customer Access to Google Meet
Customers can also view and join their Google Meet sessions directly from the Customer Panel. Once an appointment is booked and approved—and Google Meet is enabled —a Join Google Meet button will appear alongside the appointment details. Customers can simply click the button to join their scheduled online meeting.
FAQ’s
➤ The appointment date and time do not match in Google Calendar.
Ensure that the timezone settings in Google Calendar match those of your WordPress site. To do this:
1. Check your Google Calendar Timezone and then head over to WordPress settings.
2. Locate the timezone settings by heading over to WordPress –> Settings –> General –> Scroll down to Timezone and set it to match the timezone of your Calendar.
3. Save the changes, and the appointment date and time should synchronize correctly.
➤ App not verified properly, failure to fetch or frequently expiring refresh/access token error
Confirm that you’ve set the Project type to ‘External’ during app verification. The ‘Internal’ Type of Project isn’t available for the verification process. To ensure proper verification:
1. Watch our short video guide demonstrating the process here.
2. Follow the steps outlined in the video to set the ‘External’ Type for the Project, enable APIs, set the necessary Scopes, and submit the app for verification.
Add this scope for your integration
- auth/calendar.calendarlist.readonly ( Listing of calendars )
- auth/calendar.events ( See, List, Edit, and remove calendar events )