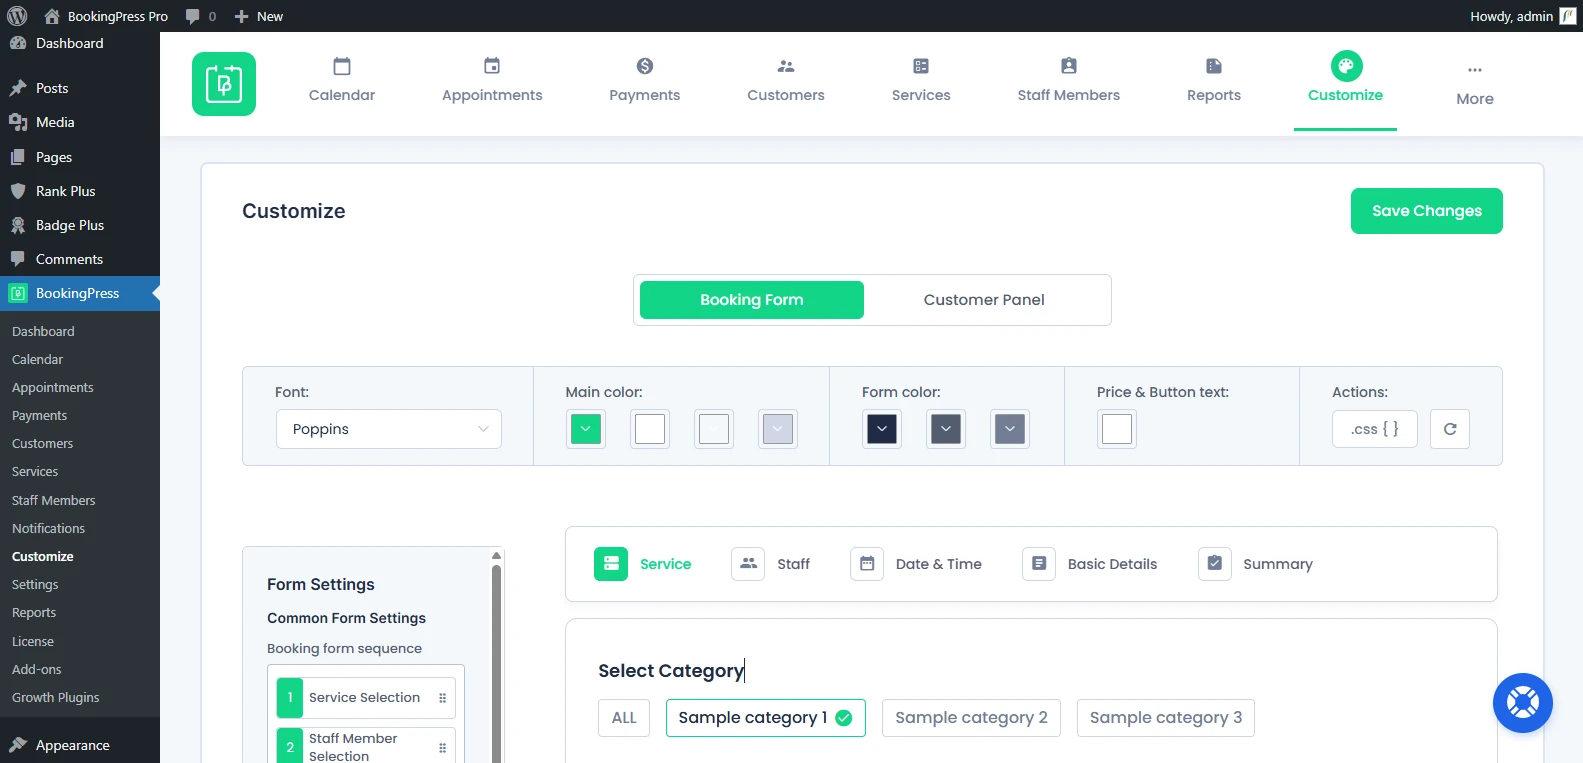
Customize Booking Form
One of the standout features of BookingPress is that it allows you to fully customize your booking form’s design, layout, and labels without writing a single line of code (though you can always tweak things further with custom CSS option).
In this guide, we’ll cover form styling, layout customization, booking flow settings and label editing

What Can You Customize in the Booking Form?
Reach to the BookingPress → Customize → Booking Form and you’ll be able to fully control:
- Form Design (colors, fonts, styling)
- Form Structure (steps, visibility, flow)
- Labels & Text (button text, step names, messages)
This way you can create a booking experience that is both user friendly and brand consistent.
Booking Form Design Settings
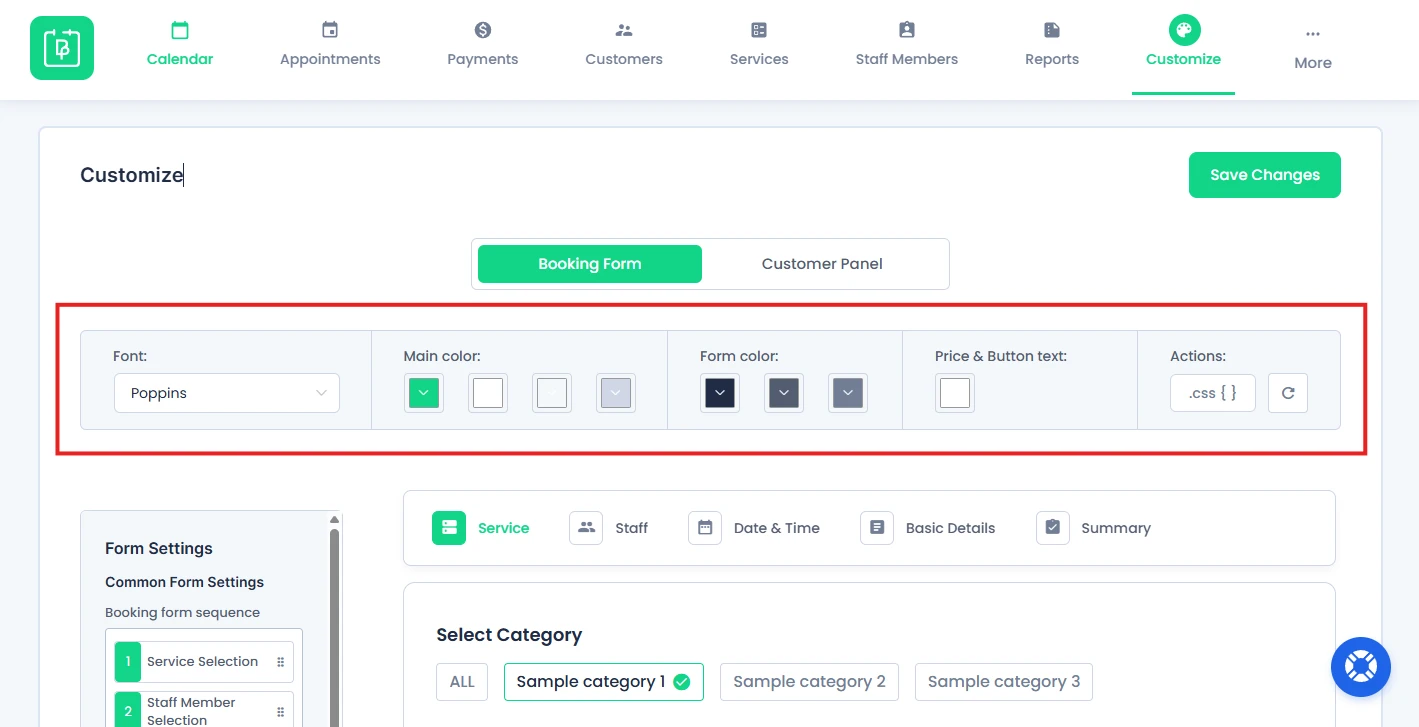
Inside the BookingPress → Customize → Booking Form, you’ll have complete control over the visual appearance of your booking form.
Here, you can set:
1. Font
Choose the best font style that matches your WordPress site and brand’s style. Style your booking form text from here.
2. Main Color
Set the main colors of the booking form from here:
- Primary color.
- From background color.
- Panel background color.
- Border color.
3. Form Color
Customize different UI states from here such as:
- Title color.
- Sub Title Color.
- Content Color.
4. Price & Button Text
Control the font color of:
- Service price.
- Submit button.
5. Action
- Add Custom CSS.
- Reset form to default styling.
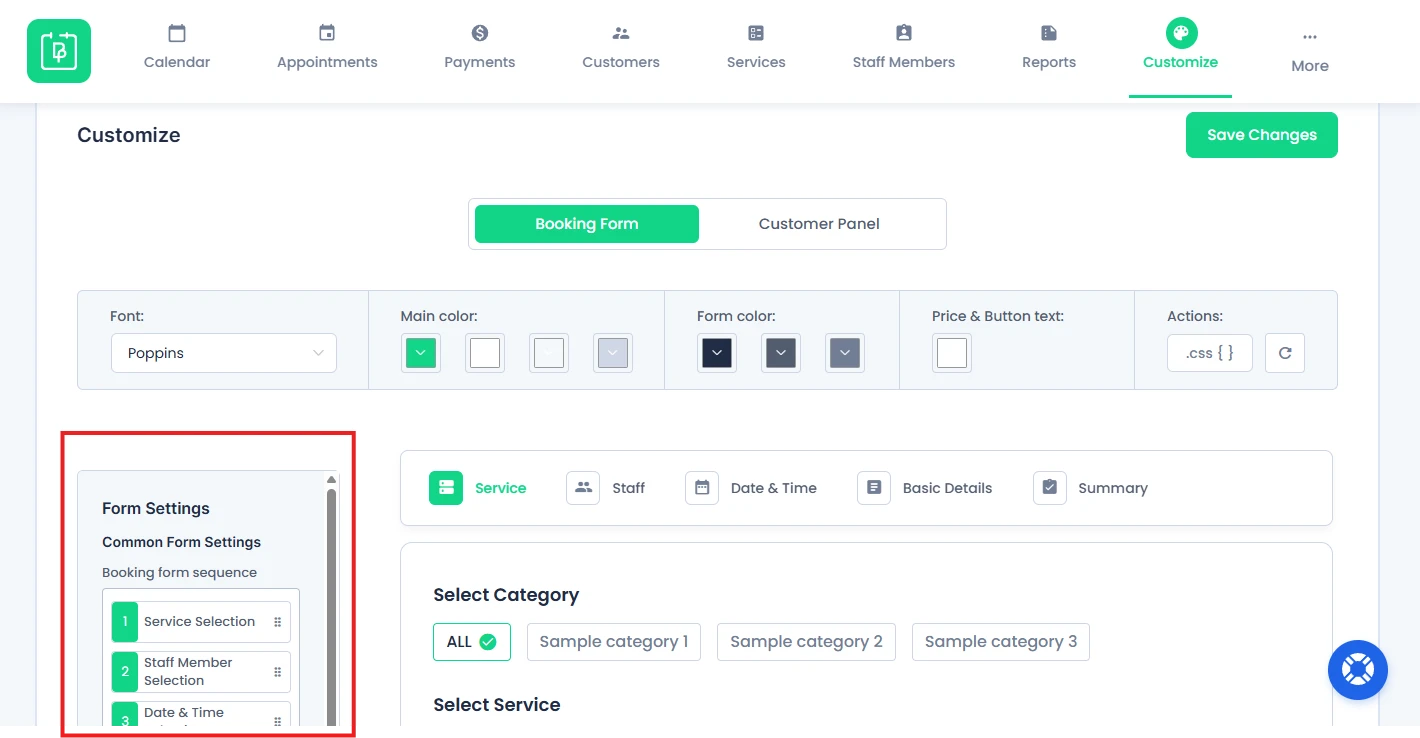
How to Customize Booking Form Layout and Steps
You can customize your BookingPress booking form layout and steps from the left panel named “Form Settings” on the left side panel of BookingPress → Customize → Booking Form.
1. Control Visibility
First of all, decide what your visitors or clients will be able to see on the booking form.
After deciding, you can easily show or hide the following with just a simple toggle:
- Under Service Step Settings:
- Service selection step
- Service duration
- Service price
- Date & Time Step Settings:
- Booked time slots
- Time slot grouping
- Capacity information
- Staff Member Step Settings:
- Staff member selection
- Staff Member Bio
- Staff Member Information
2. Booking Form Flow
This option is under the Common Forms Settings. BookingPress allows you to set the flow of your booking form.
From Pro version 4.5+, you can rearrange:
- Service
- Staff Member
- Date & Time
Use “Booking form sequence” for setting up the selection order the way you want like:
Staff → Service → Date and TimeService → Staff → Date and TimeService → Date and Time → Staff MemberStaff → Date and Time → Service
Expert Insights: Use Staff-first flow for service businesses with dedicated experts. And use Service-first flow for multi-service platforms.
However:
- Date & Time cannot be the first step.
- It requires service or staff data.
Booking Flow Limitations You Must Know
Some configurations affect feature compatibility.
1. If Service Step Comes After Date & Time
These features may not work:
- Recurring Add-on
- Custom Service Duration
- Multiple Quantity
- Service Extras (with duration)
- Services with duration in days
Other limitations:
- Only start time is shown.
- “Show time as per service duration” won’t work.
- Happy Hour notes won’t show.
2. If Staff Step Comes After Date & Time
- The staff selection step cannot be hidden.
3. If Location Add-on is First Step
- Date & Time cannot be placed immediately after it.
3. Booking Wizard Tabs Position
This option is under the Common Forms Settings. Booking wizard can be placed on:
- Top.
- Left.
4: Enable Search box
This option is under the Common Forms Settings. Toggle it on to add search feature for
- Service Step
- Staff Member Step.
- Location Step.
Other Form Settings in Booking Form
Service Step Settings
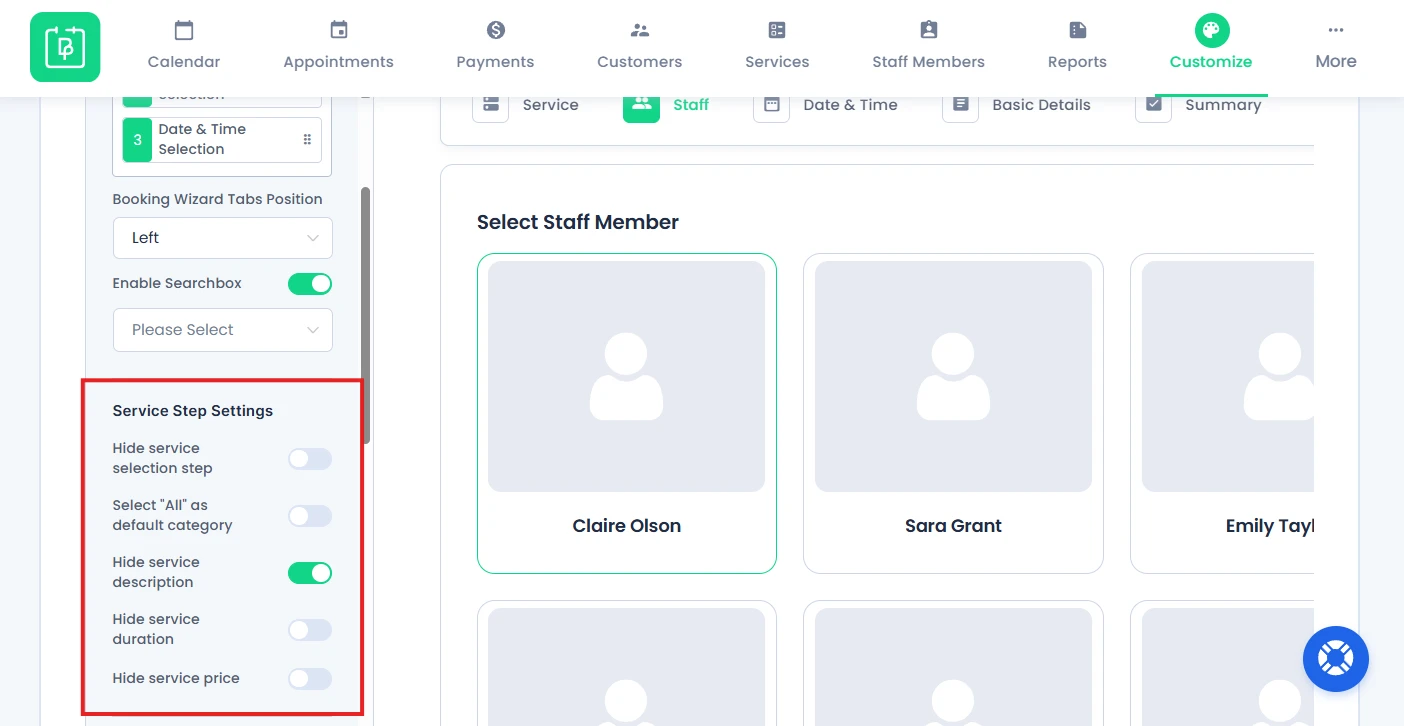
Control how services appear in booking form:
- Hide service selection step.
- Set “All” as default category.
- Hide service description.
- Hide service duration.
- Hide service price.
Date & Time Step Settings
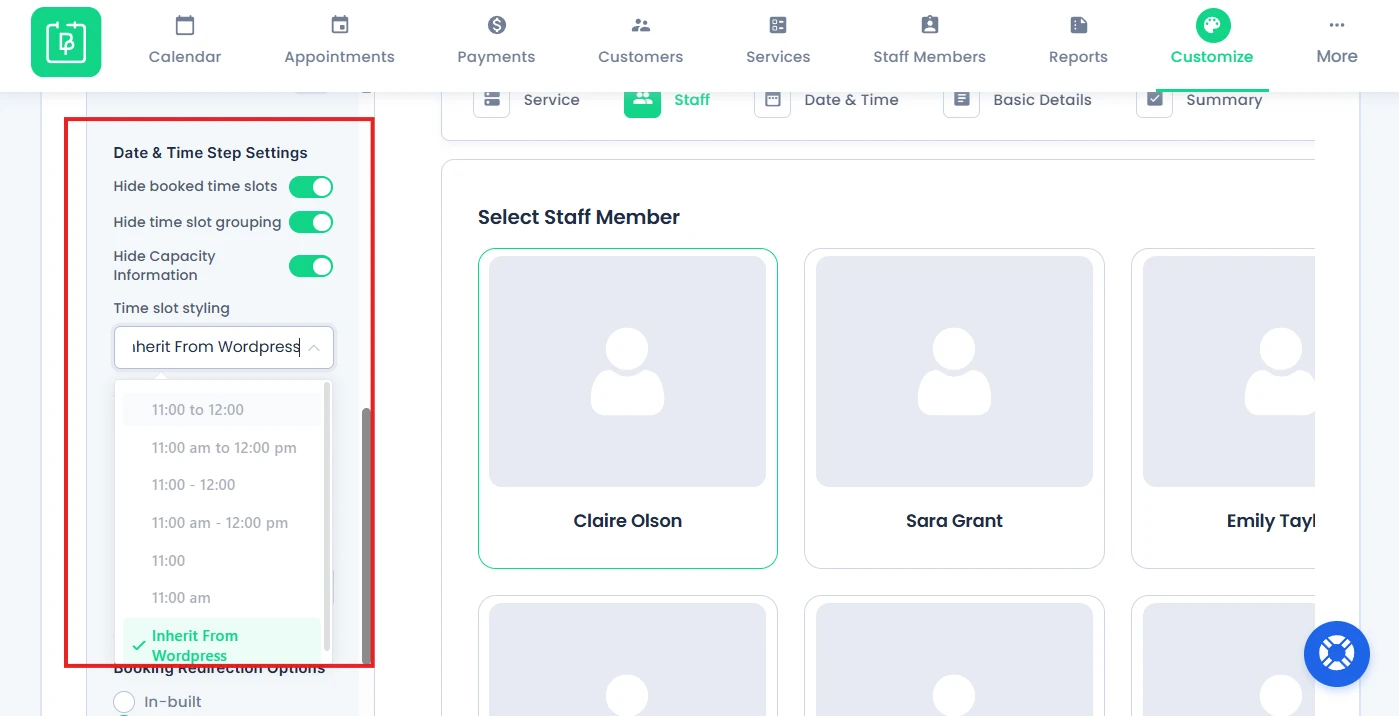
Customize time slot display:
- Hide booked time slots.
- Hide time slot grouping.
- Hide capacity information.
- Customize time slot styling.
Staff Member Step Settings (Only appears if Staff Member Addon is activated)
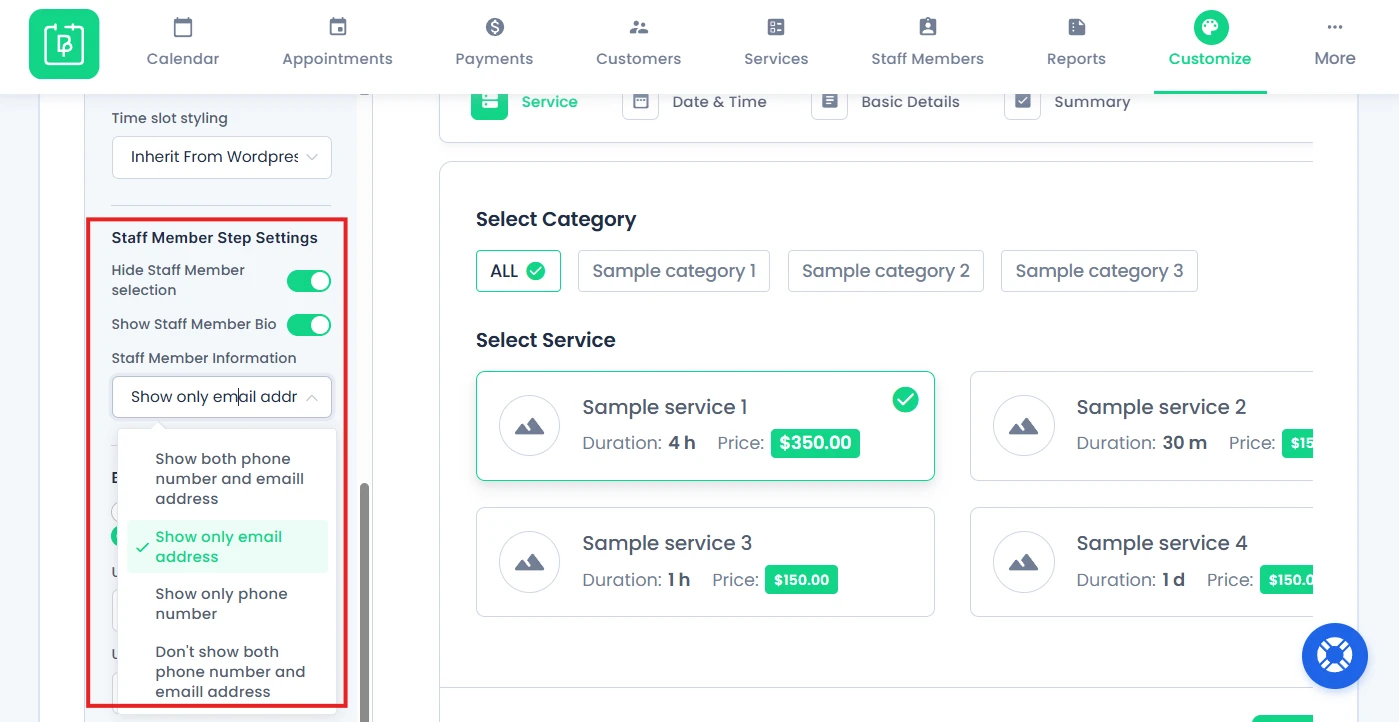
Customize how Staff members selection works:
- Hide Staff Member selection
- Show Staff Member Bio
- Staff Member Information:
- Show both phone number and email address.
- Show only email address.
- Show only phone number.
- Don’t show both phone number and email address.
How Does Booking Redirection Work?
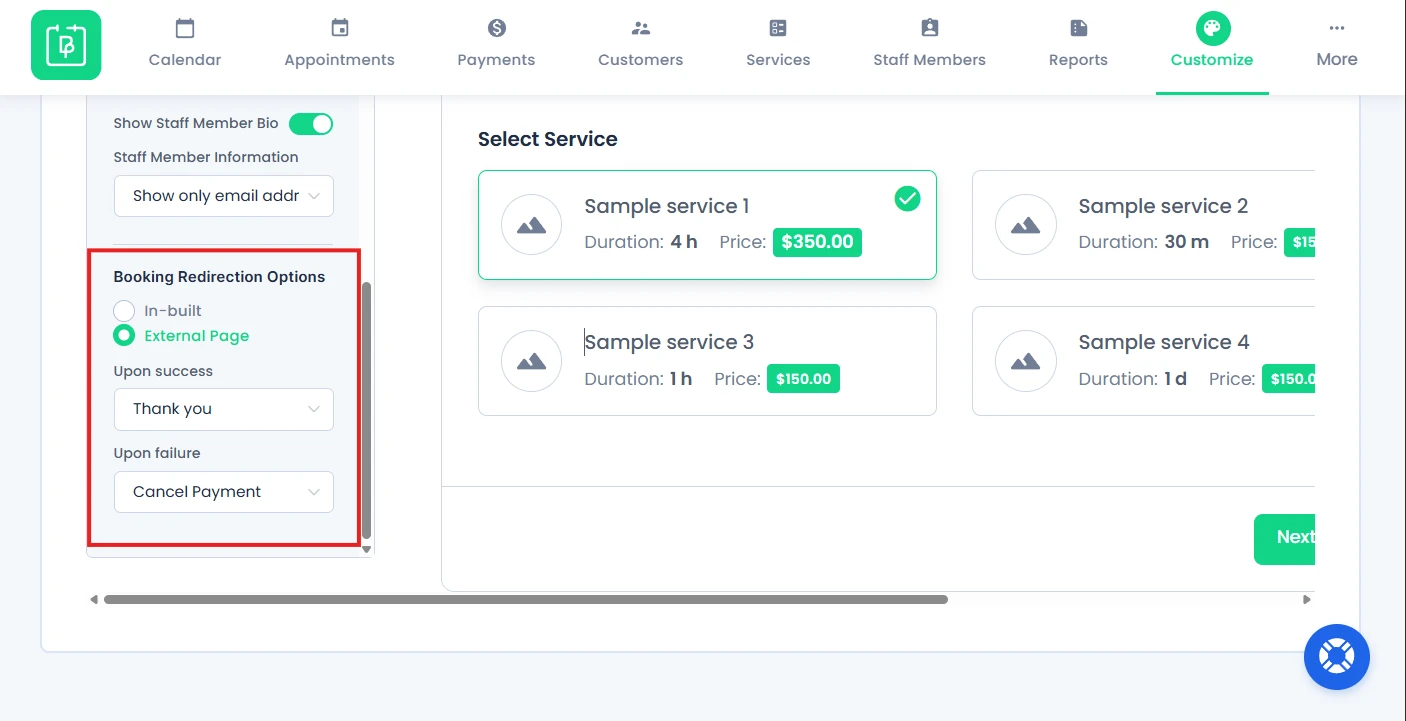
From the Booking Redirection Options, BookingPress allows you to control what happens after booking.
- In-built Redirection
- Show a message on the same page.
- Works for success and failure.
- Write custom “Thank you message” and “Failed Payment message”.
- External Page Redirection
- Redirect to another page
- Based on booking outcome (Upon success/Upon failure)
Label Customization Settings
Inside the same Booking Form Panel, scroll horizontally (swipe to the right) to see Label Settings on the right side panel.
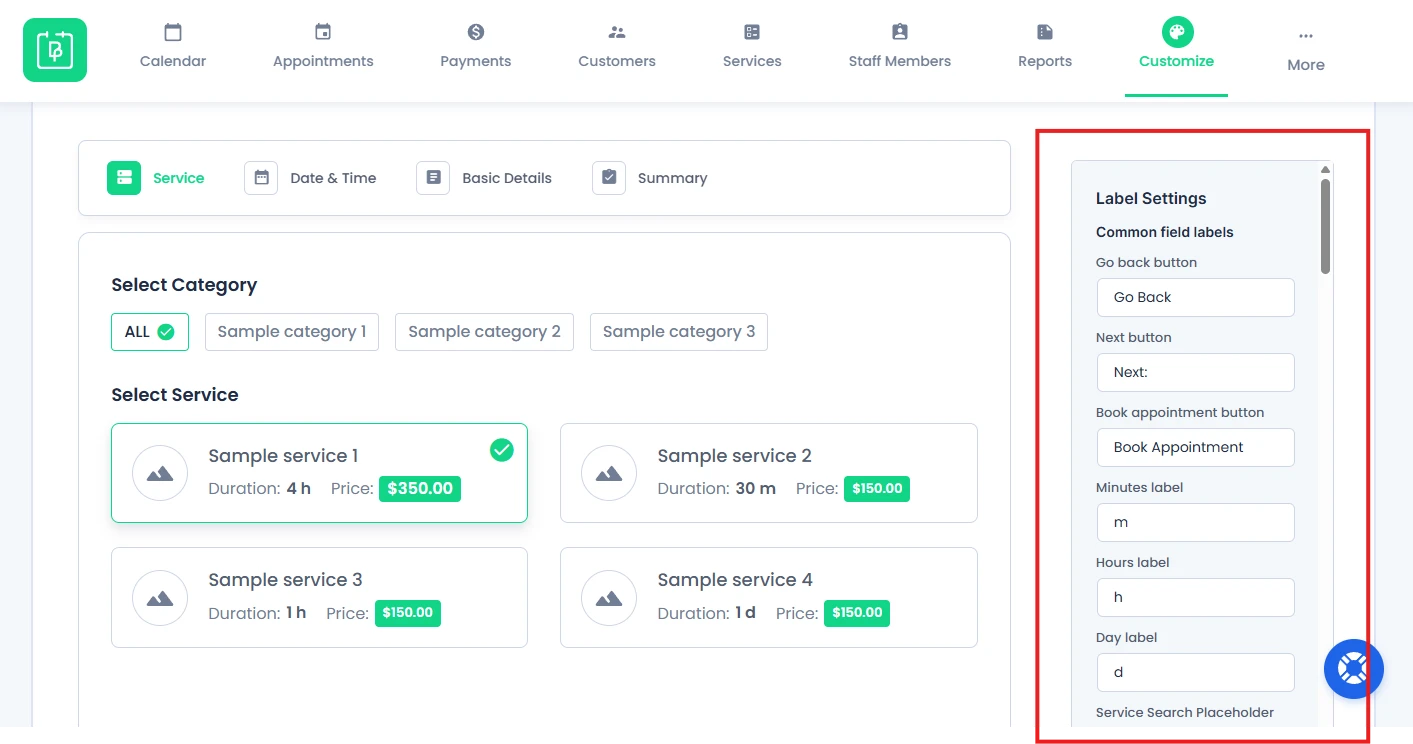
Note: If you don’t see the Label Settings, swipe or scroll to the right using the bottom scrollbar.
Common Fields Labels
You can edit:
- Go Back button
- Next button
- Book Appointment button
- Duration Labels:
- Minutes
- Hours
- Days
- Service Search Placeholder
How to Customize Booking Step Labels
The Booking form steps include:
- Service
- Staff member (If enabled)
- Date & Time
- Basic Details
- Summary
So, let’s start with
Step 1: Service Step Labels
You can edit the label name for:
- Step Service
- Service title
- Category title
- All Category
- Duration label
- Price label
- Continue button
- Cancel button
Step 2. Staff step labels
You can edit this only if the Staff Member Addon is activated and now hidden.
- Staff step
- Staff member title
- Any staff title
- Staff Search Placeholder
- Select Staff Title
- Selected Staff Title
Step 3: Date & Time Labels
You can edit the label name for:
- Step Date & Time
- Time slot titles
- Morning / Afternoon / Evening / Night labels
- Date & time step note
- Remaining slots title
Step 4: Basic Details Step Label
You can rename the:
- Step basic details name
- File Upload max limit reached message
Step 5: Summary Step Labels
At last, you can change the final summary step labels:
- Summary step title
- Service summary title
- Summary description
- Date & time summary title
- Extra title
- Customer summary title
- Summary step note
- Service extras label
- Appointment details summary title
- Total amount title
- Subtotal title
- Payment method title
- Pay locally payment title
- and many more.
After everything is set and your booking form is ready to go, don’t forget to hit that “Save” button at the top-right corner.
Need a hand?
Our world-class support team is happy to help. Send us a message and we’ll take it from there.