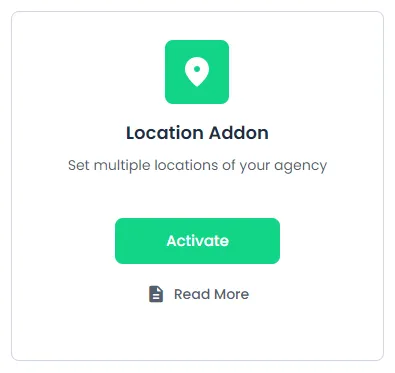
Location Addon

To get and Activate Location Addon, please follow the below steps.
- First, log in to the BookingPress Website, and you will be redirected to the My Account page.
- Now, click on the “Access Passes” link from the left menu panel.
- After going to the Access Passes, click on the “View your downloads” button.
- From the list, please look for the “Location” add-on, click on the download button, and it will automatically start downloading the addon. After the download is finished, upload the downloaded zip file to WordPress just link any other WordPress Plugin, then install and activate the addon to use it.
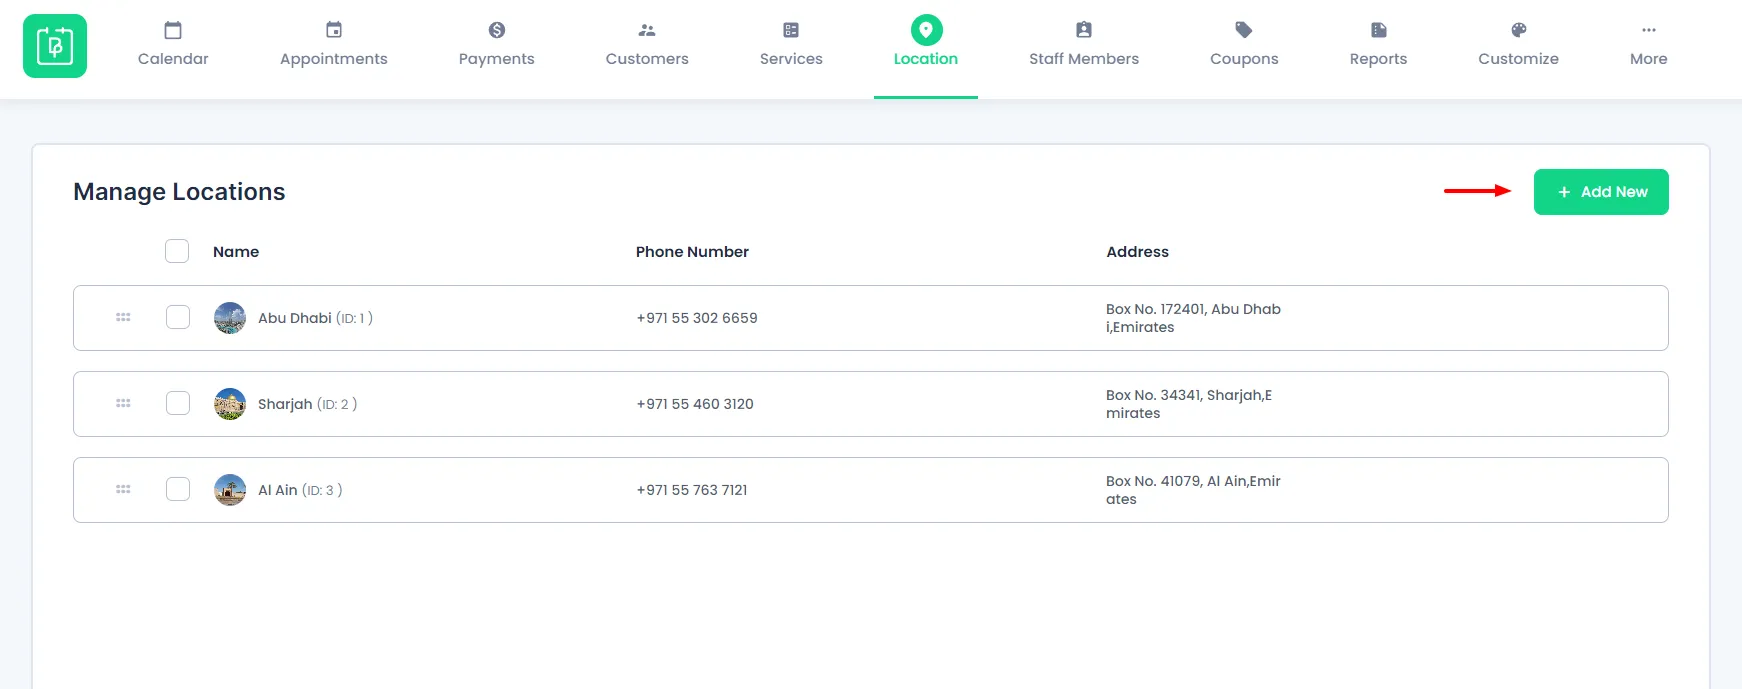
Once the addon is activated, go to BookingPress -> Location. From here, you can configure multiple locations as per your requirement.
To add a new location, click on Add New a button from the top right corner of the page.
Now, add an Image of the location along with the Location Name, Phone Number (as per your requirement), Address, and Description of the Location.
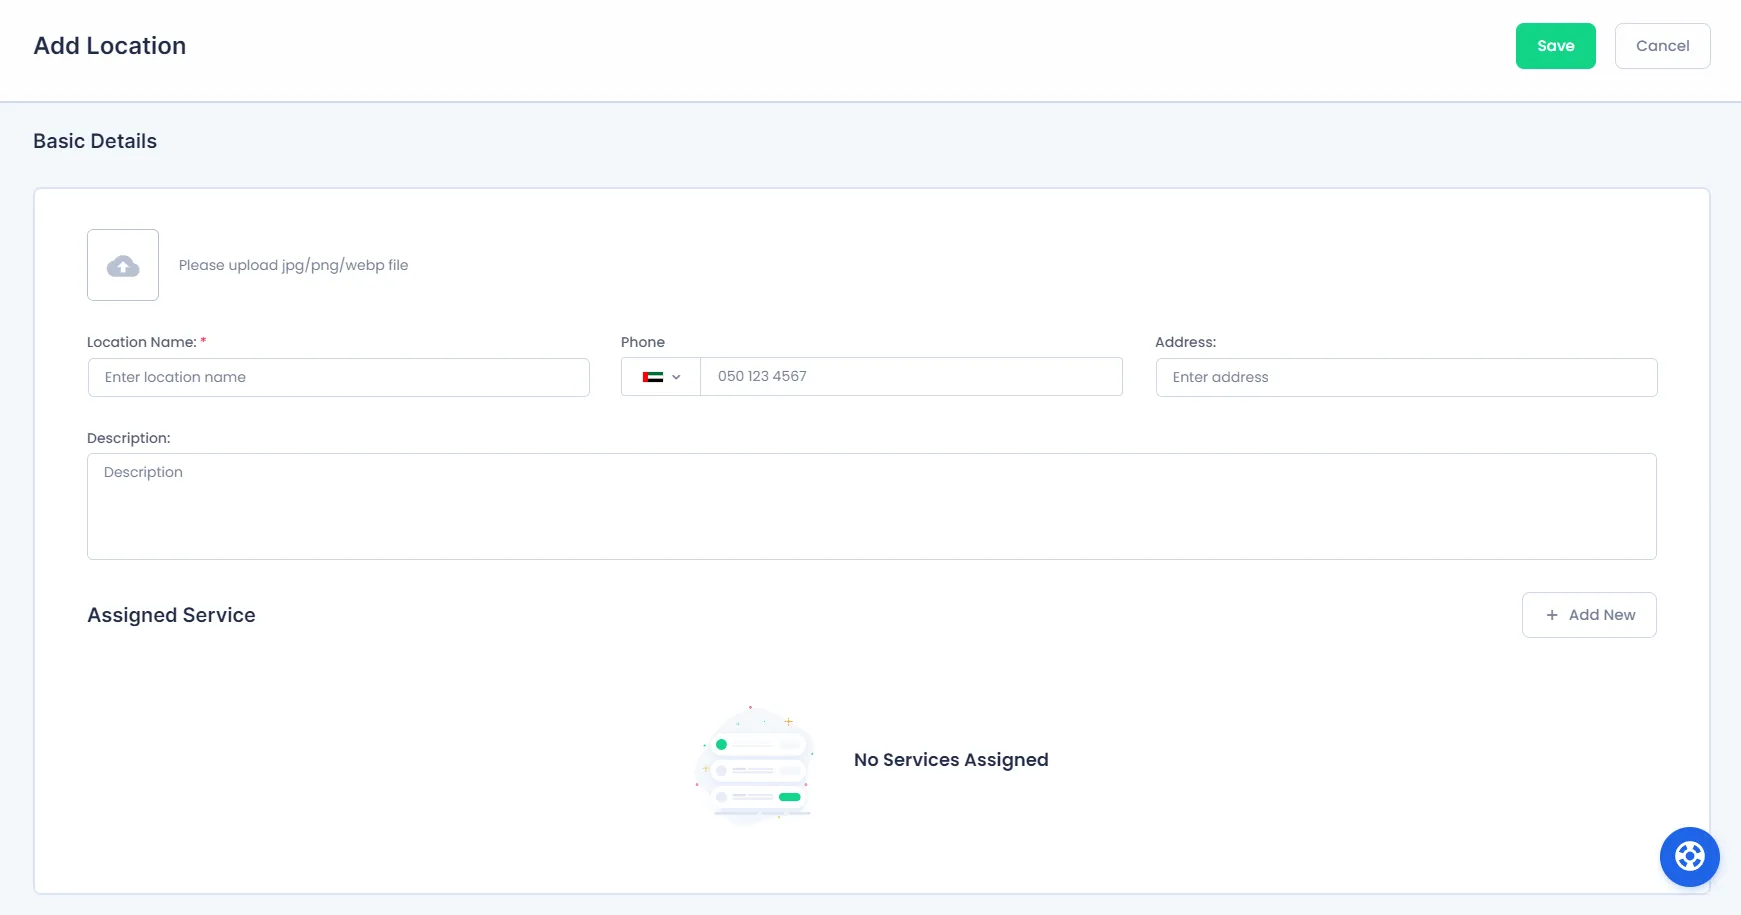
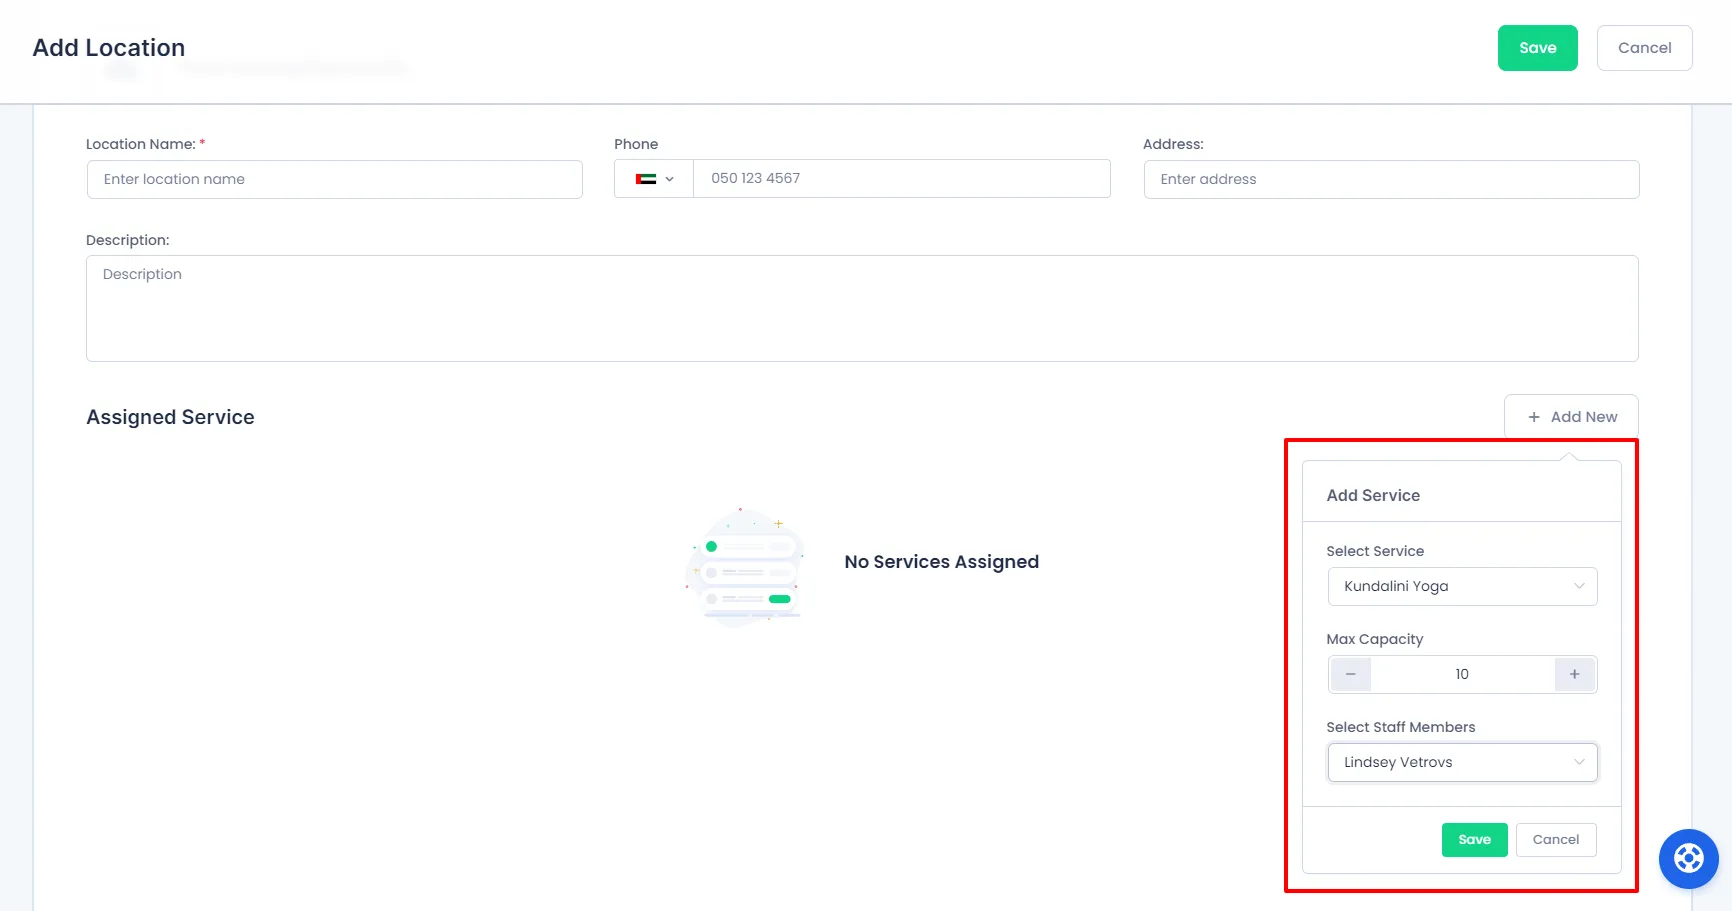
Once all the information is added, hover your cursor to Assigned Service and click on Add New button and assign the service that will be available on this location and save the settings.
Location With Service Shift Management
You will also be able to configure the Location based on the Specific Service. To do so, go to BookingPress -> Services. Here, hover the cursor on the service and click on Shift Management button.
From here, you will be able to select a particular location and configure the Working Hours and Special Days of the service for that particular location.
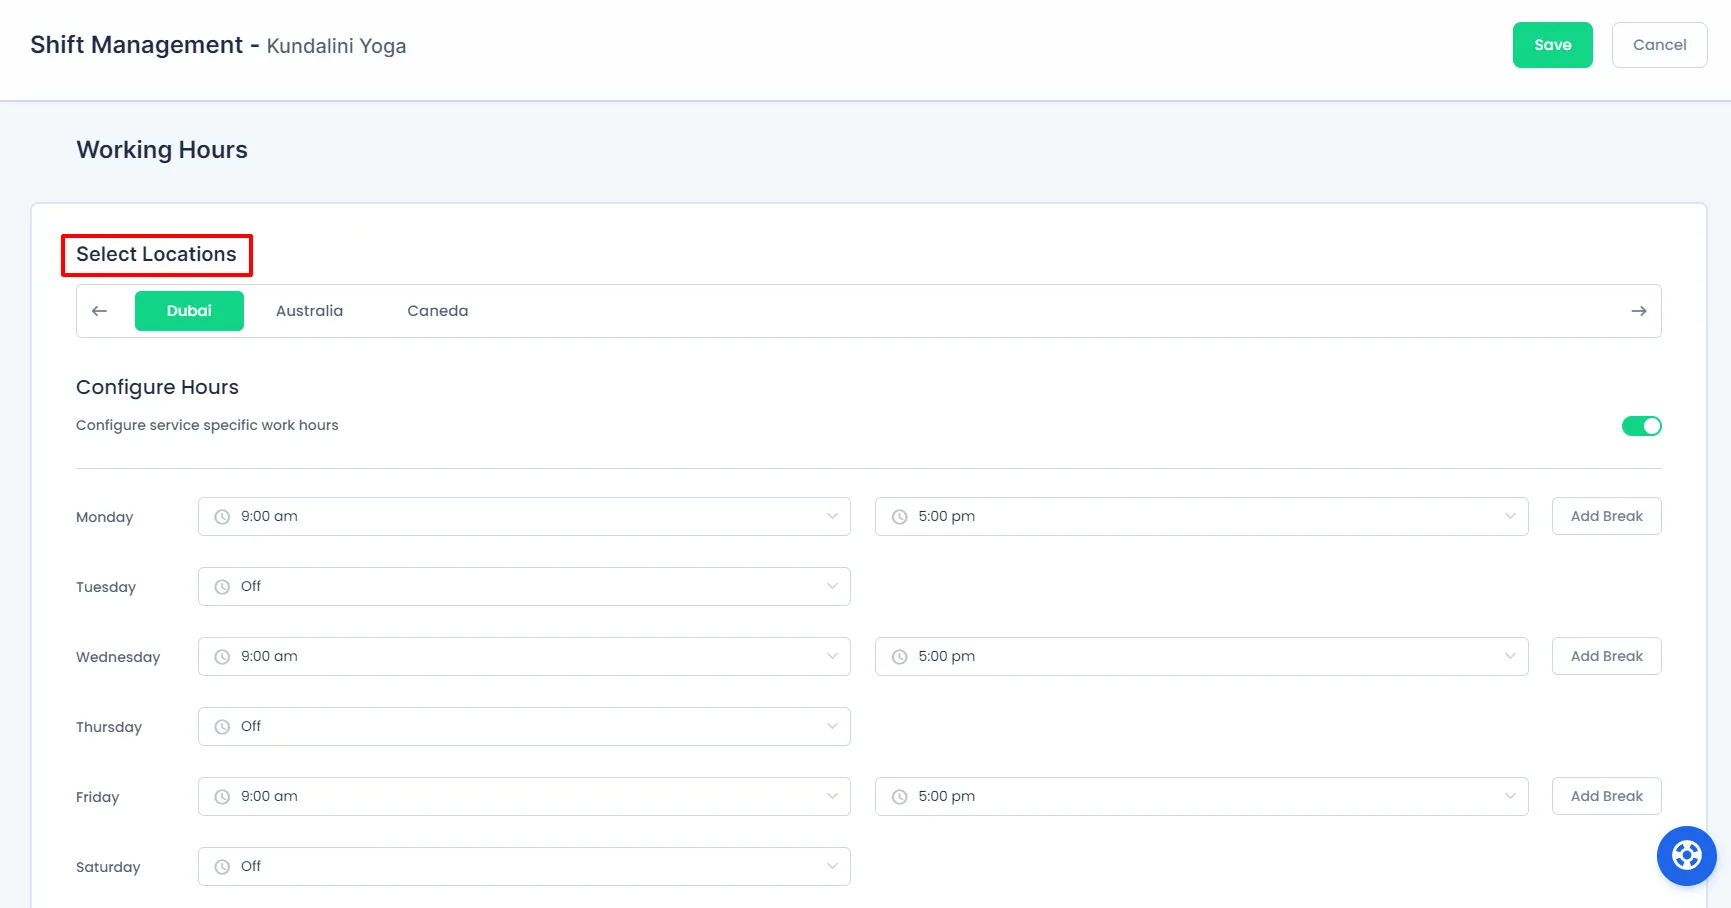
Now, if you want to configure the Shift Management for the same service but for different locations, then, simply select another location and configure the Working Hours and Special Days of the service for that location.
Location With Staff Member Shift Management
You will be able to configure the Location based on the Specific Staff Member too. To do so, go to BookingPress -> Staff Members. Here, hover the cursor on the Staff Member and click on Shift Management button.
From here, you will be able to select a particular location and configure the Working Hours and Special Days of the staff members for that particular location.
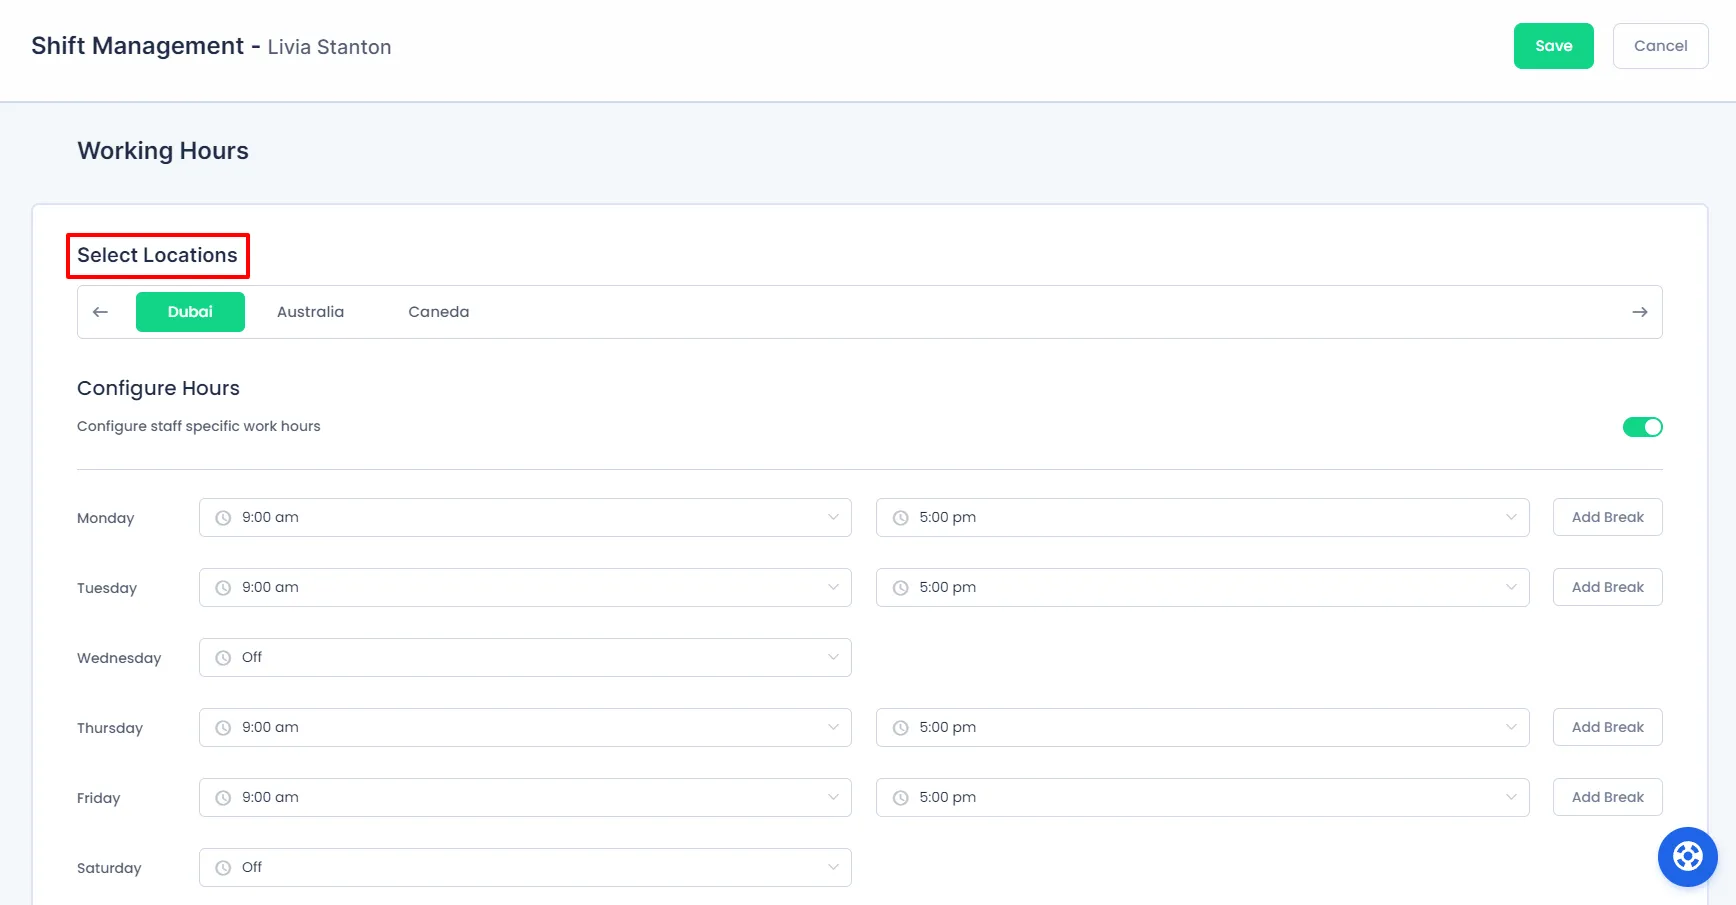
Now, if you want to configure the Shift Management for the same staff member but for different locations, then, simply select another location and configure the Working Hours and Special Days of the staff member for that location.
Note: Staff Member Shift Management with Locations can only be configured if “Allow staffmember to serve on multiple locations” option is enabled from “BookingPress -> Settings” page.
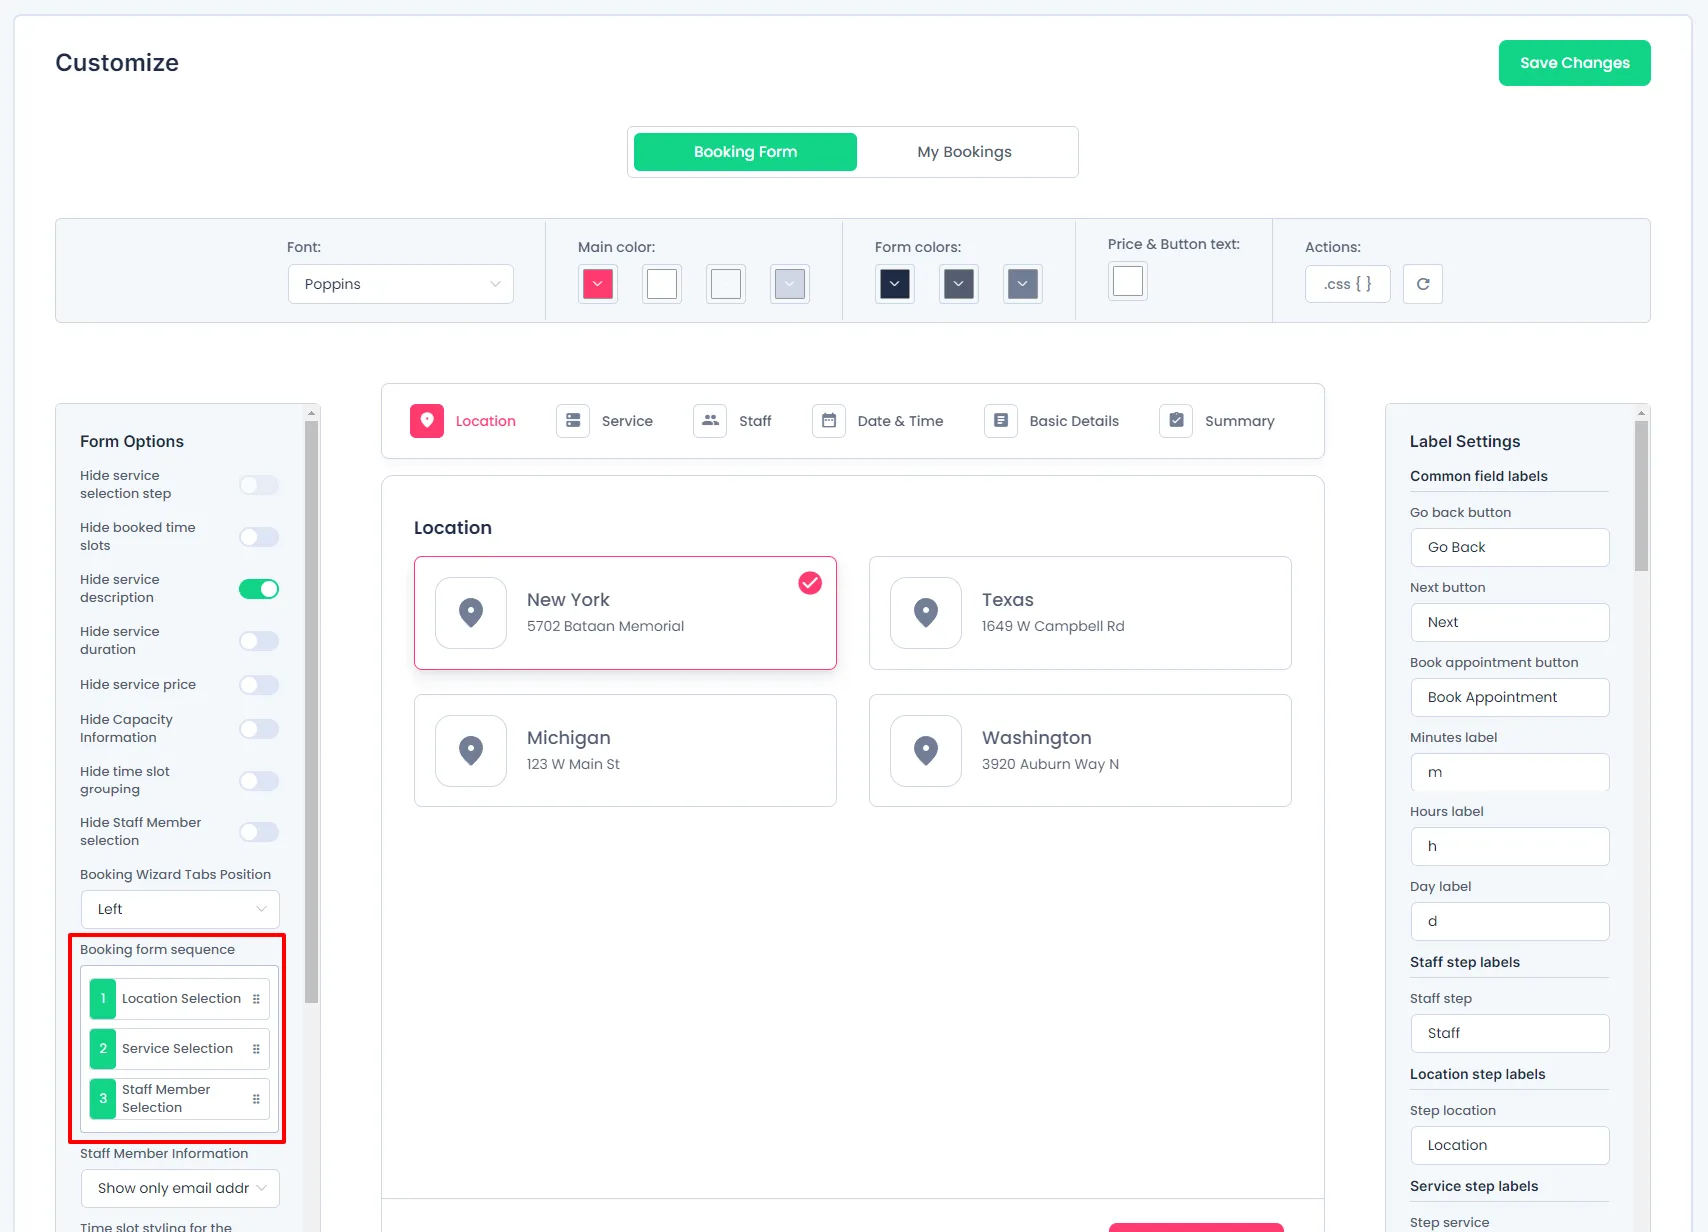
Once the Location is configured, you can rearrange the Location selection step from BookingPress -> Customize -> Forms page as per your requirement.
Location Addon with Cart Addon
If both the addons i.e, Cart Addon & Location Addon is activated together, and when a customer first selects the Location, Service, and Staff Members, when customers reached to the Cart Step in the Booking Form, then Location step in the Booking Form will get disappeared and the service and staff members will be displayed as per the available for the location selected from the step before the cart.
Note: All the Locations will inherit the timezone as per the timezone of the website configured from “Admin Panel -> Settings” page.
Also, please note that, if Staff Member module and Locations addon is activated together, then the capacity of the Staff Member will be calculated prior of the Location addon.