Zapier Addon
Zapier Integration:
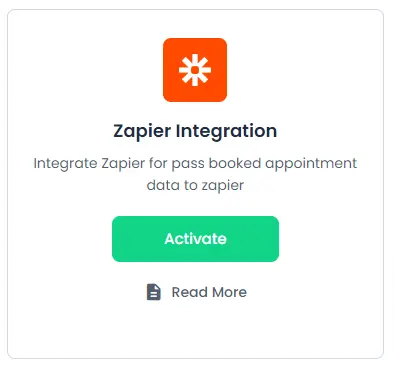
To integrate the Zapier with the BookingPress, first, you will have to get and activate the Zapier Integration Addon from “BookingPress -> Addons”.
After the Addon is activated, you will be able to configure it from “BookingPress -> Settings -> Integrations”.
- Appointment Fields:
Select the fields to be triggered from four different Dropdowns which will be sent to Zapier Trigger.
After selecting the field, Activate the webhook Trigger Settings for, “On New Appointment, On Update Appointment, and On Delete Appointment” and enter the respective Webhook URLs under the particular settings.
- Customer Fields:
For customer field settings, select the Customers field from the “Customer” and “Form Fields” dropdown list which will be sent to Zapier Trigger.
After adding the fields, Activate the webhook Trigger Settings for “On New Customer, On Update Customer, and On Delete Customer” and enter the respective Webhook URLs under the particular settings.
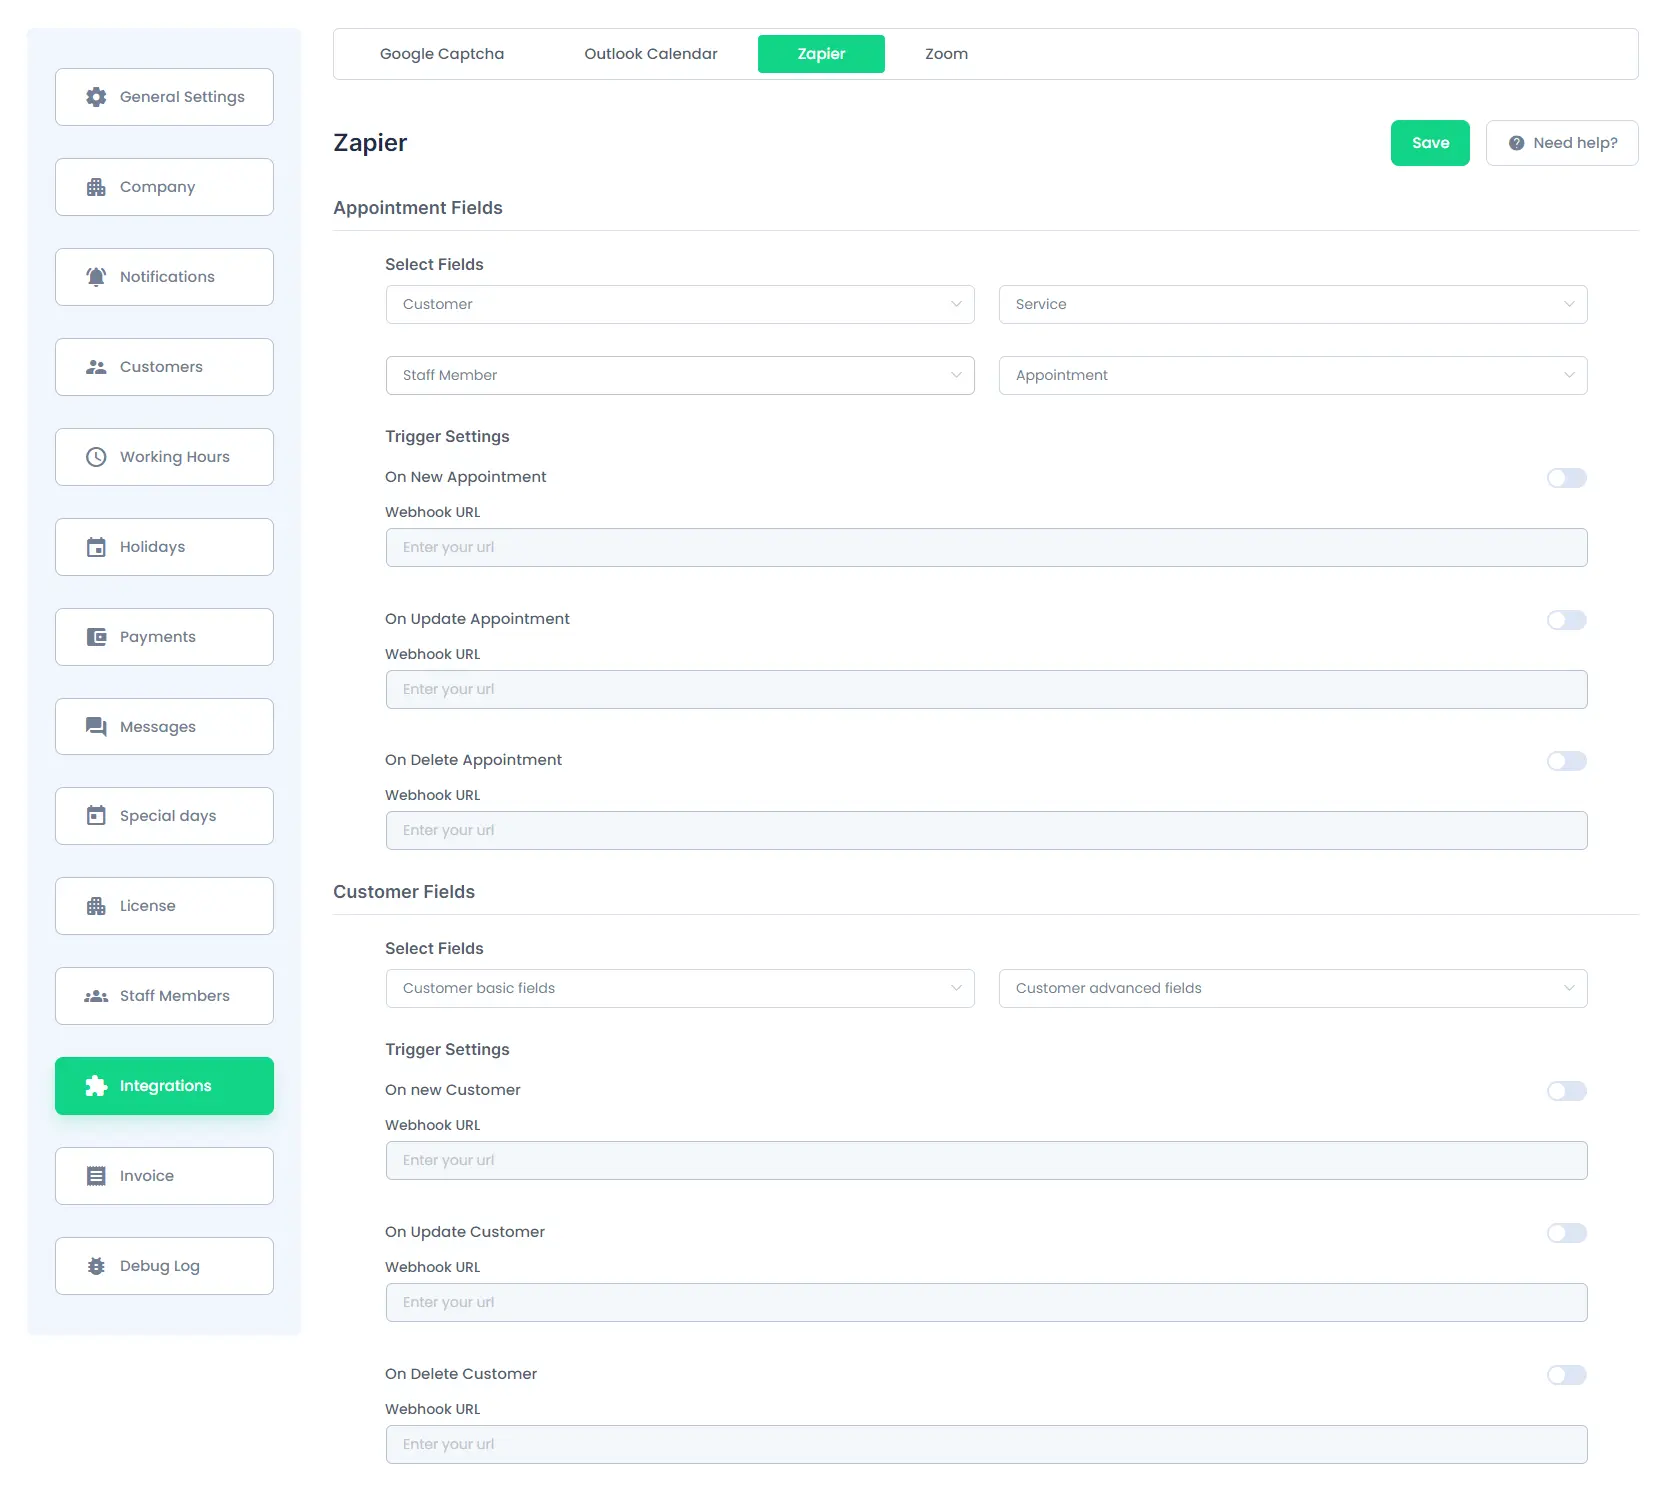
After the configuration is done, click on the save button and you are ready to use the Zapier.