Razorpay Payment Gateway Addon

Razorpay Integration:
To get and Activate Razorpay Payment Gateway, please follow the below steps.
- First, login to the BookingPress Website, and you will be redirected to the My Account page.
- Now, click on the “Access Passes” link from the left menu panel.
- After going to the Access Passes, click on the “View your downloads” button.
- From the list, please look for the “Razorpay” add-on, click on the download button, and it will automatically start downloading the addon. After the download is finished, upload the downloaded zip file to WordPress just link any other WordPress Plugin, then install and activate the addon to use it.
If you do not have a Razorpay account then create it.
For a Live / Sandbox account click here.
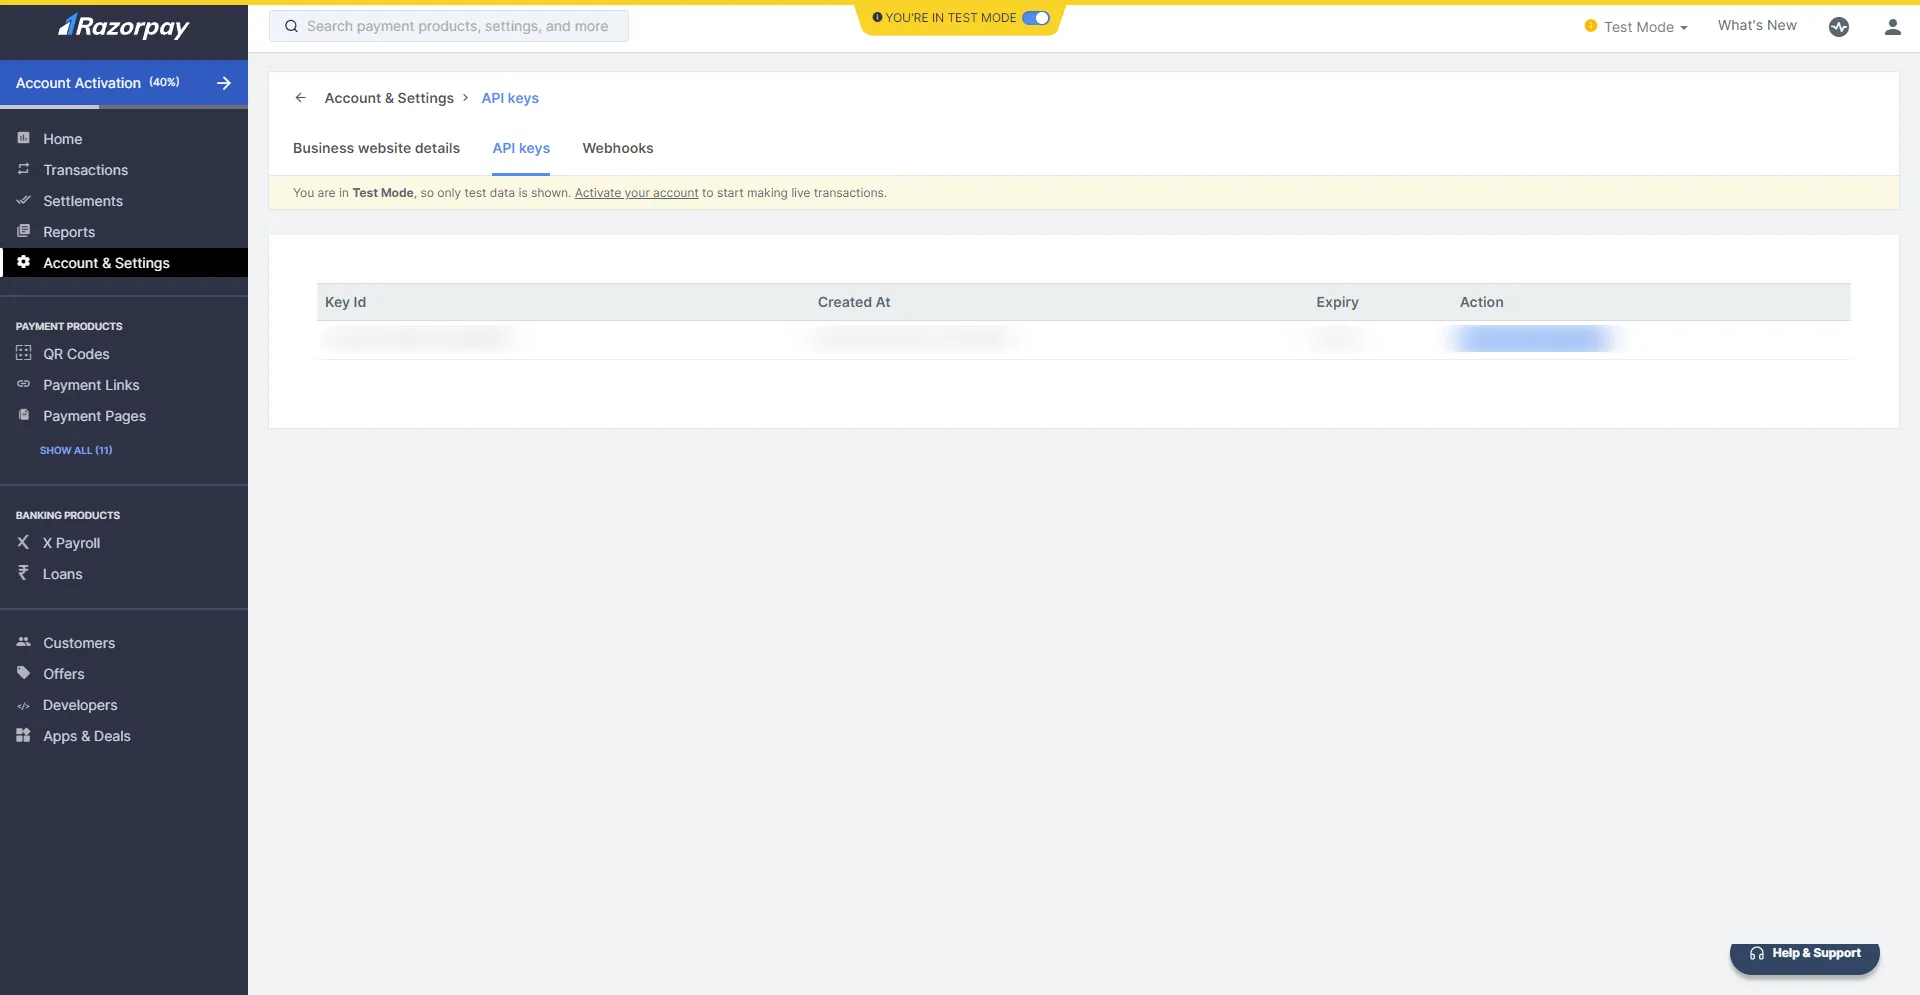
Where do I get the Key ID, Key Secret, and Webhook secret?
To obtain the Credentials for Razorpay head over to Razorpay Dashboard and follow the steps below :
Click Account & Settings Menu > Website and App Settings > API Keys. You can see the Key ID and For Secret Key, you need to generate it.
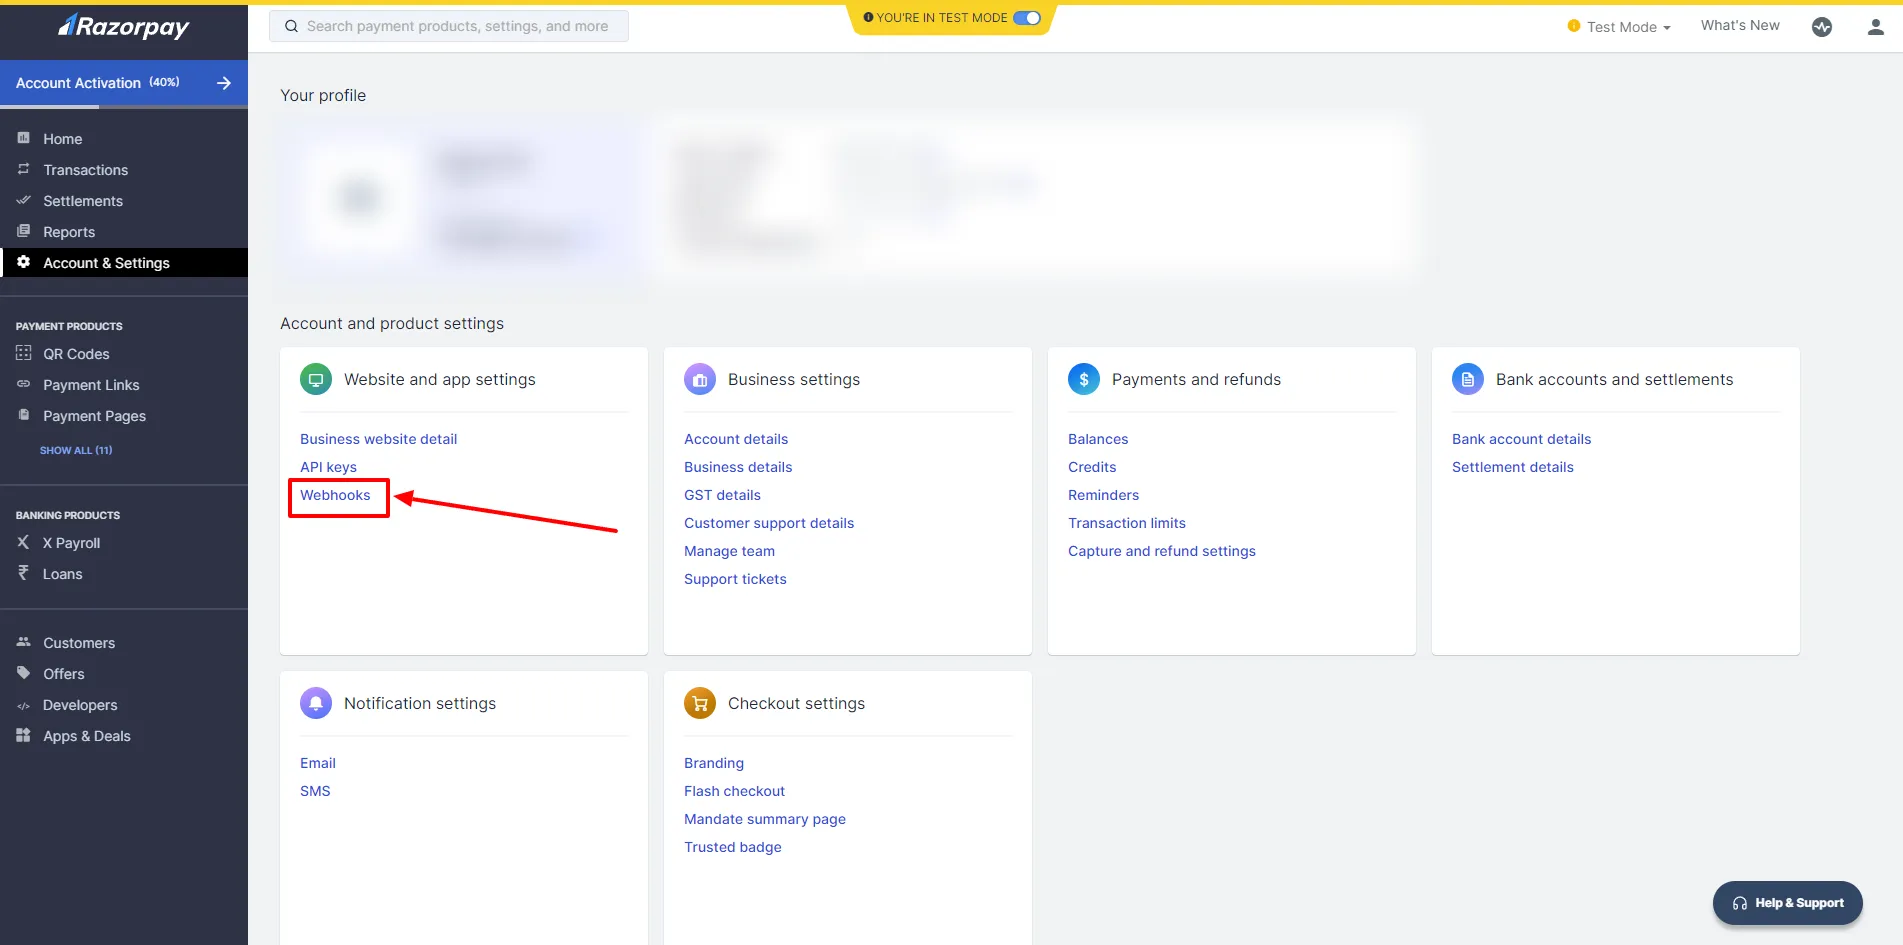
From where can I set the Webhook URL?
To set Webhook URL in Razorpay account, access the site with your login and the password follow the steps:
- Select Account & Settings from the Sidebar on the left
- Click on Webhooks under “Website and app settings”
- Here all your Webhooks will be present, if you wish to add new Webhook then click on “+Add New Webhook Button”
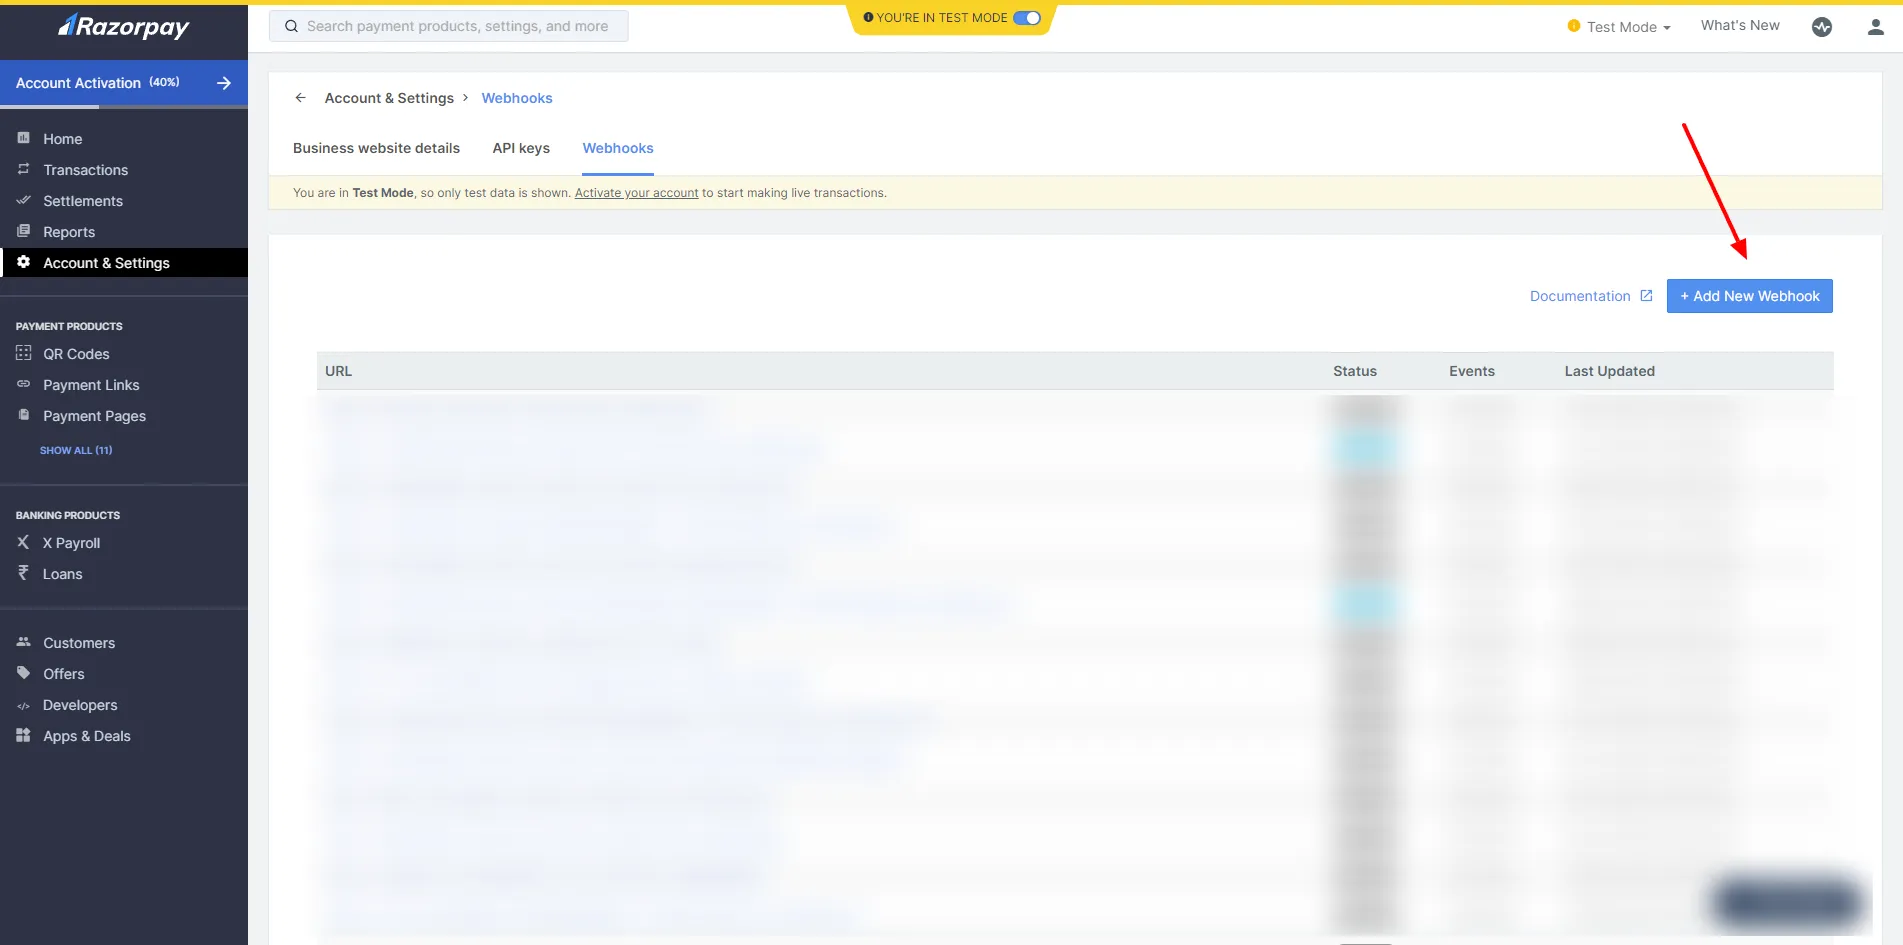
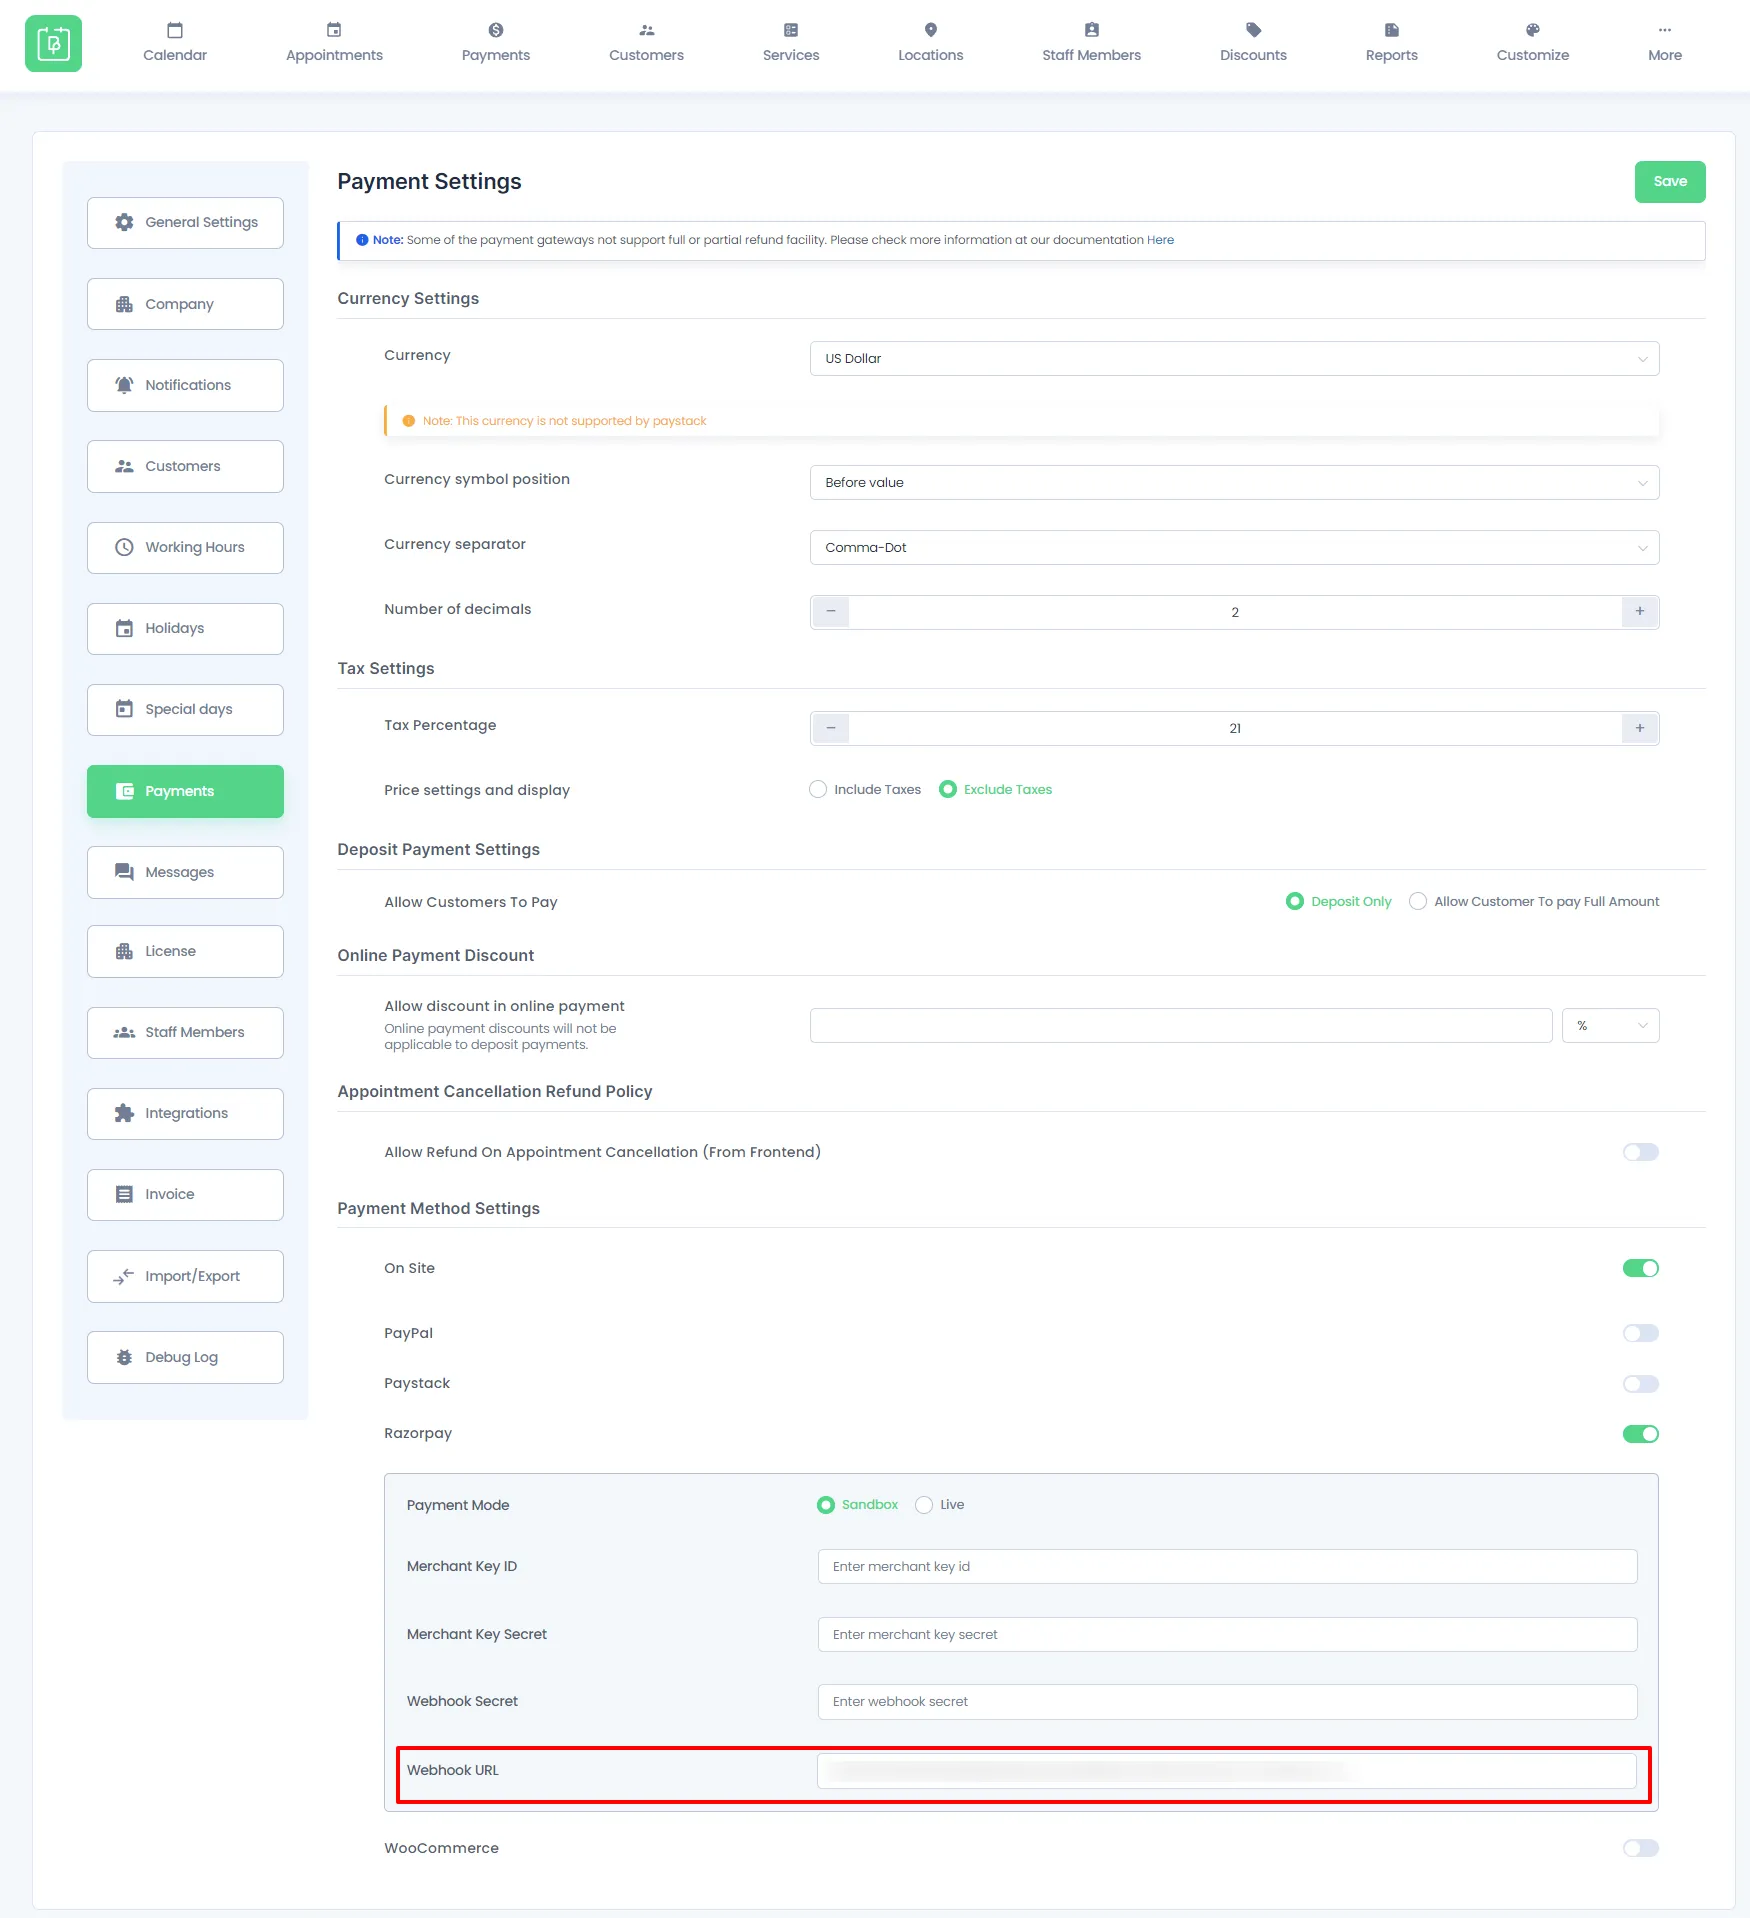
- Enter the Webhook URL which can be found in
BookingPress > Settings > Payments >Here in the Razorpay Section, you will find the Webhook URL please place it here
- Enter a Secret(Webhook Secret) for the webhook endpoint. The secret is used to validate that the webhook is from Razorpay. Use this secret in the BookingPress Payment Gateway configuration page in the Webhook Secret field.
- In the Alert Email field, enter the email address to which the notifications should be sent in case of webhook failure. You will receive webhook deactivation notifications to this email address.
- Select all available events from the list of Active Events. In order to receive notification when specific events occur. It is advisable that you select all the events for Payments and Orders.
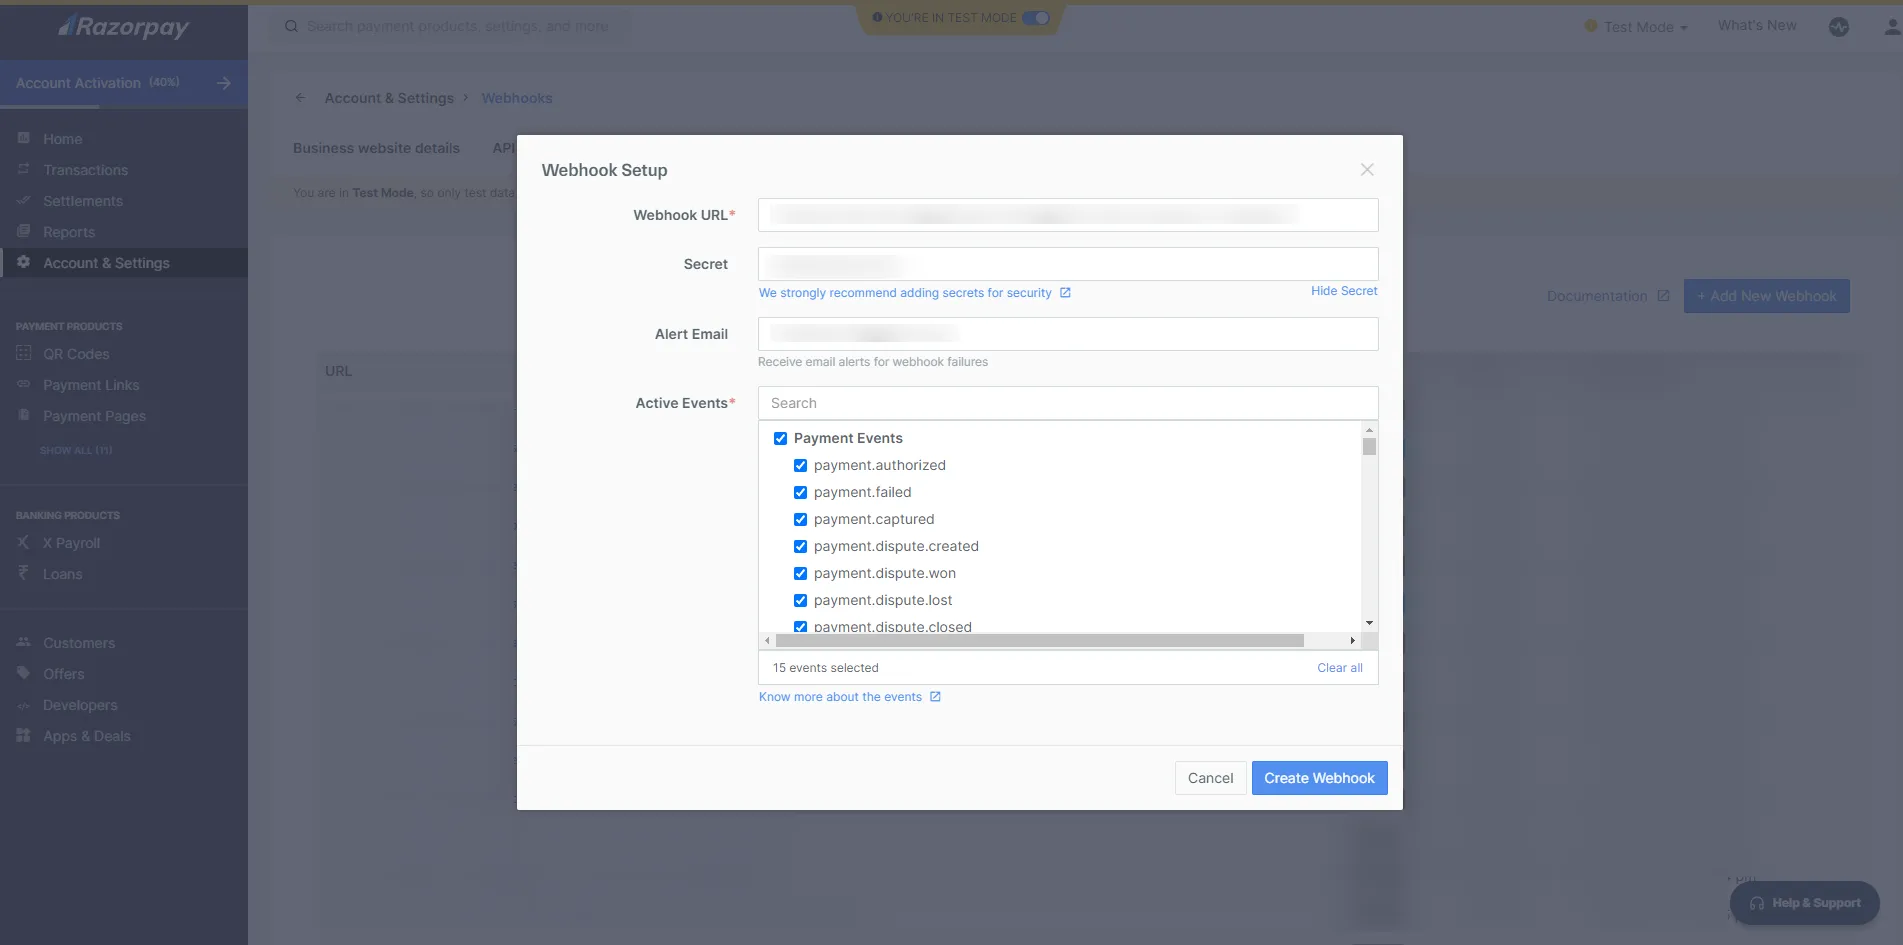
Click Create Webhook to add Webhook. After you set a webhook, it appears on the list of webhooks.
Now, go to BookingPress -> Settings -> Payments and enable the switch of the Razorpay to enable the payment gateway.
Insert Merchant Key, Merchant Key Secret, and Webhook Secret that you have fetched by following the above steps.
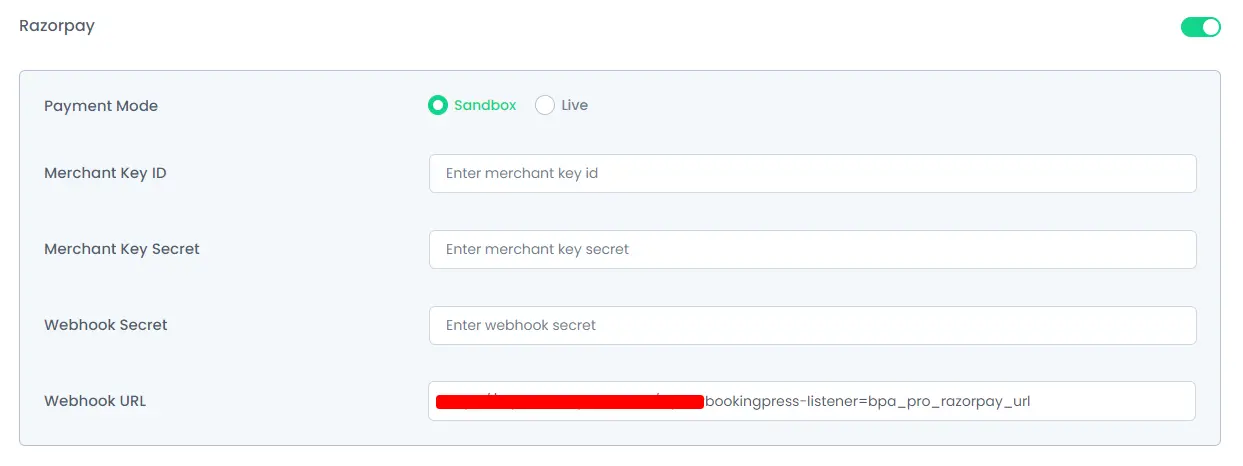
Note: Please make sure to use appropriate credentials for “Sandbox and Live”. Both of them have different credentials!